braided hairstyles
The most beautiful styles and instructions for braiding hair
© timonko / Adobe Stock
Braided hairstyles are always an eye-catcher – and are easier to implement than you would think. We have the best ideas and guides!
They are always a real eye-catcher and look very feminine: We love braided hairstyles! But if you think that braided hair is only something for a long mane, then we want to give you the all-clear at this point: magical braided hairstyles can be created even with short hair. And best of all: Depending on which braid you choose, your style will prove itself both on a festive occasion such as a wedding and in everyday life.
Braided hairstyles are an unbroken trend
We are always amazed at the variety of braided hairstyles. Don’t worry, braiding hair is not an Olympic discipline, Making braided hairstyles yourself is very easy. The best thing about them: They are always trendy and simply look stylish and special. It doesn’t matter whether you want to create an elegant, romantic or casual look. Particularly practical: For everyone Hairstyles all you need are your hands and a few hair ties or bobby pins. The curling iron stays in the bathroom cabinet today!
Braided pigtails, a bun or chignon always look stylish thanks to the braiding techniques. Even if they used to have a rather conservative image, they are today onebeautiful option for long, medium or short hair, that you want to wear creatively. And of course you can conjure up great dirndl styles and smart Oktoberfest hairstyles with it. Braided braids, especially boxer braids, are currently one of the major hairstyle trends. But braided chignons or a ponytail with braided highlights are also super trendy.
Braided hairstyles: This is how styling works
No braided hairstyle in this world is a reason to freeze in awe – braiding braids is not as complicated as you might think at first glance. In fact, the technique is based on a simple braiding method, which is only slightly modified depending on the style: Place the right and left strands over the middle again and again – it’s all very simple! Long hair in particular can be styled again and again.
Various trend hairstyles from the catwalks, Instagram, Pinterest, fashion portals and blogs prove that braided hairstyles no longer have a girlish image: Braided bun, French braid, waterfall braid or herringbone braid – we have collected a lot of inspiration for your heads.
Whether rocking, romantic or playful – our ideas really have everything. And if you still need a little help, you will find it now Simple instructions for the most common braided hairstyles:
French plait © Africa Studio / Adobe Stock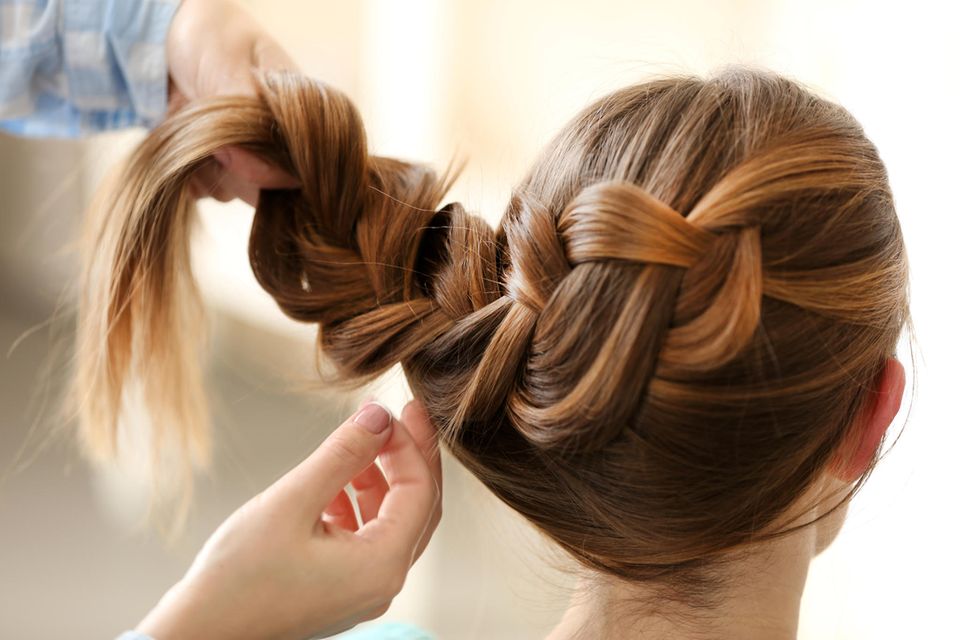
The classic French braid, also known as a peasant braid, It looks complicated, but with a little patience it’s easy to do. It is braided by repeatedly taking individual strands from the side and braiding them in. It can start on the side, the back of the head or the top of the head, just as you like. This is how one succeeds French plait:
- Divide the top section of hair into three equal strands – and then braid! Take the left strand and cross it over the middle one.
- Then take the right one and also place it over the newly gained middle (formerly left) strand of hair.
- In the next round, add a new strand from the side to each strand on the outside and continue braiding. With each new round, more side hair is braided in, so that the strands gradually become thicker.
- Once you get to the nape of your neck, simply braid down to the ends of your hair. The classic braided hairstyle is ready!
Side braided braid © metamorworks / Adobe Stock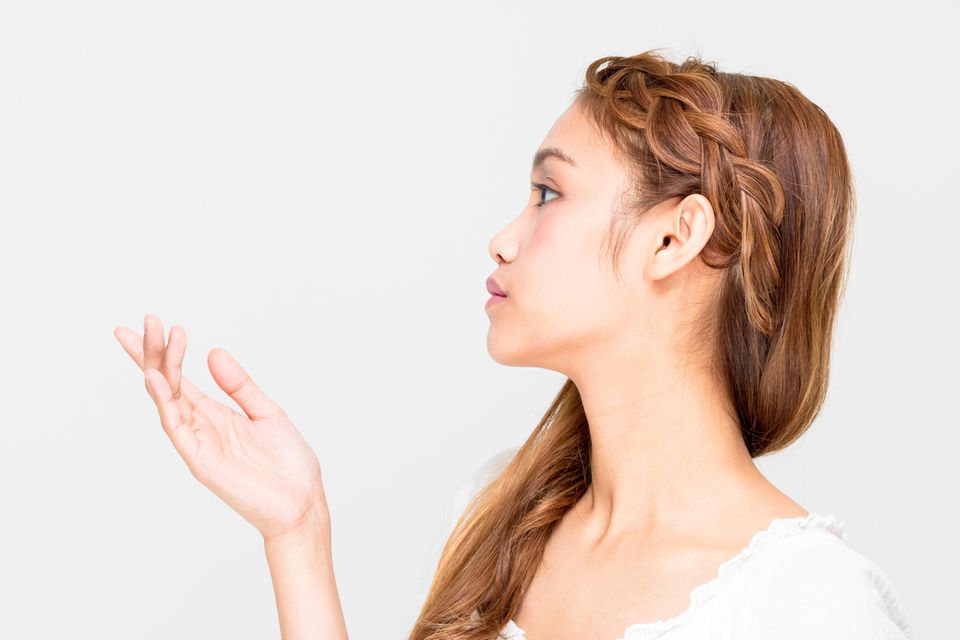
A braid always looks beautiful – but it becomes a special eye-catcher when it is braided sideways and in the French style. This gives you an asymmetrical look that no one can ignore. Extra tip: Pull apart the braided hair a little to make it appear more voluminous. Here comes the instructions:
- Comb the hair well and create a side parting on the opposite side to where you want to braid. Means: If you want to have the braid on the left at the end, you pull the side parting on the right.
- Separate a narrow strand along the parting and divide it into three equal sections.
- Now it’s time for classic braiding: start with the strand closest to your face and lay it over the middle one. Then bring the back strand over the middle.
- Now again take the strand closest to your face and pass it over the middle one again, but add some new hairs. Caution: Run your finger through the hair to properly separate the new strand of hair, otherwise there will be knots!
- Do the same again with the back section of hair and add more hair here as well.
- Braid all sides alternately, up to the nape of the neck – then all of the hair should be braided in the braid.
- Continue braiding to the ends of your hair, secure the side braid with a hair tie.
herringbone braid
- Divide the hair into two even strands.
- After that, some hair is picked up from the left side of the left strand and added to the right strand.
- Then take a strand of the right strand on the far right and add it to the left strand. Important: In order for it to be even, the divided strands of hair should always be of the same thickness.
- At the end, secure the braid with a hair tie or ribbon.
Boxer braids © maykal / Adobe Stock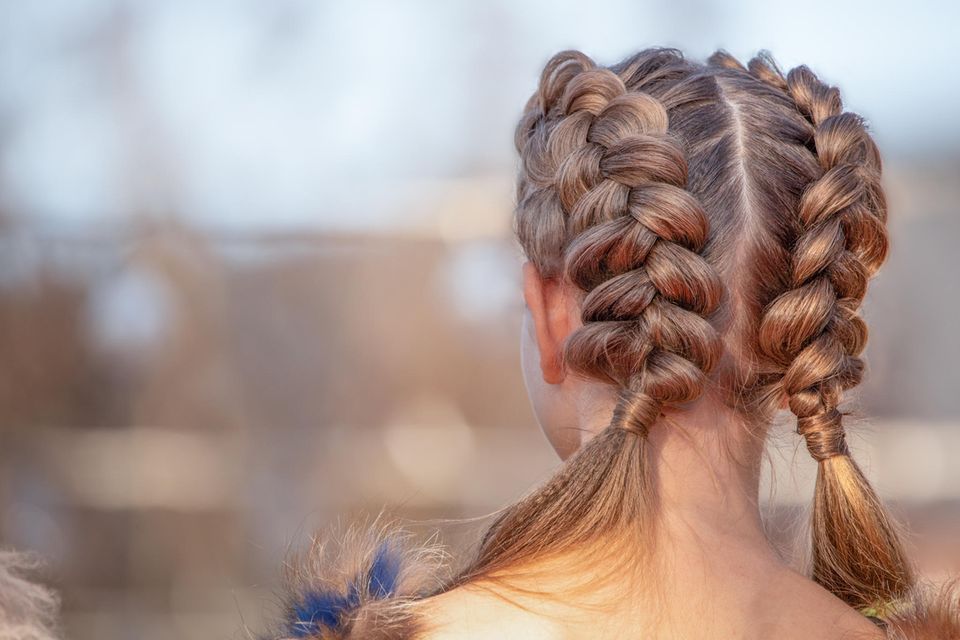
This hairstyle will actually from the pros at boxing worn – but is also a real eye-catcher in everyday life! For the In boxer braids, the hair is divided from the center parting and plaited away from the top of the head in a classic French braid. Here comes the instructions:
- The hair is first neatly combed. Then use a style comb to create a center part that reaches the nape of your neck.
- Divide your hair into two equal sections. Tie one of them back briefly so that it doesn’t interfere with the braiding of the others. Tip: For the sake of simplicity, right-handers start braiding on the right, left-handers on the left.
- Divide the first section into three thin strands. In contrast to classic braiding, the side strands are not laid over the middle strands, but under them – as with the Dutch braid.
- Continue braiding in the same way, but as with the French braid, add side strands at a time to braid more and more hair into the hairstyle.
- When you reach the nape of your neck, you can either tie the braid together or continue braiding it to the ends of your hair.
- Secure the first boxer braid with a thin hair tie and braid the second section of hair in the same way. Finally, secure both braids with hairspray.
waterfall braid
The Best of the Waterfall Braid: It is also suitable for shorter hair. You can create this romantic and playful hairstyle by braiding your hair along the side of your head, but with each round simply letting one of the strands fall and picking up a new one. That is how it goes:
- Brush your hair and create a center or side part, whichever you prefer.
- Starting on the right side, grab a slightly thicker strand and separate it into three strands.
- Now cross the strands like in classic braiding.
- Now comes the innovation: Let go of the lower strand and just hang it, take a new lower strand of hair and put it over the braid.
- Continue braiding until about the middle of the back of your head. There the waterfall braid is fixed with a hair tie.
- If you like the hairstyle like this, you can leave the rest of your hair loose. Alternatively, you can also braid the other side of the head in the same way. In this case, you end up with two side braids that meet at the back of your head and can then be tied together.
Braided half bun © Mila Supinskaya / Adobe Stock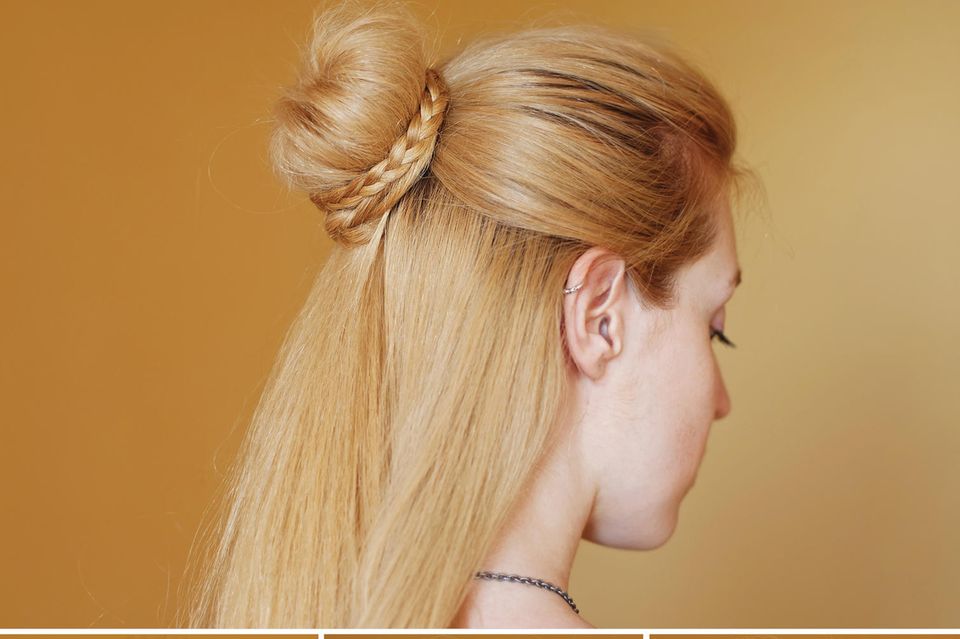
The so-called is particularly casual Half Bun, which is best styled with slightly longer hair. This is how the half-open hairstyle works in no time at all:
- Brush your hair back and away from your face.
- Now part the top hair with both index fingers by running from the ears to the back of the head.
- Tie the hair in your hand into a ponytail.
- Divide this braid into three sections and braid it down in the classic way.
- Now put the braid clockwise around the hair tie like a ring of hair and secure it with several hairpins or hair clips.
Tip: For example, if you want to style the half bun a little more chic for a wedding, you can braid the top hair the French way and only then put on the bun.
Braided bun © alter_photo / Adobe Stock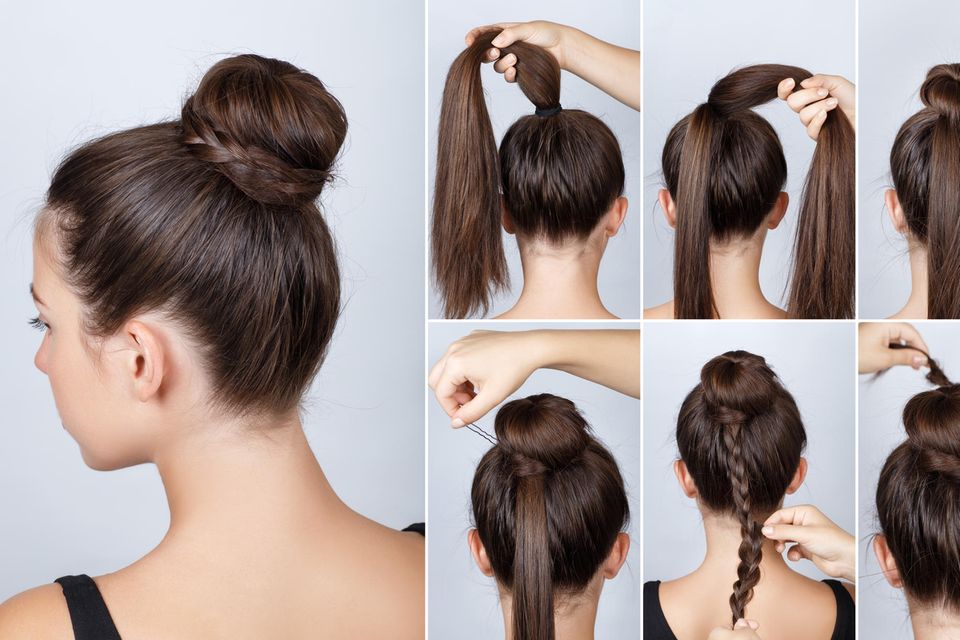
Basically, the braided bun works similar to the braided half bun variant. Because it is complete, it looks more noble and is, for example the perfect hairstyle for dinner at a fancy restaurant. Here comes the instructions:
- Comb your hair back and tie a full braid.
- Grab a thicker top strand of hair from this braid and braid it down in a classic way. Tip: Pull the braided hair apart a little to give it more volume.
- Gather the hair that is still loose and twist it into a bun, which is best secured with bobby pins.
- Now wrap the braid around the bun and pin it in place as well. Complete!
Would you like more creative hairstyle ideas? Here we reveal how one Dutch braid is braided. When you’re in a hurry, quick hairstyles like these come in handy. We also reveal which hairstyles look great with glasses.
