
Fall in love with this lovely free pattern and add a touch of elegance to a classic blouse. Entirely embroidered in the back stitch, this flower is an easy idea to revamp your wardrobe.
Equipment
- White cotton t-shirt or shirt (washed and ironed)
- Embroidery hoop ø 22 cm (Rascol.com)
- Black cotton mouliné embroidery thread 310 (DMC)
- Short, fine embroidery needle with a small eye (for more precise stitches)
- Erasable blue frixion pen (Pilot)
- Small sewing scissors
- Pencil
- Tracing paper
- Sheet of paper
Employee point
Back stitch with 2 threads (+ tie)
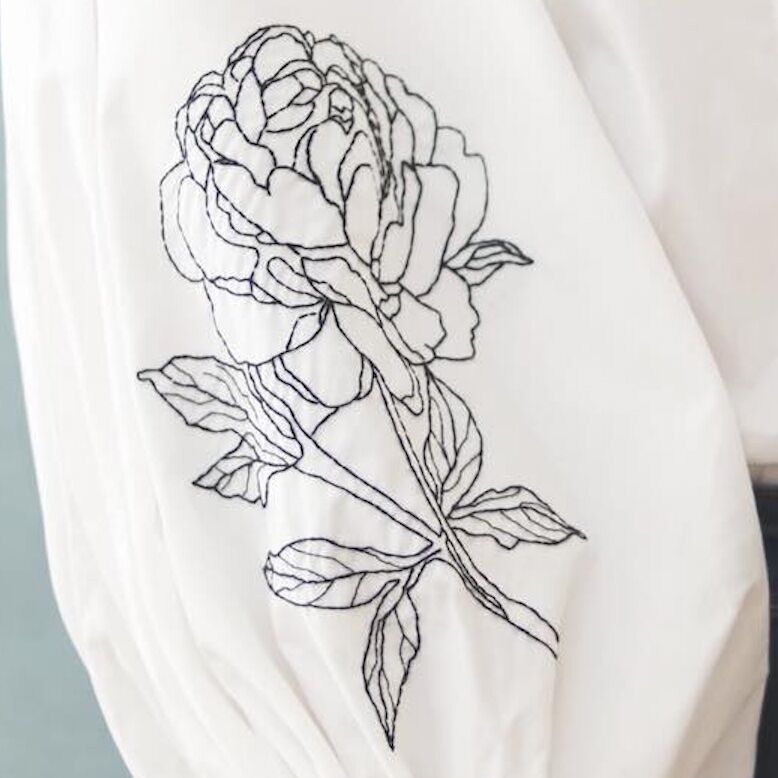
Embroidery of the blouse
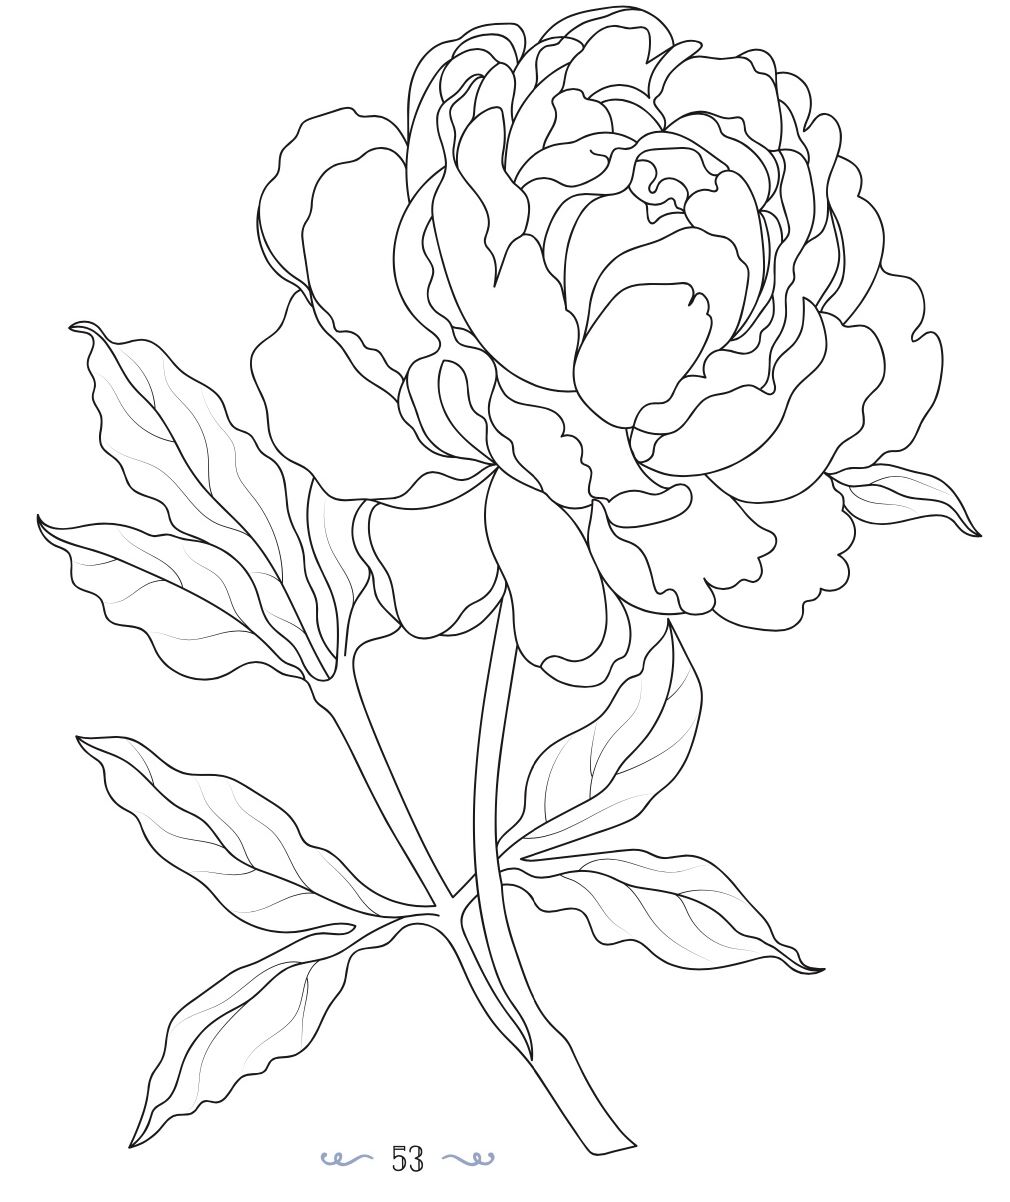
- Print and transfer the flower pattern (to do this, superimpose the printed pattern and the tracing paper and secure them to the window glass with adhesive tape, then mark the outline in pencil)
- Place the layer on the work surface and the part of the garment to be embroidered on top
- On a white t-shirt (or a shirt), reproduce by transparency, with a frixion pen the pattern you want to embroider.
- Place this pattern in the drum, making sure the fabric is taut. Cut a strand of embroidery floss about 30 cm. If you want a fine stitch, split it to keep only two threads. Thread it on the needle, make a small knot at the end and embroider on the pattern at the back stitch: stitch the fabric by bringing out the needle from the right side, start again 2 mm backwards by stitching the needle towards the reverse. Bring out your needle 2 mm in front of the stitch made. Repeat throughout the pattern.
- Move the fabric in the embroidery hoop as the embroidery progresses, if necessary.
- When your thread stops, discreetly tie it upside down and start again with a new thread. When the pattern is completely covered, tie the thread on the reverse side. A blow with an iron will erase the Frixion pen line and the mark on the embroidery hoop.
Advice : be sure to make constant stitches of the same size. The rendering will be more harmonious.
On the garment, choose a location where the fabric is accessible (wide sleeve, front or back of a blouse) to place the embroidery (to keep the fabric flat in the embroidery hoop).
The idea in addition
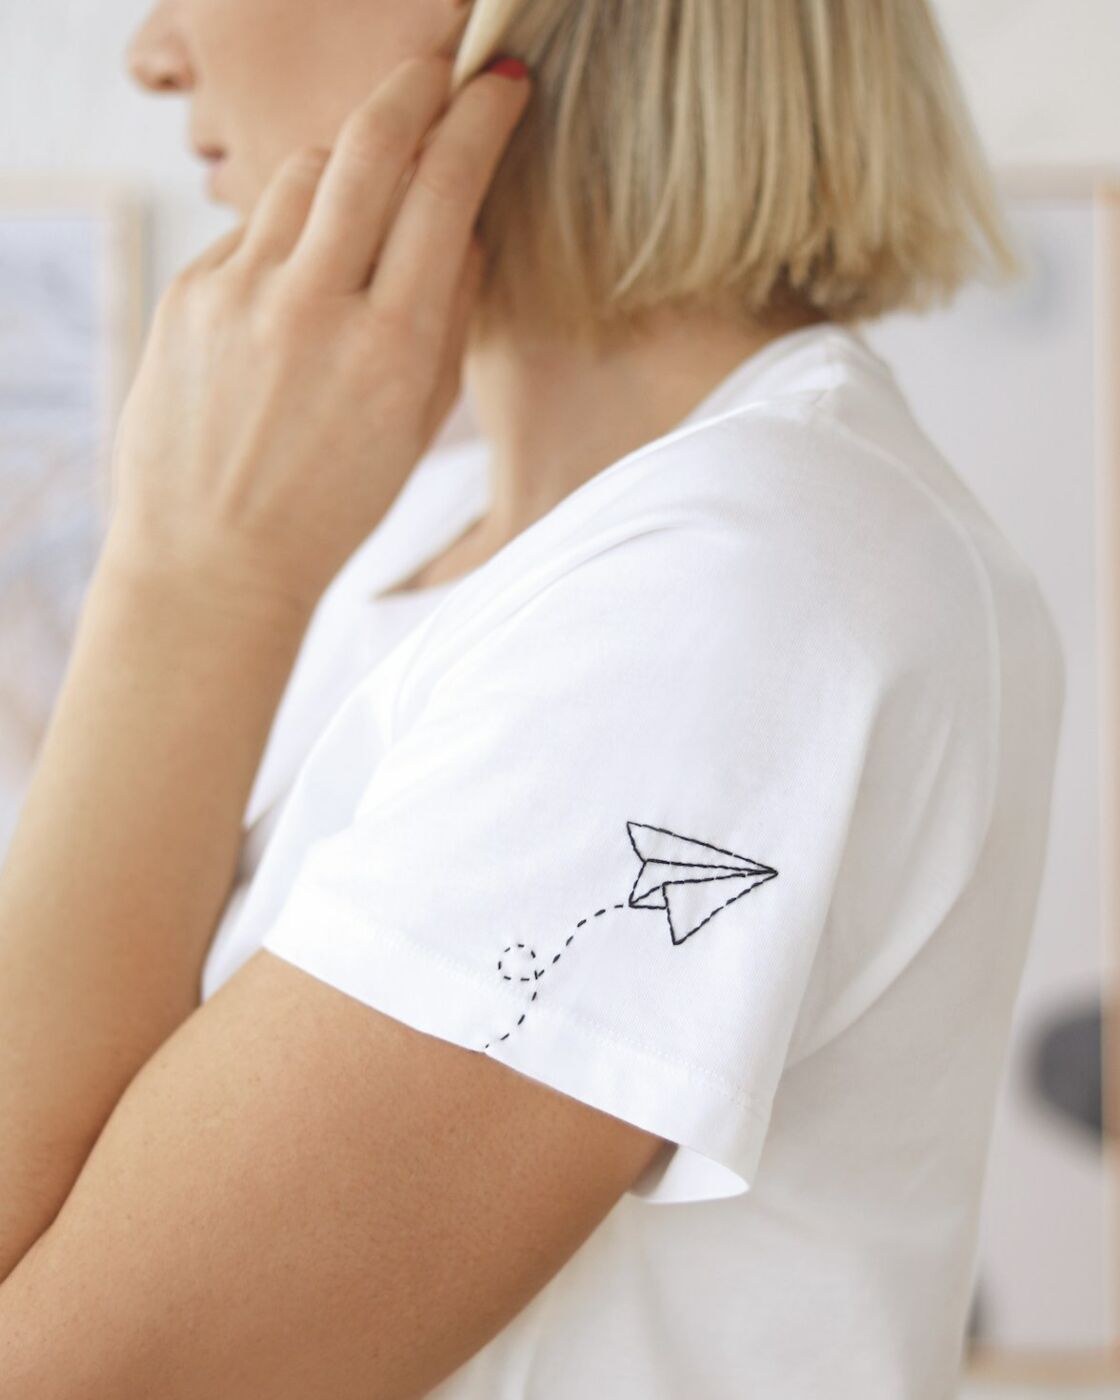
A small paper plane that takes off from the sleeve or collar, winds between the buttonholes, lands delicately on a pocket? Have fun varying the patterns and colors. Thanks to embroidery, the possibilities for customization are endless!
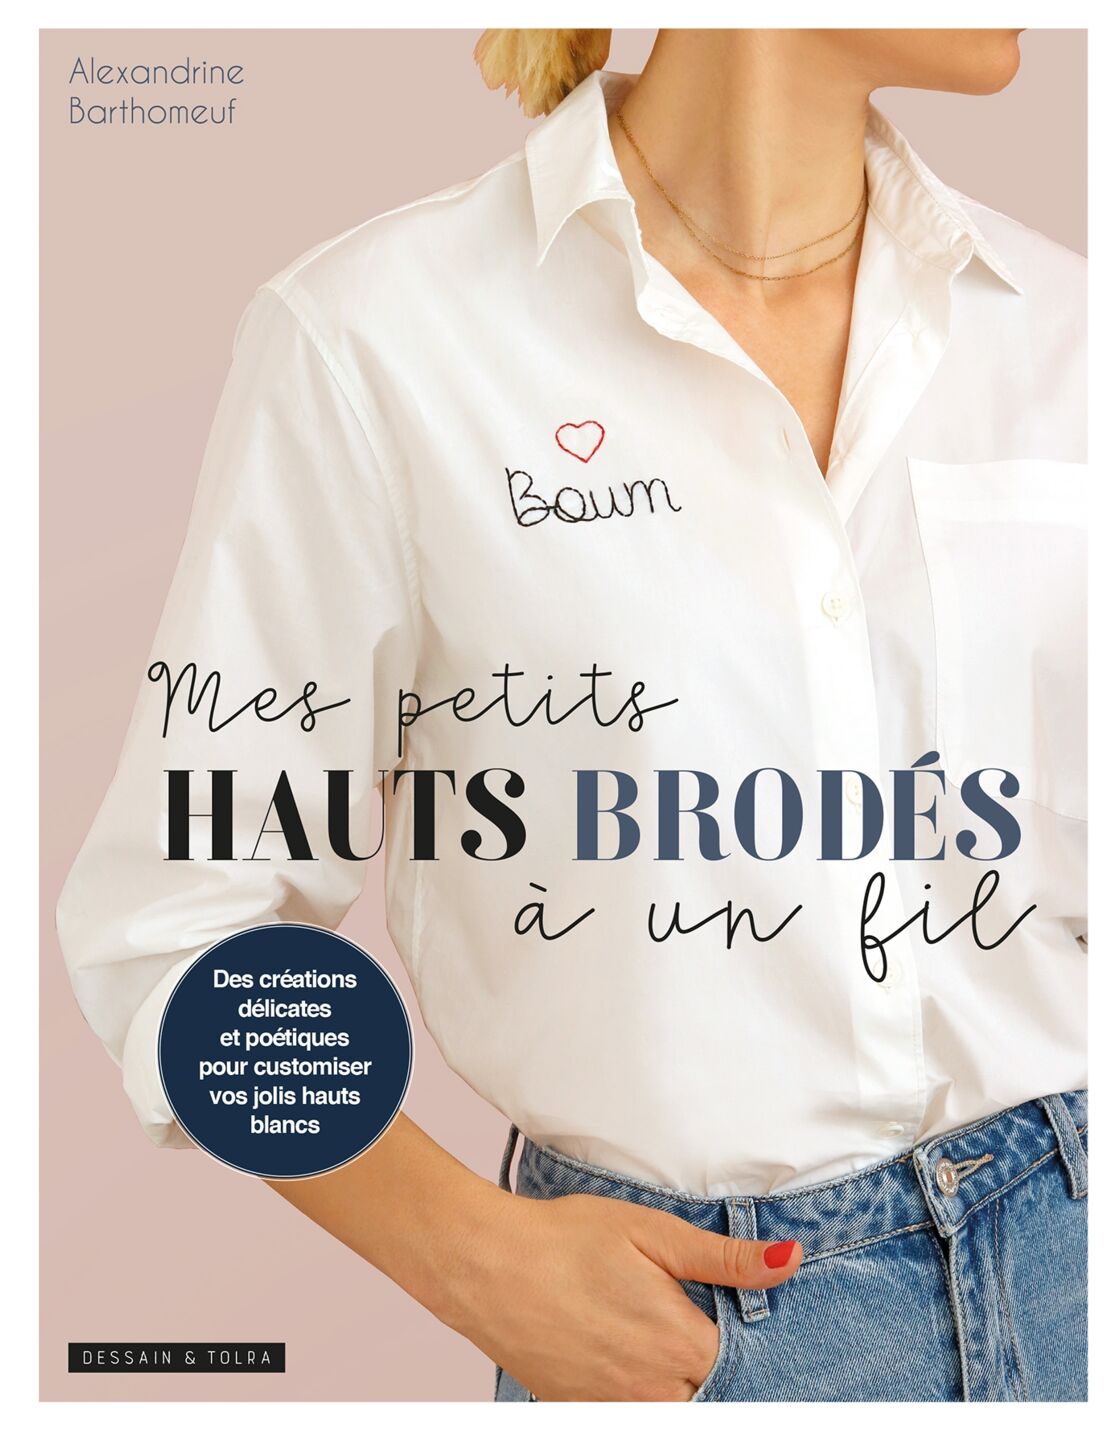
The models presented are taken from the book Mes Petits Hauts Embroidered, by Alexandrine Barthomeuf from the Artlex blog, published by Dessain & Tolra.
Read also :
⋙ DIY: an embroidered shirt with the moon, the sun and the stars
⋙ I embroider a child's drawing
⋙ Embroidered cushion covers