
Your Gmail box is a real bag of knots and you can’t sort it efficiently? Have you thought about labels? This article will help you put them in place for a smoother inbox.
Your Gmail mailbox is your first work tool and you want to take care of it? To make your inbox as readable as possible, it is best to classify your emails by category. However, this step can be tedious, especially if you are used to receiving between 50 and 100 emails per day and you do not want to delete everything on a whim.
Fortunately, Gmail has implemented a handy feature to make receiving email more organized and better categorized: say hello to so-called labels. These take the form of folders in which it is possible to classify messages by category with a sorting which is carried out upon receipt according to the recipient or the subject of the email. Gmail already has a default option that classifies emails by category, but by creating additional rules using labels, managing your inbox can only be better.
This guide will help you create these folders and classify these famous emails using labels, even automatically.
How to create labels in your Gmail box?
- Open your Gmail box in the browser of your choice.
- Click on the parameter button at the top right and then on See all parameters.

- Go to the tab Mailbox keeping “inbox” as the default option.
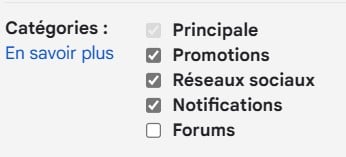
- Then tick the categories that interest you as indicated below.
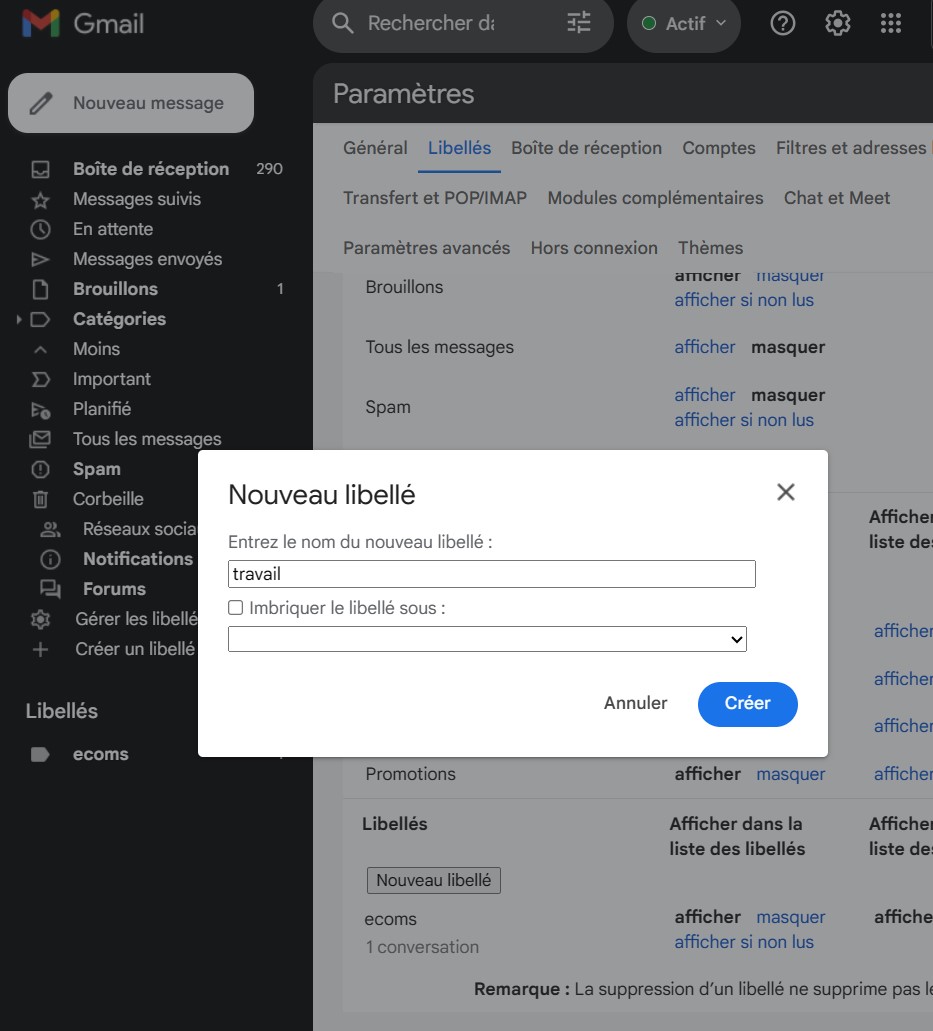
- Then go to the tab Labelsand scroll to the bottom of the page to create one or show or hide existing ones. You can name your label whatever you want. Note that you can also do this from your inbox in the category Labels.
- Once the latter has been created, you can then drag your emails into the corresponding label at the bottom left (or by right-clicking to select the corresponding label).
You can also associate an address with a label in order to automatically classify a message once received.
- Click the button to the right of the search bar.

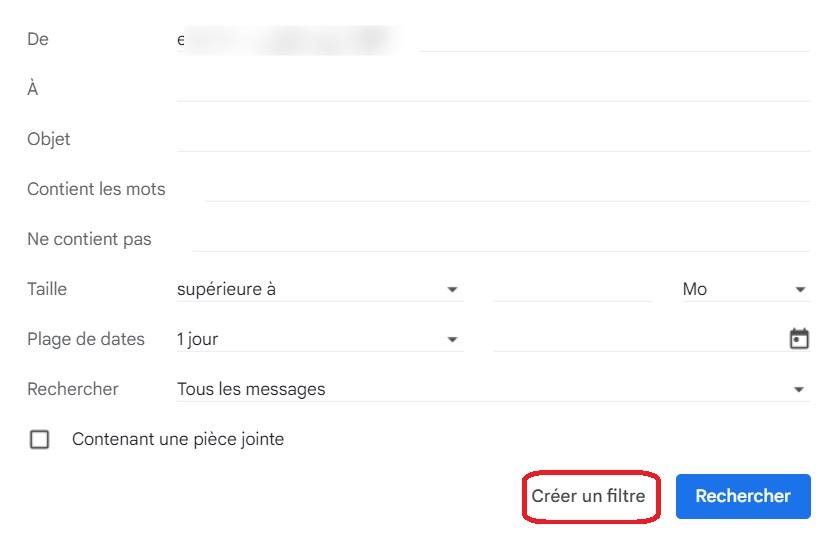
- Fill in or copy the address of the desired recipient in the search bar and click on Create a Filter .
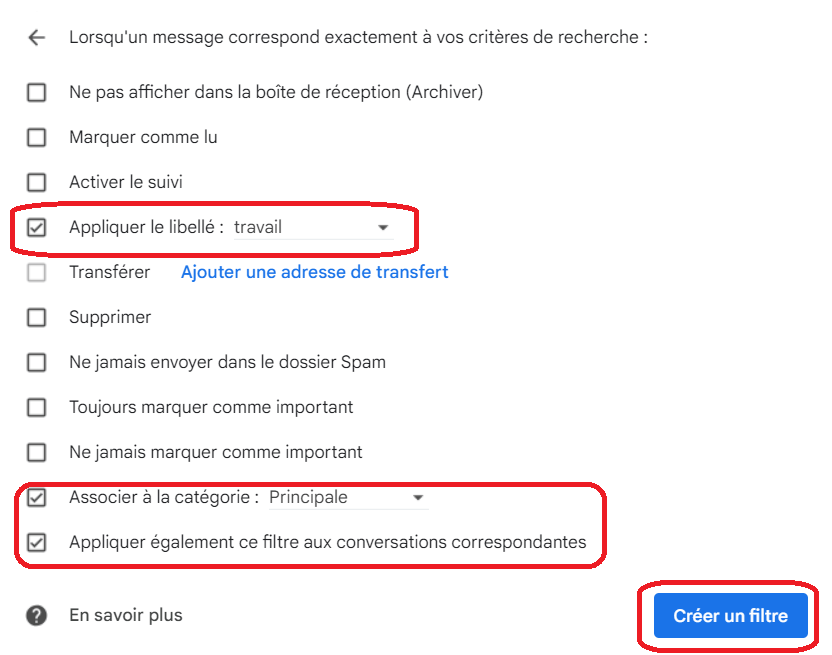
- Go into Apply labeland select the desired one for this address. Remember to associate a category and apply this filter to the corresponding conversations.
If you want to better master Gmail services, we have made other tutorials listed below:
Want to join a community of enthusiasts? Our Discord welcomes you, it’s a place of mutual aid and passion around tech.