Image: Josh Slate/ZDNET.
To add an extra layer of protection to your Apple account, iOS 16 has the “Apple ID Security Keys” feature.
To understand what this is, think of a password that you plug in. So, even if your password falls into the wrong hands, it will be useless to anyone who does not have access to the corresponding authentication key.
This feature is particularly interesting, and represents the best way to protect your Apple ID against potential cyberattacks. Here’s how to install it.
1. Obtain authentication keys
To get started, you need at least two authentication keys. You can use up to six. It is necessary to have at least two in case you lose the first one.
Your authentication (or security) keys must be Fido certified. If you don’t have one yet, you can take a look at the following models:
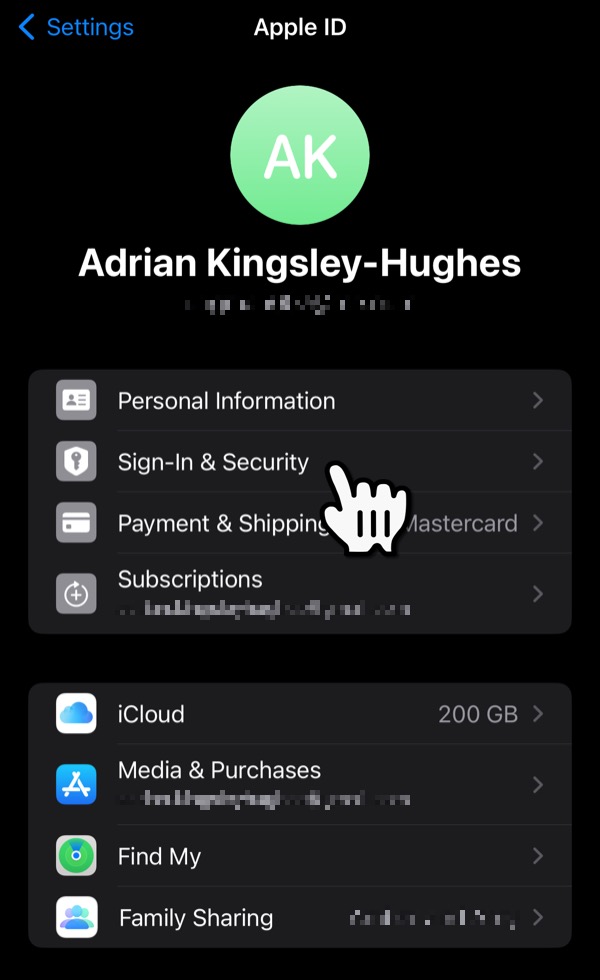
2. Go to settings
Go to Settings, then click your name and photo at the very top of the page. Then go to Connection and security.
Screenshot by Adrian Kingsley-Hughes/ZDNET.
3. Add your authentication keys
Go to Two-factor authentication > Security keysthen click Add security keys.
If you have saved any existing security keys, they will appear here. If you don’t recognize them, delete them.

Screenshot by Adrian Kingsley-Hughes/ZDNET.
4. Register your first key
Before you begin, remember that you need at least two passkeys (your iPhone will remind you).
In the demonstration below, the first key to register is the YubiKey 5 NFC. So I select its name to add it.
Your iPhone prompts you to enter your passcode and then confirm that you want to add a security key. Then, you will need to plug in or approach the security key and finally name it:

Enter your iPhone passcode. Screenshot by Adrian Kingsley-Hughes/ZDNET.

Add security keys. Screenshot by Adrian Kingsley-Hughes/ZDNET.

You need two security keys. Screenshot by Adrian Kingsley-Hughes/ZDNET.

Add the first security key. Screenshot by Adrian Kingsley-Hughes/ZDNET.

Rename your first security key. Screenshot by Adrian Kingsley-Hughes/ZDNET.
5. Add your other keys
The second authentication key used in this demonstration is the YubiKey 5Ci. It has a Lightning connector on one end, for connecting to the iPhone, and a USB-C connector on the other end, for connecting to any other device (Mac, PC, iPad or Android device for example). To add it, the procedure is similar:

Add the second security key. Screenshot by Adrian Kingsley-Hughes/ZDNET.

Rename your second security key. Screenshot by Adrian Kingsley-Hughes/ZDNET.
6. Check devices connected to your Apple ID
Once you add both keys, you’ll see a list of devices connected to your Apple ID. Check it carefully. If a device you don’t know appears in this list, delete it. Otherwise, click Stay connected to all these devices.

Check active devices. Screenshot by Adrian Kingsley-Hughes/ZDNET.
7. Separate your authentication keys
Now that you have saved your keys to your iPhone, you need to store them. Be careful not to store them together (especially if one of them is your spare tire): in fact, if you lose one, you risk losing the other. For example, you can choose to leave one at home and bring one to the office.
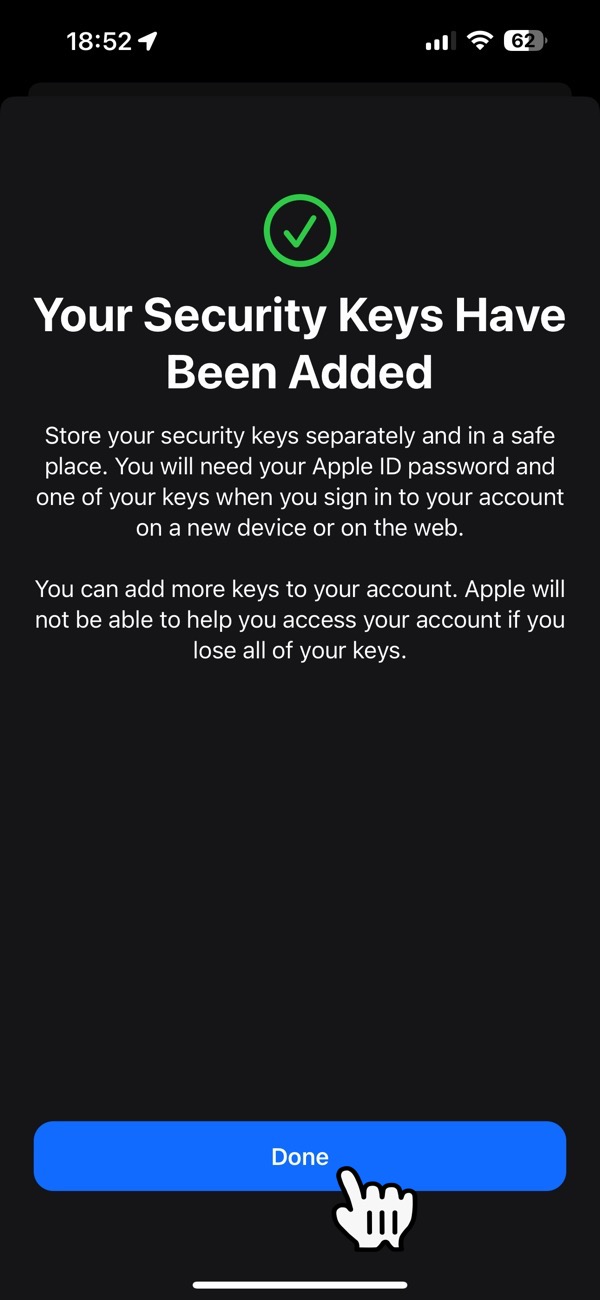
Your security keys have been added. Screenshot by Adrian Kingsley-Hughes/ZDNET.
Source: ZDNet.com