
If, like me, you write about computers or software, you must take screenshots – that is, take a “photo” of your screen, or part of your screen. Personally, I do a lot of them – this article has no less than eight.
screenshot tool
If you are using Windows 10 or Windows 11, there is a very handy utility that comes with the operating system. Its name is “Snipping Tool”, “Outil capture d’screen” in French, and it works perfectly.
The version for Windows 11 has a few additional features, which I will introduce, but the tool works perfectly and similarly on all Windows versions.
The screenshot tool is sometimes found in the application menu. If this is not the case on your workstation, simply type “capture” in the search bar and the tool will appear.
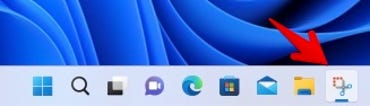
For quicker access, right-click the tool icon in the apps menu, then select Pin to taskbar.
By launching the application, you get this small window (below). As you can see, there’s a drop-down menu with a bunch of options. I prefer fashion Rectangle, which lets you draw a box around what you want to capture. You can also capture a window, the whole screen, or even draw a freeform border.

If you launch the snipping tool in Windows 10, you get a slightly different window.

Note the suggestion to try Snip & Sketch. I do not recommend it. The Snipping Tool does a great job, and as the screenshot above shows, Windows 11 no longer offers to switch to Snipping and Sketching. Worse still, this tool is subject to reviews on the Windows Store. You can get it, but I don’t really see the point in doing so.
The important thing in screen capture is also its speed and fluidity. The delay tool allows you to move your mouse and perform actions without the capture tool getting in the way. More often than not, I capture without delay. But when I use a delay, I always choose 10 seconds. This gives me enough time to adjust the screen as I wish.

Then just press the button New. You will have the option to choose your capture area. You can also press Windows+Shift+S to obtain this same capture area.
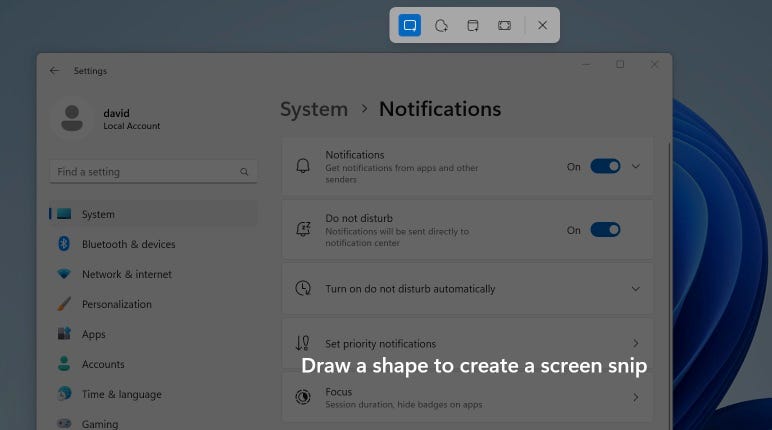
Once you’ve captured your image, a small image editing tool opens up for you. It’s not much, but it will allow you to draw circles or highlights around your image, as well as crop and save it.
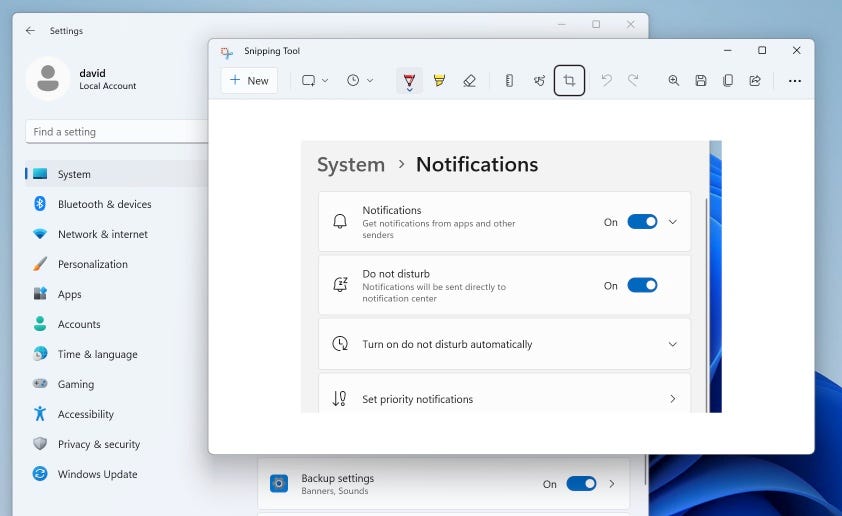
Beyond the basic screenshot, there are other settings. Just click on Tools (or the three dots on Windows 11) to see the additional options menu.

I like to keep the option Always copy captures to clipboard activated because it is then as easy to paste my capture as to save it in a file. This is great for quick captures that I want to drop directly into an email message or Slack chat.
You can also enable the option Offer to save captures before exiting, which asks if you want to save captures before closing the editor. I haven’t enabled it because I do most of my work with the clipboard, pasting it directly into an email or Slack, or even directly into Photoshop for editing.
Beyond the basic tool
There are many screenshot tools for Windows. I find the basic tool quite useful. But if you want the Cadillac of screen capture tools for Windows, look no further than SnagIt. This tool has been constantly updated since its inception in 1990.
A powerful screen capture tool.
- Downloads: 1
- Release date : 05/18/2022
- Author : TechSmith Corporation
- Licence : Demonstration
- Categories:
Photo - Operating system : Windows-macOS
So yes, SnagIt is in the market and has been continuously improved and updated for a very long time. I won’t walk you through all of SnagIt’s features, but this chart should give you an idea.


Now you know. If you want a simple, easy and free snipping tool, use the snipping tool. If you want a more advanced solution, consider SnagIt.
Source: ZDNet.com