The official Raspberry Pi 5 heatsink featuring the Raspberry Pi 5. Image: Adrian Kingsley-Hughes/ZDNET.
The main points to remember
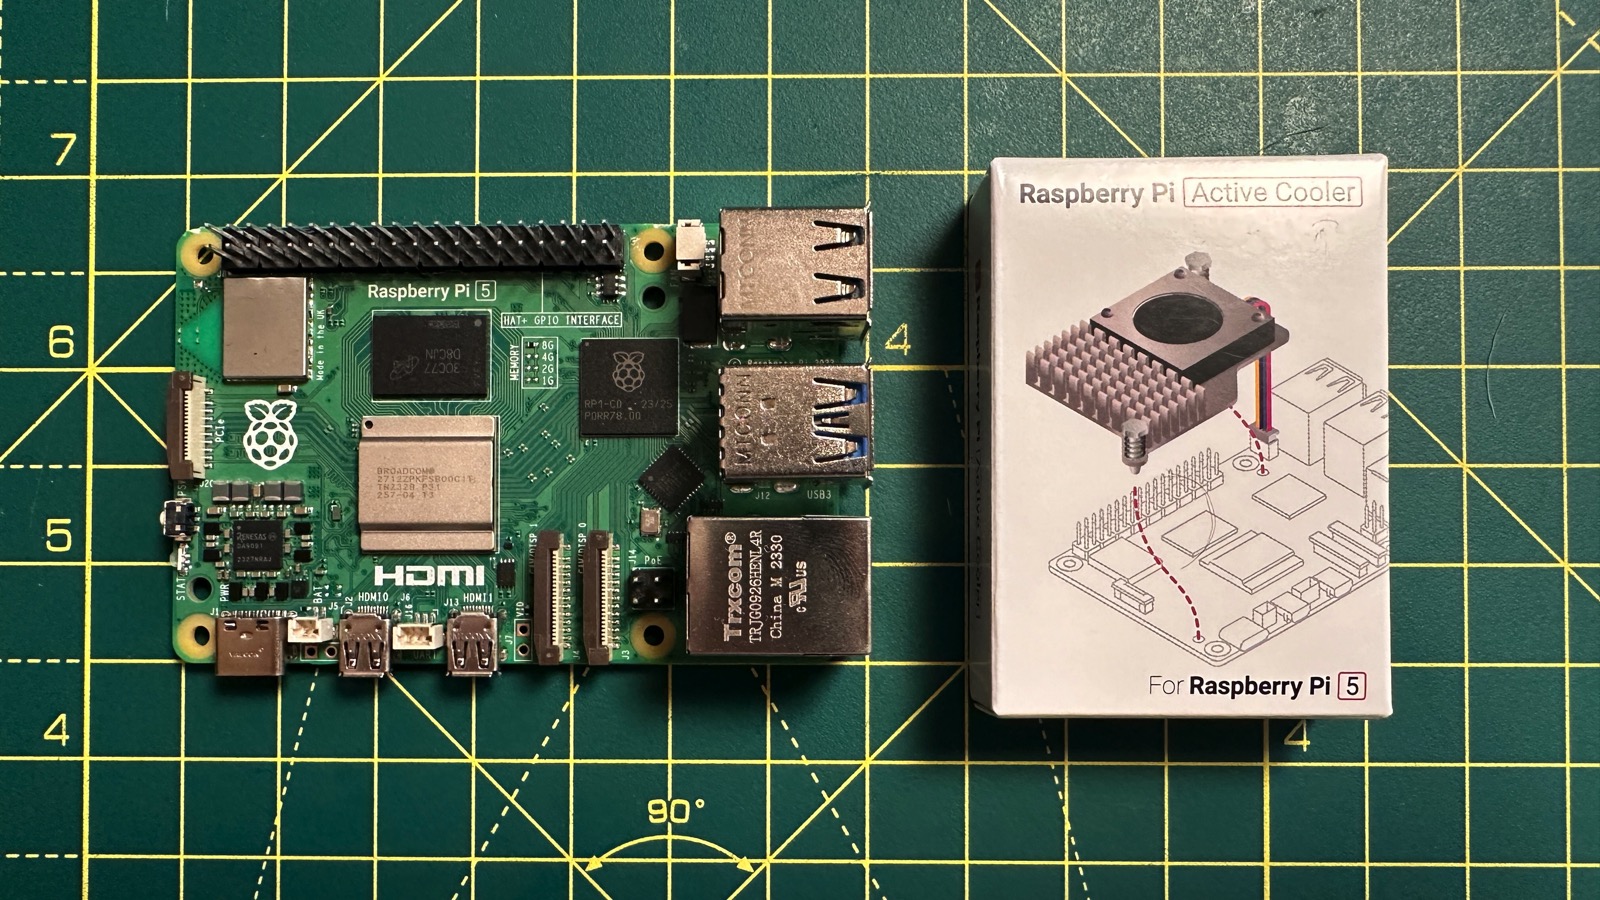
- The Raspberry Pi 5 Active Cooler is the official heat sink with fan for the new Raspberry Pi 5.
- Small, discreet, silent and very efficient, it has excellent value for money.
- It is not recommended to remove and replace the heatsink after installation.
I’m enjoying my new Raspberry Pi 5. It gives me a huge amount of extra performance over its predecessor, and this power opens up many new possibilities. But there was one thing that worried me: the heat.
The Raspberry Pi 5 runs much hotter than the Raspberry Pi 4 for the same workloads. This heat is not unexpected, as the new board runs much faster than the Raspberry Pi 4, around two to three times faster, depending on workloads.
You will need to account for this heat unless you have a cooler. I tried the official heatsink, the Raspberry Pi 5 Active Cooler and it is simply the best I have tested for the Raspberry Pi.
This is a high quality cooler. Image: Adrian Kingsley-Hughes/ZDNET.
Installing the device
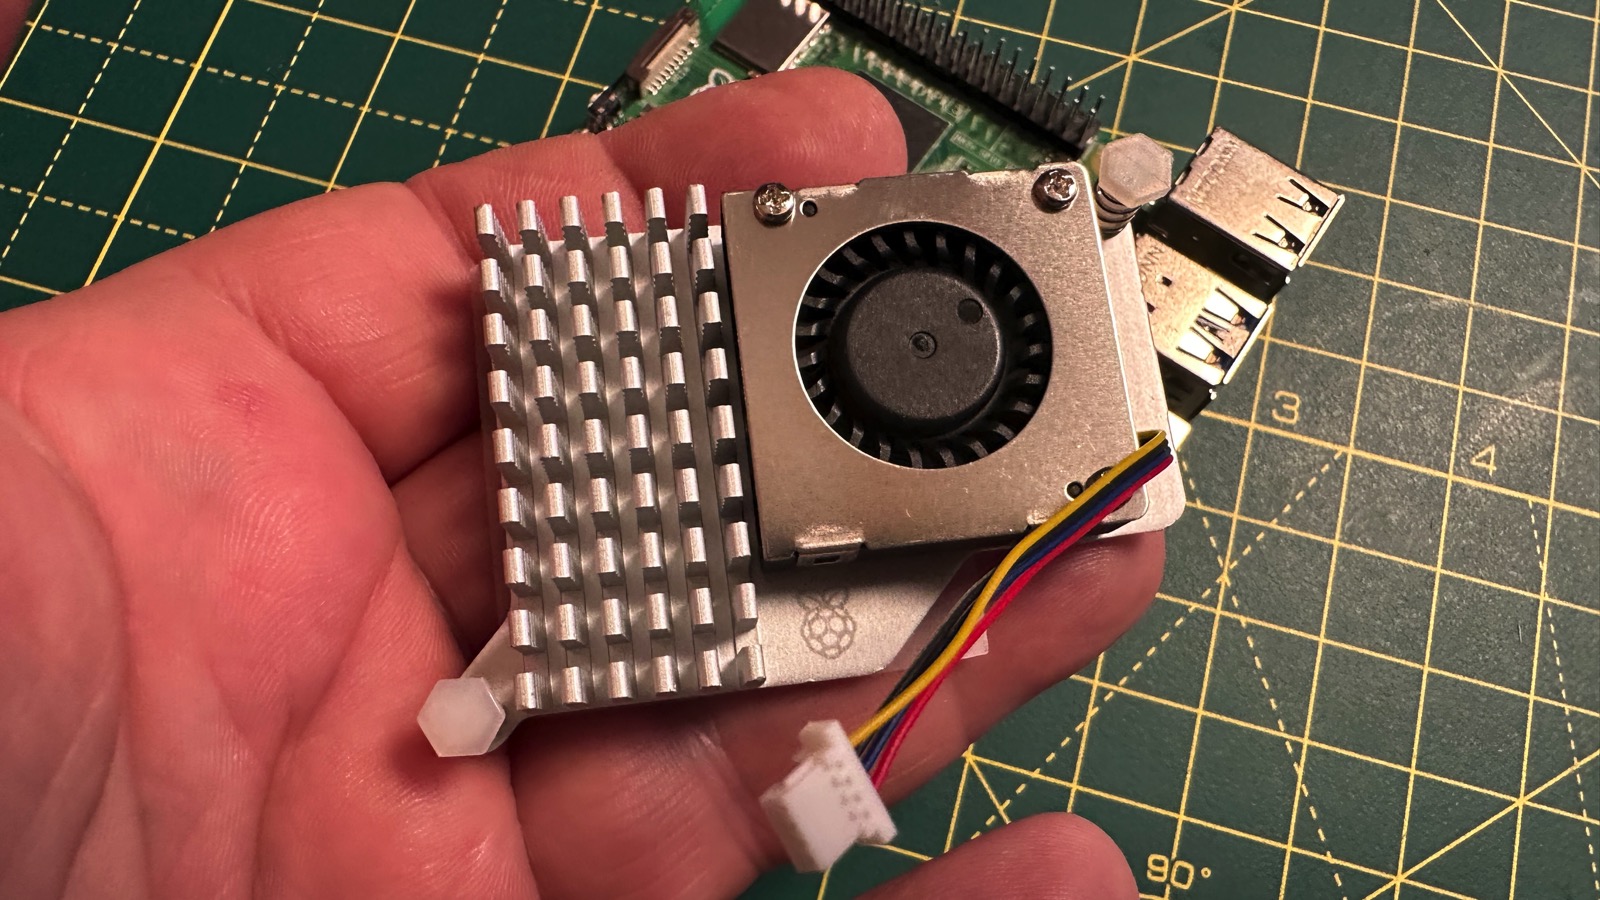
It’s a simple cooling system, a small fan attached to an aluminum heatsink, which has thermal pads on the back to transfer heat from the chips to the heatsink.
The device uses two spring-loaded plastic pins to hold the heatsink onto the Raspberry Pi. These pins slide into specific holes on the board.
Assembly is easy. Here’s how to do it:
- Remove the protective layer on the thermal pads.

Remove the protective layer from the thermal pads. Image: Adrian Kingsley-Hughes/ZDNET.
- Line up the pins with the holes.

Line up the pins. Image: Adrian Kingsley-Hughes/ZDNET.
- Push the spring-loaded thumbtacks into the holes, one at a time. To accomplish this task, you cannot place the Raspberry Pi on a surface, as the pins will not sink in. (If you need to remove these tacks, use pliers to squeeze them carefully).
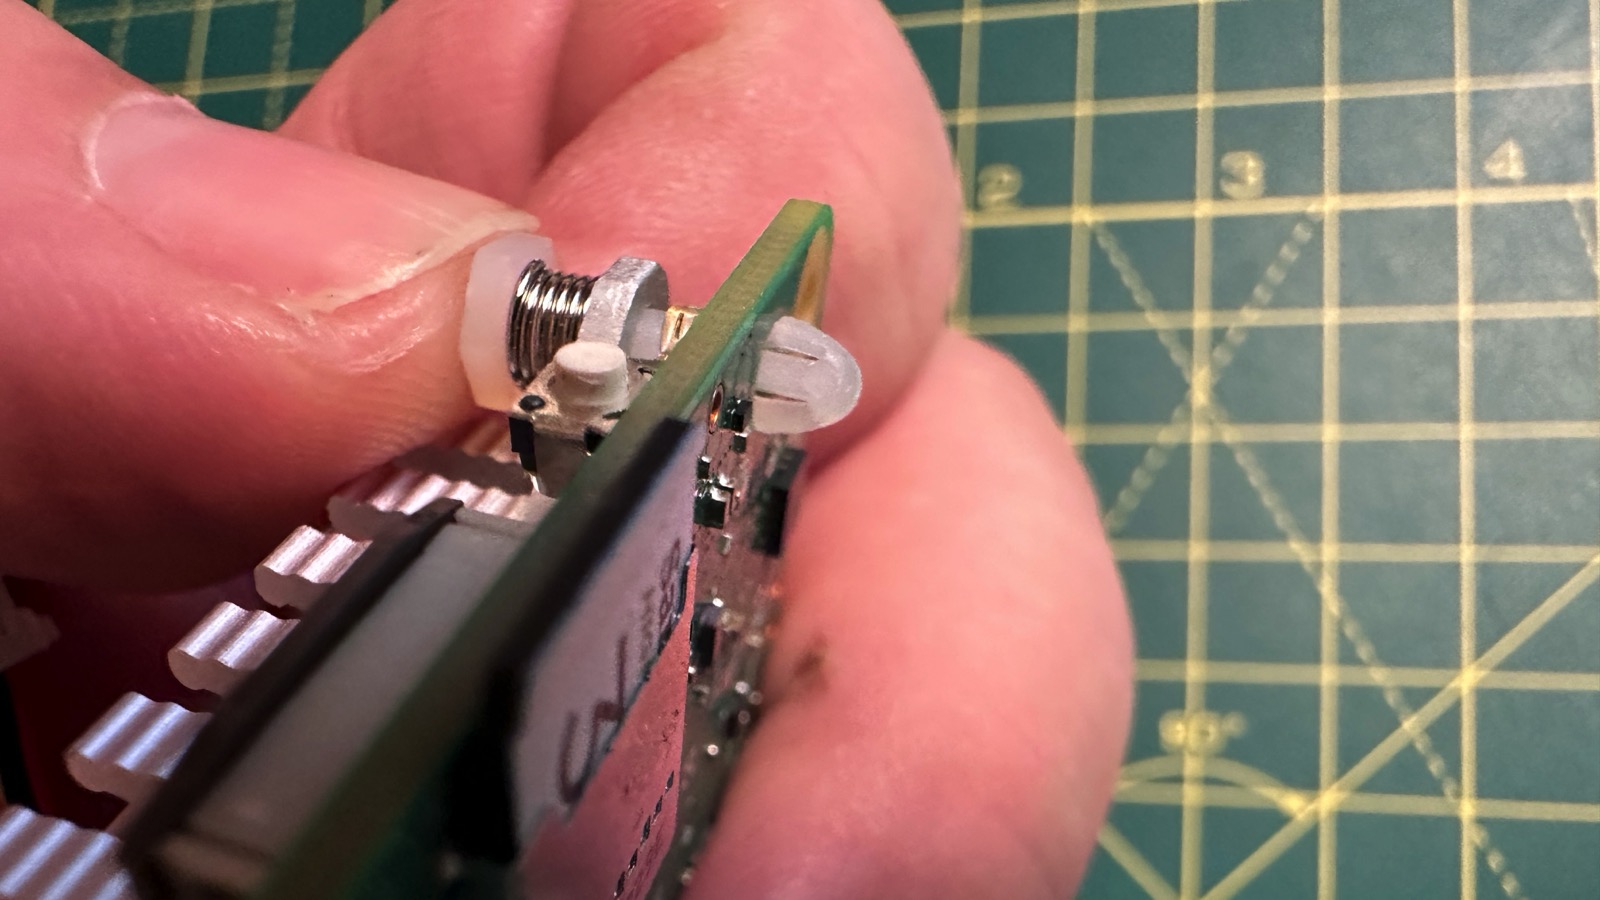
Press firmly on the thumbtacks. Image: Adrian Kingsley-Hughes/ZDNET.
- Remove the plastic square that covers the fan connector. (I lost this little piece of plastic a few seconds after removing it).

The tiny plastic square on the fan connector. Image: Adrian Kingsley-Hughes/ZDNET.
- Install the fan connector (yellow cable closest to the edge of the board).
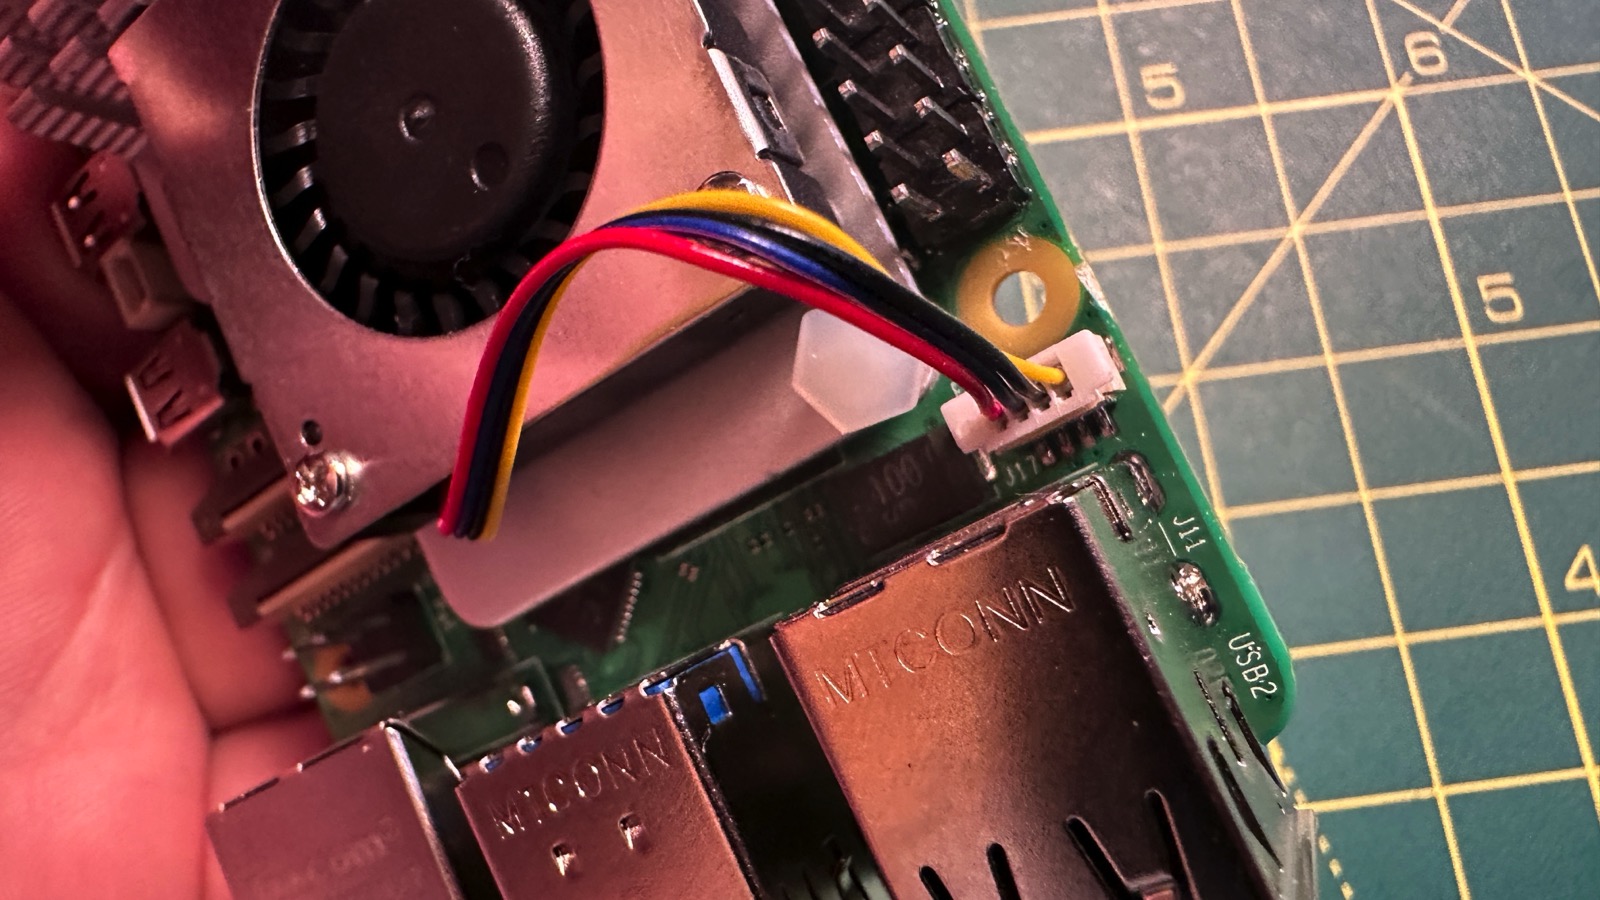
Fan wiring. Image: Adrian Kingsley-Hughes/ZDNET.
- Turn on the Raspberry Pi 5 to test it. If the fan spins at startup and then goes to idle, you’re done.

If the fan spins, you’ll know you’ve wired it correctly. Image: Adrian Kingsley-Hughes/ZDNET.
Does the heatsink cool the Raspberry Pi 5 well under load?
To answer this question, I performed the same tests that I initially performed on the Raspberry Pi 5, using the Hashcat password hacking tool to stress test the system.

Sysbench failed to push the processor beyond 70ºC, and failed to even exceed 60ºC. Image: Adrian Kingsley-Hughes/ZDNET.
Without the fan, the Raspberry Pi 5’s CPU core reached 71ºC (160ºF) under Hashcat’s pressure. But with the fan, as soon as the temperature reached around 50ºC, the fan would turn on to control the heat of the Pi.

A successful test. Image: Adrian Kingsley-Hughes/ZDNET.
I found this test quite easy. But what happens if you overclock the Raspberry Pi 5 to make it faster, and then push it to its limits? How will the heatsink handle this workload?
Overclocking the Raspberry Pi 5
Overclocking is a simple process, but you need to choose how fast you want your Pi to run.
You may have several questions. Is it safe to push your Raspberry Pi 5 beyond recommended levels? And will this process void your warranty?
Yes, it is safe, and no, this process will not void your warranty.
After some extensive testing, I found that I could reliably overclock my Raspberry Pi 5 samples to 3GHz (from the stock speed of 2.4GHz).
And here’s how to overclock your Raspberry Pi 5.
Step 1: Upgrade
Turn on your Raspberry Pi and launch the Terminal app. From here, type the following command to upgrade the Raspberry Pi (press Entrance at the end of each command):
sudo apt update
Then, initiate an upgrade by typing the following command:
sudo apt dist-upgrade
This step is going to take some time, so grab a cup of coffee, tea, or whatever fuels your day. When the upgrade is complete, restart your Raspberry Pi with this command:
sudo reboot now
Step 2: Edit the configuration file to unlock power
OK, once your Raspberry Pi is up and running again, open Terminal again and type:
sudo nano /boot/config.txt
This command opens the config.txt file in the Nano text editor.
Scroll down to the bottom of this file and add the following three lines:
arm_freq=3000
gpu_freq=1000
force_turbo=1
The first two lines set the CPU to 3 GHz, the GPU to 1 GHz, and the third line prevents the Raspberry Pi from throttling the CPU, allowing it to run at full speed.
To save the file you are editing, tap CTRL + X, Y Then Entrance.
Step 3: Reboot and test
In Terminal, type the following command:
sudo reboot now
This command will restart the Raspberry Pi and allow you to see if everything is working.
If the system is not working, restart it manually by unplugging it and plugging it back in.
If you’re still having trouble, hold down SHIFT while restarting the Raspberry Pi to force it to load without overclocking, and repeat step two (above) to check that you typed everything correctly.
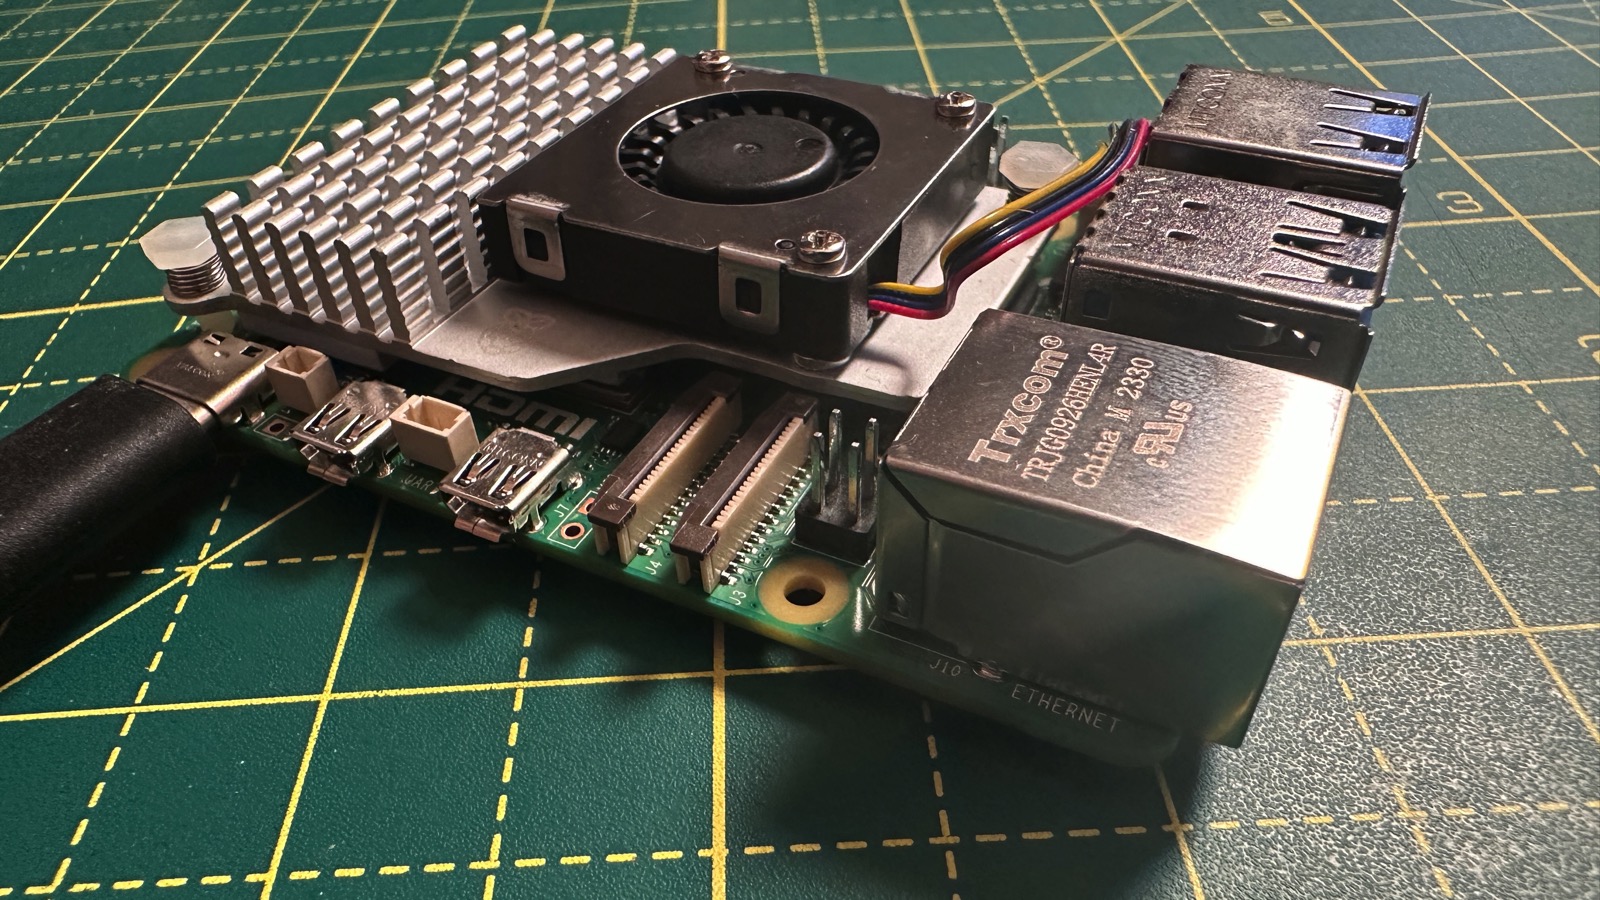
The Active Cooler is thin and discreet, which is much nicer than the bulky third-party Raspberry Pi coolers that are out there. Image: Adrian Kingsley-Hughes/ZDNET.
Testing the heatsink with an overclock
OK, here’s a serious test. Let’s relaunch Hashcat and check the speeds and temperatures.
Two things to note:
- Hashcat performance increases by about 30% over standard CPU speed, which is an incredible gain in “free” performance (excluding the cost of the cooler).
- Temperatures don’t exceed 55ºC, showing that the active cooler is doing an incredible job of keeping the CPU cool under very heavy loads.

Hashcat runs 30% faster and temperatures have dropped. Image: Adrian Kingsley-Hughes/ZDNET.
I also used another benchmark tool called Sysbench because I wanted to see if I could get the CPU temperature above 70ºC, which Hashcat could do without the cooler at base speed.
Again, no luck, this heatsink is really good.
OK, what about the nastiest of Raspberry Pi benchmark tools, Stressberry? Can this test raise the temperature above 70ºC? The answer is no. And I didn’t manage to reach a temperature of 65ºC.
ZDNET’s purchasing advice
This system not only allows operating temperatures to be controlled during daily use, but also keeps the system within a safe thermal envelope in the event of overclocking.
If you are purchasing a Raspberry Pi 5, I highly recommend getting this very effective Active Cooler.
Source: ZDNet.com