Lip gloss nails
This makes the manicure trend very easy
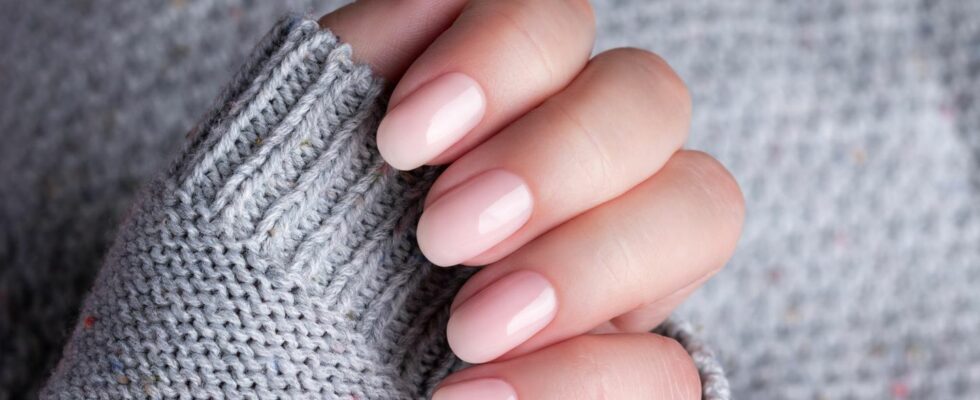
© MariiaDemchenko / Adobe Stock

Glossy nails are the latest trend when it comes to manicures. We will now show you how you can easily achieve lip gloss nails at home.
A new nail trend has reached us. After the “Glazed Donut Nails” thanks Hailey Bieber could be spotted on almost every other hand last year, but now it’s the lip gloss nails that beautify our fingers – and very discreetly.
What are lip gloss nails?
As the name suggests, the lip gloss trend focuses on transparency and shine. Just based on the look we wear on our lips. This requires a total of two nail polishes, which are applied one after the other. The process is actually the same as with “Glazed Donut Nails”, except that the shimmer is omitted. That’s why lip gloss nails are also seen as a minimalist version of Hailey Bieber nails. Perfect for a subtle look and if you want your nails to look well-groomed but don’t want to cover them in bright colors.
With these nail polishes you can achieve lip gloss nails
Not every nail polish is suitable for lip gloss nails. It is important that they are milky, i.e. neither completely opaque nor completely transparent, so that you can still see the nail whites. Also, the nail polish has a slight pink undertone like the color “mademoiselle” by Essie.
With the nail polish you can create an elegant look in two layers, which you can then use a suitable nail polish to create Topcoats to seal. This not only makes the nail polish last longer, but also gives it that glossy look. A topcat for gel nail polishes is best suited for this, as they are usually a little thicker and give the impression of gloss.
Other nail polishes that provide lip gloss nails are the following:
How do I create the look?
The with what has been clarified, now it’s about the how. The way in which the nail polish is applied can determine what the result looks like. There are a few tips to pay attention to. It’s best to do this:
- Step: File your nails into the right shape – whether almond, ballerina, stiletto, oval, round or square. You also remove excess cuticles and push them back.
- Step: Make sure your nails are free of any grease. This is best done with a little nail polish remover.
- Step: Apply the first layer of your base nail polish, i.e. the milky polish. Let it dry for at least ten minutes.
- Step: Wash your hands with cool water and dry them carefully. Wait two minutes. Otherwise you run the risk of there still being water residue in the nail bed, which would cause the next layer of nail polish to run.
- Step: If necessary, the second layer follows with the milky varnish. Some shades of pink are barely visible, so another layer is worth it. Wait again for at least ten minutes.
- Step: After this step, wash your hands with cool water, dry them gently and wait two minutes.
- Step: Now all that’s left is the topcoat, which you can apply generously to achieve the glowy finish. Now wait about 20 minutes before doing activities that require your hands. The topcoat must first dry completely so that no streaks appear. The lip gloss nails are ready!