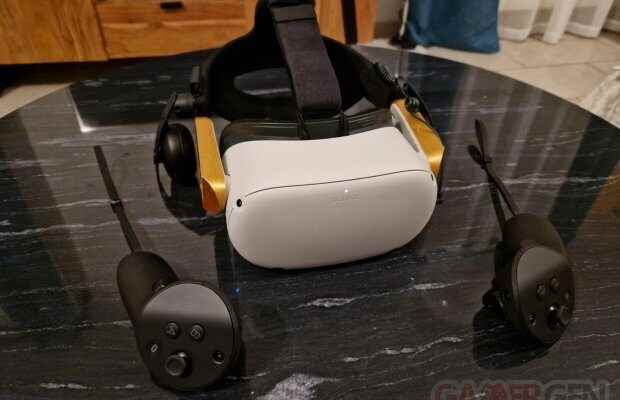
the Meta Quest Pro recently pointed the tip of its nose, with the promise of making its next-generation controllers compatible with the Meta Quest 2. The TouchPro, of their little name, are the premium and advanced version of Touch as we know them now. They represent a leap forward compared to the competition and their elders. Available for the modest sum of €349.99 on the official website (yes, it’s a significant cost), these new controllers offer flawless tracking of our movements and embed many technologies.
Thanks to their three integrated cameras, the controllers locate themselves in space, which eliminates any blind spot. Thus, the follow-up is ensured even the arms in the back, or even above the head. No more untimely stalls. Add to that more localized vibrations for wider and more precise feedback than traditional vibrations, pressure sensors for also more precise pinching, tactile surfaces, a ringless design, as well as a stylus tip for writing. more intuitive way (especially in Horizon Workrooms). All these possibilities are made possible by the presence within the controllers of a chipsets integrated (Snapdragon 662).

Meta announced it, controllers can be paired with the Meta Quest 2 for an optimal experience and it is indeed possible since the update V47. So remember to update your headset accordingly. Place to practice!
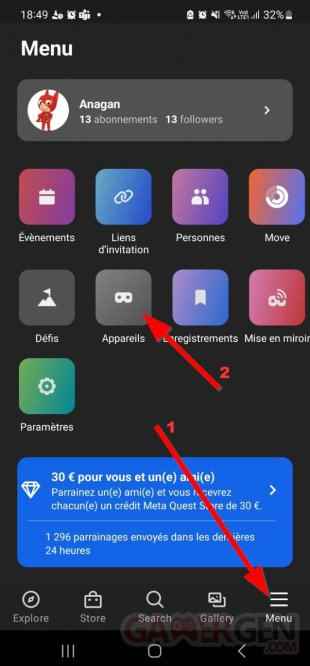
1 – Application Meta on your mobile device
- Go to the mobile app.
- Then in the “Menu” (1), select “Devices” (2).
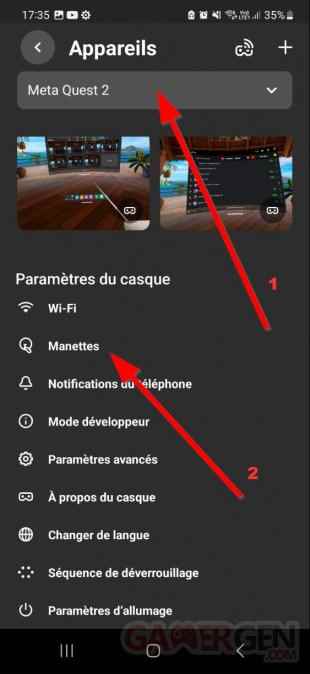
2- Parameters of the device
- Select your Meta Quest 2 in the list of available devices (1).
- Then click on “Controllers” (2).
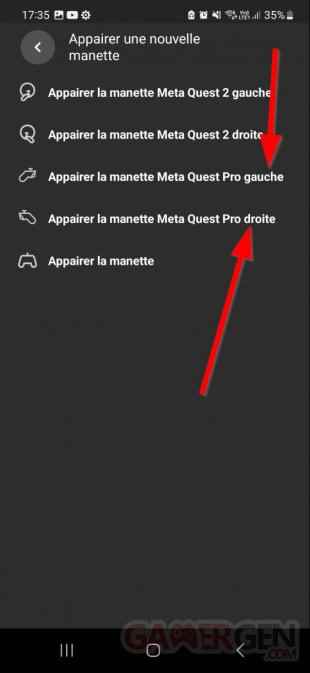
3- Pairing dare controllers
- In the pairing screen, choose “Pair Meta Quest Pro left/right controller”.
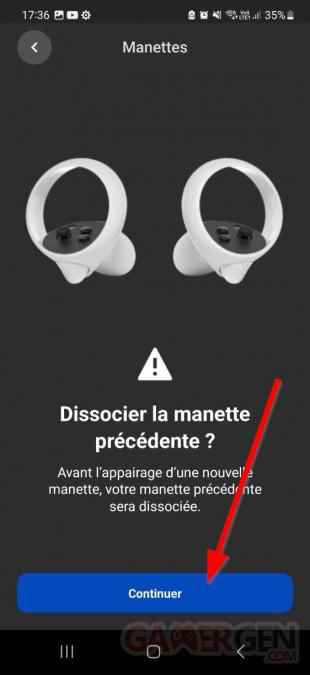
- The next screen will ask you to unpair the previous controller, which in our case is the gamepad Meta Quest 2. So click on “Continue”.
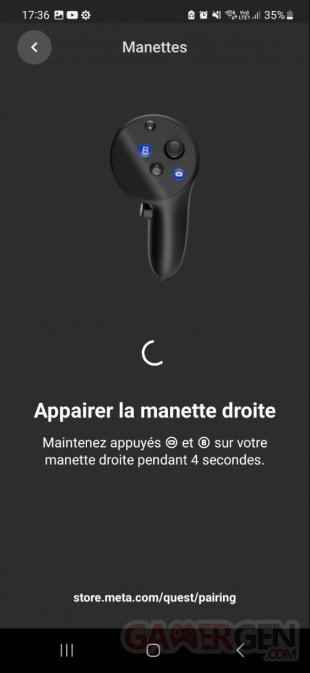
- You will then need to hold down two keys for more or less five seconds in order to connect with the headset.
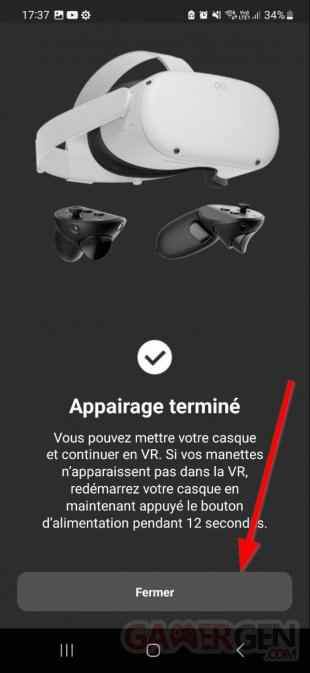
- Once the pairing is done, you can close the window and move on to the next controller by redoing the previous operations.
- When the procedure is complete for both controllers, this is the screen you should have:
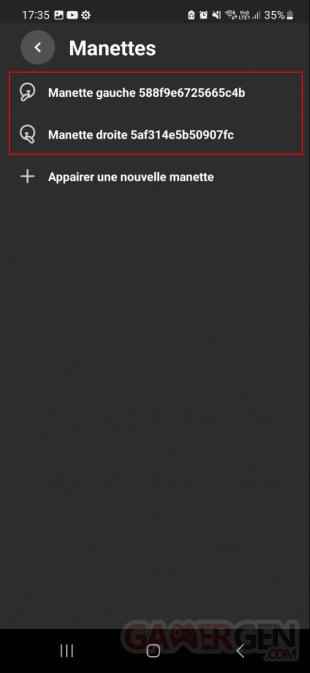
Your Meta Quest 2 now recognizes your Touch Pro not the old ones Touch. Don’t panic though, by carrying out the previous manipulation, you can pair your old controllers again.
It’s time to put on your headphones to check that the tracking is working. If not, all you have to do is restart your device. On our end, we needed to wait for the controllers to update accordingly and then wake them up.
You are now ready to play all the games in the catalog Quest in the best conditions ! Note that several seconds may pass before the controllers (which are autonomous) connect to the headset and that the activation of Wi-Fi is mandatory to ensure the connection with the headset.