Resizing an image is an action that many of us have to perform regularly. Doing it manually on an image is still fine, but when it comes to processing dozens of files, the operation quickly becomes tedious. Once again, Microsoft’s PowerToys come to the rescue with a tool that lives up to its name: Image Resizer.
Image Resizer is enabled.
In theory, the PowerToys is automatically activated, but to find out for sure, go to Microsoft’s tool management software and in the left column select Image Resizer. Then make sure that the slider at the top is on Enabled.
A simple and effective tool…
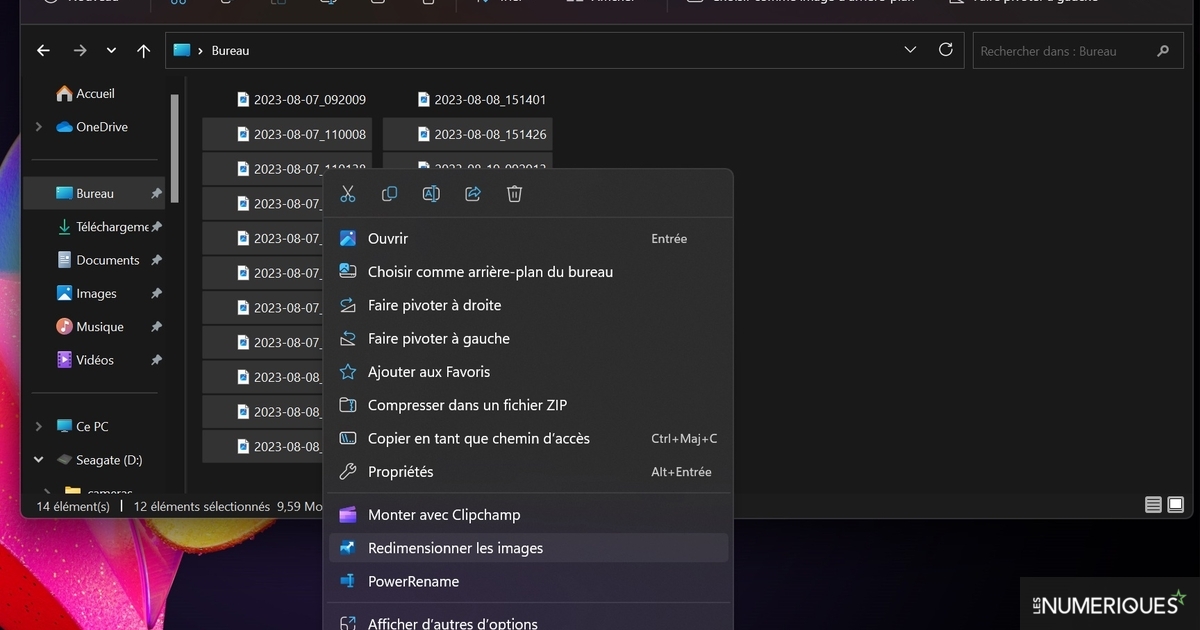
The use of this tool is based on the right click and the contextual menu which then appears. Start by selecting the image(s) you want to process. GIF, TIFF, JPG, and PBG formats are catered for, which should be fine for most needs. Then right-click; in the context menu, you should see the line Resize images.

By selecting this command, a panel appears. It offers several options. The first allows you to choose between several sizes via a drop-down menu. By default, you have four predefined formats: Small (854 x 480 pixels), Medium (1366 x 768 pixels), Large (1920 x 1080 pixels) and Phone (320 x 568 pixels).
Further down you will find a series of options. One is enabled by default, Ignore image orientation. In this case, the minimum value of the chosen resizing format will be automatically applied to the smallest dimension of the image. Thus, the different photos will always be the same size when resized, regardless of their orientation. The line Make images smaller, not bigger, has the sole purpose, when checked, of reducing the resolution of the images, and not of increasing it to match the chosen size. By activating the option Resize the original images, Image Resizer will not create a copy of the image, because by default the resized image is saved as a copy including in its name the mention of the chosen size . Metadata can also be automatically deleted.
…with advanced options
As always or almost, the page dedicated to Image Resizer in the PowerToys manager allows you to go even further. It is first of all possible to modify the resolution of the image sizes proposed by default or to add other profiles. In the Fit drop-down menu, you can choose from three settings: Fit (scales the image without cropping), Fill (crops the image if needed to fill the entire specified size), and Stretch (stretch the image in a non-proportional way).
A section is dedicated to settings related to image quality (JPG or TIFF compression rate, PNG interlacing, etc.).
You can finally customize the name of the images produced by Image Resizer.