There’s nothing like a good old data loss story to reinforce my habit of checking that all my backups are up to date.
Over the past few weeks, I helped a friend with a serious and painful data loss problem. Long story short, his MacBook failed, it contained important data. There had been no backups previously, but fortunately this data was recovered, and a new MacBook purchased. And with this new storage space, it is now up to me to set up an effective backup mechanism.
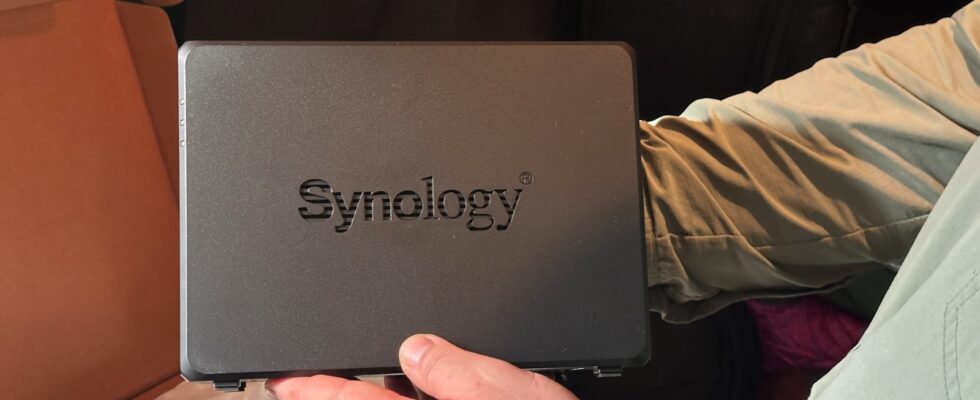
The tool that will be responsible for avoiding future disasters is the two-bay Synology Diskstation DS723+ NAS, with a total storage capacity of 12TB.
Synology DS723+ technical specifications
- Processor : AMD Ryzen R1600
- RAM: 2 GB DDR4 ECC
- Connections: 2 x RJ-45 1GbE LAN-Port / 1 x USB 3.2 Gen 1 port
- Writing and reading performance: Up to 471/225 MB/s sequential read/write
- Compatible with 3.5-inch and 2.5-inch SATA hard drives and M.2 2280 NVMe SSDs
- Compatible with 24TB hard drives
It’s a beast, this backup system, that can do a lot of things. But for now, let’s see how to backup all data contained in laptops and external hard drives to this DS723+ NAS box. Of course, before you can do that, the device needs to be configured.
And the good news is that the DS723+ is one of the easiest NAS to install!
No tools are needed to install hard drives
One thing that makes this NAS so easy to install is that no tools are needed to install the hard drives into the NAS. In fact, the installation process would have been even quicker if I had read the instructions beforehand and not gone looking for a screwdriver.
Either way, to install a hard drive, simply unclip two plastic clips on either side of the case, install the hard drive, then replace the clips. It’s simple.
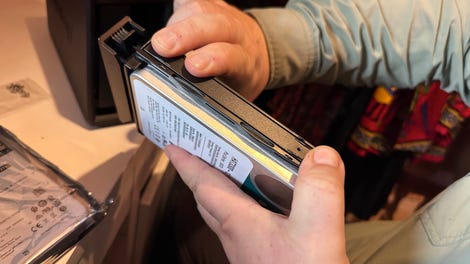
I like the Synology DS723+ mounts that don’t require tools. Adrian Kingsley-Hughes/ZDNET
The kit also comes with everything you need in the box, which is a good thing. You even get a few network cables.
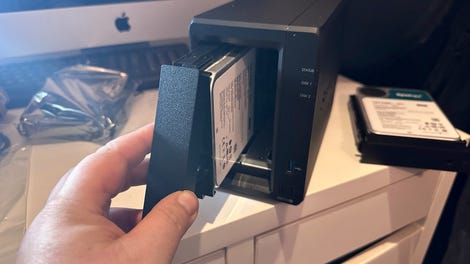
Inserting the first disk into the NAS. Adrian Kingsley-Hughes/ZDNET
Make sure everything is working properly before actually putting the equipment into service
My NAS also came with the optional E10G22-T1-Mini 10GbE RJ-45 module. It’s an RJ-45 adapter capable of providing 10 GB throughput. I don’t need this module at the moment, but I thought it would be a good idea to install it, like this c ‘is made.
This module is also easy to install, but here I needed a screwdriver. There is a plate on the back of the device, so just remove it after removing the screws, slide the module in. Then put the plate in place with the screws.
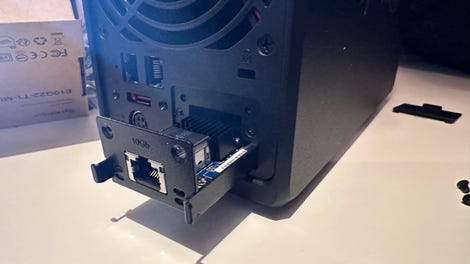
Mounting the E10G22-T1-Mini 10GbE RJ-45 module. Adrian Kingsley-Hughes/ZDNET.
Plug in the power cord, press the power button and the DS723+ is ready in minutes! I loaded the latest firmware onto the system, initialized the drives, and had it working as a macOS Time Machine backup drive in no time.
Using this NAS as a Time Machine data backup also allows me to do stress testing beforehand to make sure everything is working properly before actually putting the hardware into use.
I usually let new storage devices run for a few days to rule out any possible problems or early failures.
I’ve never had any problems with Synology hardware. But since this installation is for someone else, I want to make sure everything goes as smoothly as possible.
And using this Synology NAS as a Time Machine backup storage drive is just the beginning. This device is capable of many other things, and I will delve into some of these more advanced functions in future articles.
Source: “ZDNet.com”