With the release of Ventura, macOS has been loaded with new features.
You can edit and delete iMessages in the Messages app, while Stage Manager ushers in a new way to multitask on the Mac, and there’s even a new feature that lets you use your iPhone as a webcam during calls. video.
For those unsure if you have a Mac compatible with MacOS Ventura, I’ve included a full list of eligible machines at the end of this article.
Continuity Camera is easy to use and instantly transforms your bad laptop webcam into a high quality video stream. A significant addition at a time when hybrid work has become part of our habits.
Here’s what you need to know about Continuity Camera, including how to use it and adjust its settings, and some general recommendations.
MacOS Ventura: How to use your iPhone as a webcam with Continuity Camera
1. Check these settings
Before using Continuity Camera, there are a few details to check. Make sure Bluetooth and Wi-Fi are enabled on your Mac and iPhone. Both devices must also be connected to the same Wi-Fi network.
Both devices must be signed into the same Apple ID account and must have two-factor authorization enabled.
Finally, on your iPhone, go to Settings > General > AirPlay and Handoff and make sure the button next to Continuity Camera is activated.
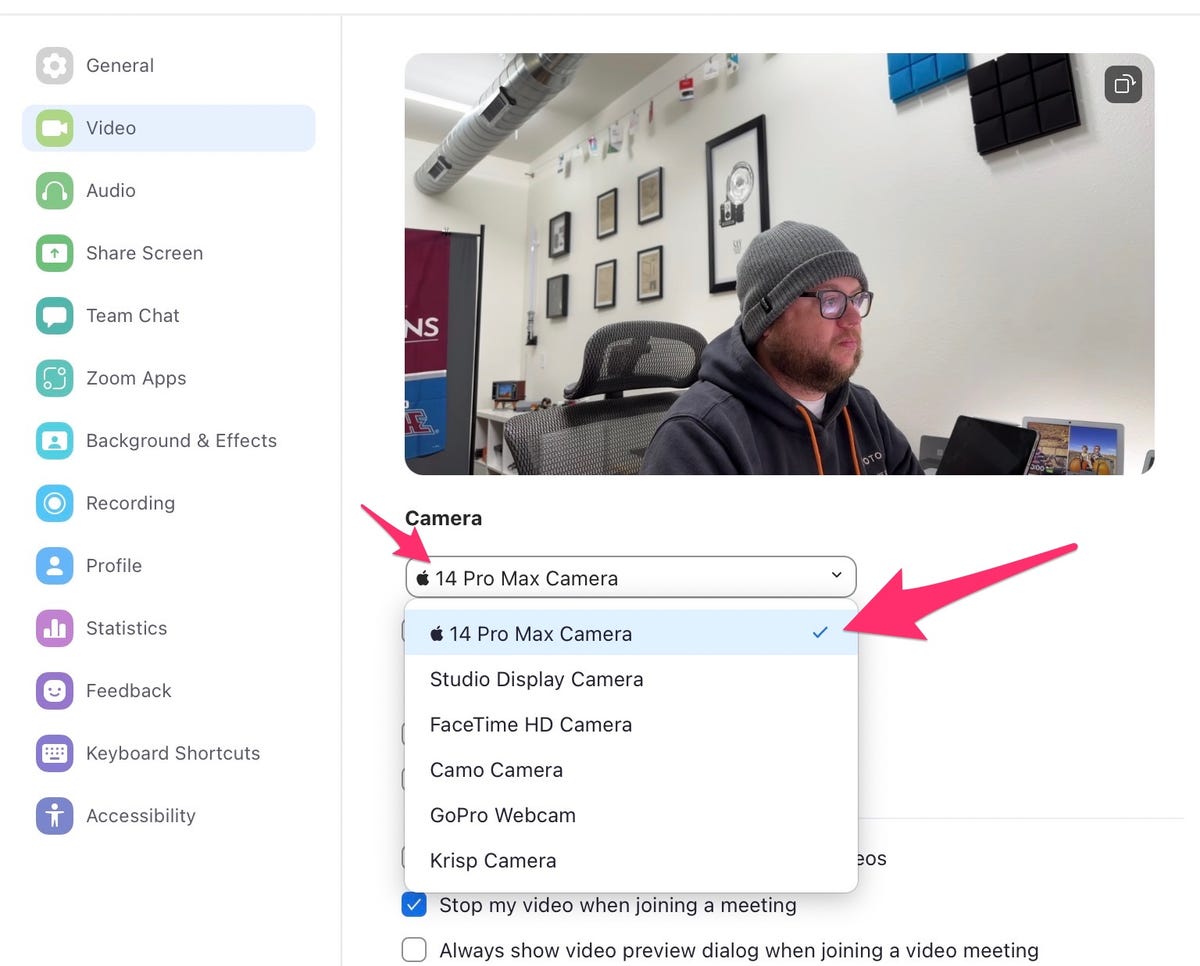
Image: Jason Cipriani/ZDNET
2. Start a video call
It’s as simple as that. Just start a video call in any app — Zoom, FaceTime, Meet, Webex, and more. — when your iPhone is close to your Mac. If you don’t want to test Continuity Camera in a real video call, open the Photo Booth app.
You should hear your iPhone beep a few times and then see a video feed from your iPhone’s camera. If it doesn’t happen automatically, you can go to the app settings and choose your iPhone’s stream.
You can also try waking your phone by pressing the side button or a volume button. This manipulation helped a few times during my tests.
3. How to adjust your camera settings
There are various settings you can tweak to get the exact render you want. To adjust camera settings, click the icon Control center in the menu bar of your Mac, then on the menu Video effects.
There you’ll see a handful of options that you can enable or disable, including using the Center Stage to keep you constantly centered in the frame, even as you move. The mode Portrait is also an option to add some blur to your background. Finally, there is the option studio lightingwhich mimics pro lighting to make it look like you’re in a well-lit environment.
Function desk-view is also present. When activated, it uses the iPhone’s ultra-wide-angle sensor to create an overhead view of your desk, a handy feature if you often demo during your video calls.
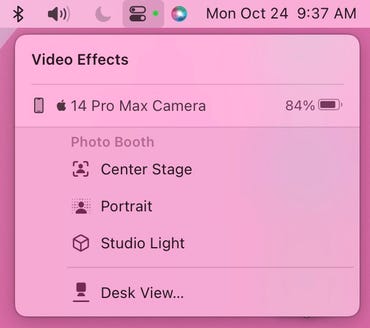
Image: Jason Cipriani/ZDNET
4. What happens if you receive a phone call?
When you use your iPhone as a webcam, you don’t need to plug your phone into your Mac, or even a charger. However, it is best to connect it to a charger if you are going to use this feature for a long time, to prevent your battery from running dry later in the day.
If you receive a call on your iPhone while it’s being used as a webcam, you’ll see a notification on your Mac telling you who’s calling. It’s then up to you whether you want to pick up your phone and answer the call or let it ring – which it does silently and without vibration.

Image: Jason Cipriani/ZDNET
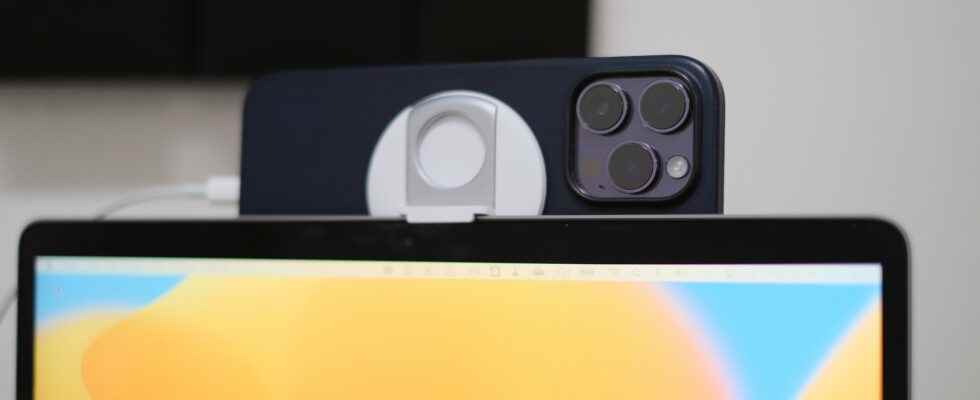
5. How do I install my iPhone?
Apple and Belkin have teamed up to create the iPhone Stand with MagSafe, which costs $34.95 and works with all MagSafe-enabled phones. It sits on the edge of your MacBook screen and holds the iPhone in place. I’ve been using one of the very first prototypes since July and haven’t had any problems.
Otherwise, any small tripod or even a case with a kickstand will do.
Which Macs are eligible for macOS Ventura?
Here is the official list of Macs that can receive the Ventura update:
- iMac: 2017 and later
- Mac Pro: 2019 and later
- iMac Pro: 2017
- Mac Studio: 2022
- MacBook Air: 2018 and later
- Mac Mini: 2018 and later
- MacBook Pro: 2017 and later
- MacBook: 2017
Source: “ZDNet.com”