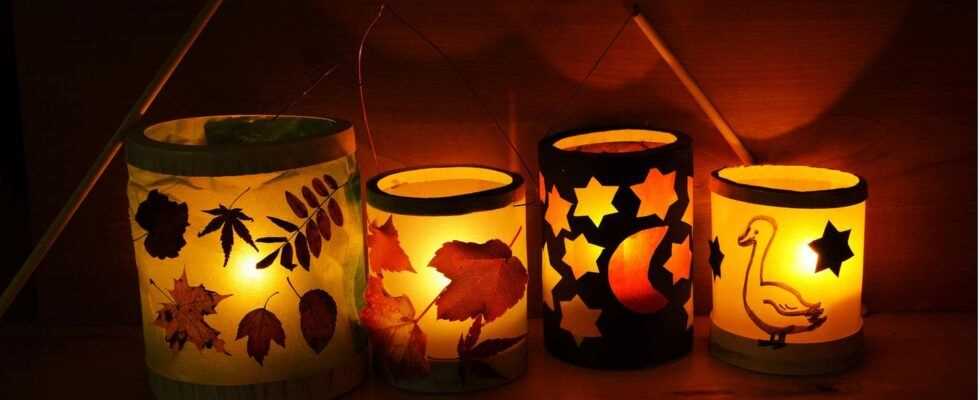
Would you like to make a lantern with your children this year? These simple instructions will help you.
St. Martin on November 11th is getting closer and closer and with it the anticipation of the children for a Martin parade, sometimes also called lantern running. Unfortunately, everything is different this year with Corona, so that no Martin parades can take place in many of the villages. But so that your child is not too sad about it, we have a nice alternative ready for you: the action "lantern window". The point here is that you hang one or more lanterns in the window, ideally facing the street, and light up chains of lights or LED tea lights. For example, you might conjure up a smile or two on the face of walkers in the evening. And some people certainly have childhood memories of running the lantern, which they then think back to.
The "Lantern Window" campaign starts on November 1st, 2020 and runs until November 11th, 2020. With the help of the lanterns, which you can easily make yourself with your children, hope should be given by Corona during this difficult time. But it is also an action that makes you strong and creates a great "we" feeling, similar to painting with stones. The stone snakes could be seen in many cities and also in villages and fascinated young and old.
But before you make a lantern with your children, we give you two simple instructions below so that you can take part in the campaign on time for St. Martin. But not only that, because with your children and their handcrafted lanterns you can also go for a great walk outside in the dark on St. Martin. Then you can do your own little Martin's procession, sing songs together and maybe discover and admire some glowing lanterns in the windows of others.
Making a lantern with children: simple instructions
1. Saint Martin's Lantern
What you need:
That's how it's done:
- First blow out a balloon, paying attention: the bigger the balloon, the bigger the lantern will be later.
- Carefully spread a thick layer of wallpaper paste on the balloon and tear the tracing paper into small pieces.
- Then distribute the small pieces of paper on the paste, leaving an area free at the top to later place the light chain or the LED tea lights in it.
- The wallpaper paste is then applied over the tracing paper, then the little scraps of paper and wallpaper paste again.
- It is important to have several layers, because the more stable the lantern will be for your child later.
- Now it's time to let it dry. It is best to place the balloon on a piece of foil for a day or two and then on a heater.
- Is everything dry? Great, then you can straighten the upper edge with a pair of scissors.
- Now make two holes in the edge opposite each other, knot them with a ribbon and then attach the lantern stick to it.
- Then place an LED tea light on the bottom of the lantern. And your child's simple, homemade lantern is ready!
2. Sustainable lanterns made from cans
What you need to make lanterns with children:
The instruction:
- Remove the foil from the tin, wash it thoroughly with hot water and then let it dry well.
- Then fill the can with cold water and then put it in the freezer so that the water turns into ice.
- If the water is frozen, you can take out the canned food. Now you, parents, can perfectly punch holes in the can with a hammer without denting it – thanks to the ice.
- For the holes you put the can on a tea towel on a stable surface. Then carefully hammer small holes into the wall of the can with a long nail.
- Think of the two small opposite holes on the upper edge of the can for hanging the lanterns later.
- Are you satisfied with your sample in the can? Then let the ice thaw in the can, then it's easier to remove. Then dry the can carefully and the kids can have fun.
- The box can now be painted with different acrylic paints – according to your ideas and those of your children. Whether inside or outside, everything is really possible here.
- Then let the paint dry well.
- Then place an LED tea light or an LED light chain on the bottom of the lantern and it shines nicely from the inside.
- Pull a ribbon through the two holes at the top of the can wall, knot the ends and finally add your lantern stick. It's that easy to make a lantern with kids!
Tip: For even more instructions on lantern making you will find in this book find it. And if you have absolutely no time to tinker a lantern with your children, there is one for you here already beautiful, finished lanterns.