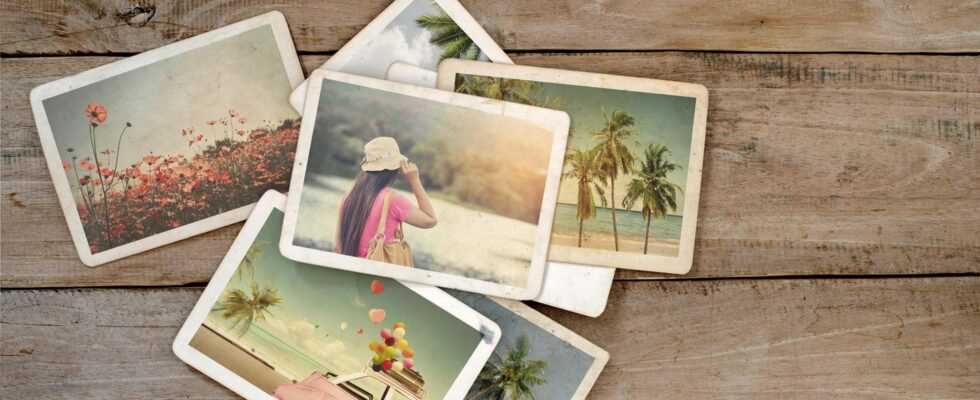
Photo transferred to wood
A simple guide
© jakkapan / Shutterstock
The most beautiful photos deserve to be shown. However, if you don’t have the pinboard or the photo frame at zero-eighteen, there is a completely different option: You can also transfer your favorite photo to wood – and with little effort. Here you can find out how to do it!
This quick and simple DIY is guaranteed to put your photo in the limelight: With the help of a transfer medium, you can transfer photos to wood. This allows you to creatively design cut pieces of wood as well as driftwood, tablets, tables, shelves or tree slices with motifs and photos. On the one hand, this is a particularly beautiful and individual gift idea for family or friends and, on the other hand, such a stylish piece of wood with a photo motif is also really chic in your home and is guaranteed to be an eye-catcher …
Transfer photo to wood: Here’s how
You need:
- Image printed with a laser beam printer in the appropriate size; Notice: The image must be mirrored beforehand: Use a photo editing program for this. This is especially important for lettering! The photo should also be of good quality plain paper be printed out. Photo paper will not work for this guide.
- Light wood in the appropriate size, e.g. B. Pine wood; Notice: Many hardware stores offer the service of cutting wooden panels to size. A smooth surface is beneficial for the wood as it allows the photo to be transferred evenly. If necessary, you can even out any unevenness with sandpaper beforehand. However, if you want to achieve a vintage effect, uneven wood, such as tree slices, is also suitable – however, the print result is not necessarily as detailed here.
- transfer medium: e.g. B. Photo transfer pot (Tip: The transfer medium also allows you to transfer the motifs to ceramics, glass, porcelain, etc. – so it’s worth buying.)
- 2 small sponges (Tip: just cut up a large sponge); alternatively, wide brushes can also be used
- If necessary, cloth and squeegee (alternatively, a ruler is also suitable)
- As required: hair dryer
- bowl of lukewarm water
Manual:
- Cut out the printed photo.
- Apply using a small sponge or a wide brush two to three thin layers of transfer medium on the wood up and then a thin layer on the printed photo.
- Place the photo face down on the wood. Smooth out any bubbles with a squeegee or cloth (if necessary, your fingers are also suitable) and press the photo well. Tip: A ruler is a good squeegee for very smooth wood. You can wipe off excess glue on the side with a rag.
- Allow the transfer medium to dry according to the manufacturer’s instructions. If you want it to go a little faster, you can also help with a hair dryer.
- The color of the photo has already transferred to the wood after the time indicated, now all that remains is to remove the paper. Use a clean sponge, moisten it with lukewarm water and gently rub it over the paper. It is best to do circular movements. The paper will now peel off and can later be completely removed. Make sure that no more paper is visible on the wood – but don’t rub too hard or you could damage the toner layer on the wood.
- Optional: In order to make the transitions between the wood and the photo subject smoother, you can work on this area with some sandpaper.
- Then apply the transfer medium to the wood again with a sponge/brush.
- Now a piece of wood is actually already finished! If you want, you can do another one after drying Apply wood varnish: It seals the wood and makes the colors stand out more intensely. An outdoor varnish is suitable for wood that is later to be hung outside.
Tip: You can also paint the wood in your desired color beforehand and thus create a colored background. Acrylic paint is suitable for this. You get a great effect if you dilute the acrylic paint with water and only lightly glaze the wood – this creates a beautiful shabby look. Attention: Before you transfer the photo, the surface must be well dried.
Transfer photo to wood: Inspirations from Instagram
Looking for new exciting DIYs? Here we reveal how you can creatively print fabrics with lavender print. Here you will find tips and ideas for printing potatoes and here we explain how to paint mugs.
If you would like to exchange creative ideas with others, take a look at ours community.

