Where to put brushes, sponges etc.?
This is how you use these 4 tools correctly
Which product do I apply to which tool? We light up the darkness.
© Adobe Stock
Which brush was that for the foundation again? And what do you use a sponge for now? We will now clarify these questions and many more.
Where to put brushes, shams, etc.? In order to exploit the full potential of your make-up, the right tool for the product is crucial. Even though there are no rules, some order methods work better than others. We’ll tell you what works best.
Where to put brushes, sponges etc.? We’ll show you how to use these 4 tools for optimal results
Different makeup tools have different benefits. Here you can find out what fingers, sponges and brushes can do particularly well so that you can get the best out of them.
1. With your fingers
Not only are our fingers the cheapest tool, we also always have them at hand. They have many advantages: Our body heat allows make-up products to melt beautifully into our skin. We also remain in control and can decide on pressure. Our (cleaned) fingers are a very good choice for our complexion and larger areas – we would recommend them for these types of products:
- Primers: It’s like a makeup-matched extension of your skincare routine. That’s why the primer enjoys the warmth of our fingers so that it can be spread particularly well and is immediately absorbed into the skin. We can work it quickly and carefully into the skin with our hands.
- Skin Tints: The liquidier, lighter sister of the BB cream can be spread wonderfully quickly and evenly on your face with your hands. Using body heat, you can work it seamlessly into your skin without wasting product on a brush or sponge.
- Concealer: When it comes to concealer, you often run the risk of applying too much. The thick applicators often leave a large amount of product under the eyes – more than we even need. Too much concealer quickly settles into the wrinkles. Therefore, first apply the concealer to your ring fingers and then dab it onto the under eye area. This way you keep control and can build up the opacity little by little. Since your fingers don’t absorb any product, you get the concentrated coverage you want.
- Shimmery + creamy eyeshadow: Cream eyeshadows often come in a pot from which you take them. As soon as they come into contact with heat, they become softer and creamier – this is the best way to spread them on the eyelid. When it comes to shimmering powder eyeshadows, your fingers have another advantage: if you move the tip into the pan in circular movements, you press the pigment together for an optimal result. For this reason, applying glitter eyeshadow with your fingers is also optimal.
We should use our fingers much more often for our make-up because it makes the end result very natural. You can also use them to touch up products if you can no longer blend products with a brush or sponge. The body heat gives you a better chance with your hands. Certain regions of the face, such as around the nose, in the corner of the mouth or in the inner corner of the eye, are particularly angled and difficult to reach with the fingers. A brush comes in handy here.
2. With the brush
As soon as you hear “powder,” you might immediately think “brush.” In general, all powder products are best applied with a brush. There are of course exceptions, such as shimmer eyeshadow or another one, which you can find under the third point, but you can never go wrong. But also “liquid” products, such as foundation and Cream blush or bronzer are easiest and most beautifully applied with certain brushes, as you will soon find out.
There are many different brushes, all of which have their right to exist. Everyone has their own preference as to what they like to use which brush for. Here is an overview of seven brushes with which we would start our make-up collection – priority descending.
Where to go with what?
Brush Guide
3. With the sponge
There are many different models of sponges, but they are all designed to do the same thing: apply products seamlessly. By being porous material a sponge is very good at it, remove excess product and everything goes well together blind. If you apply foundation, concealer, etc. with a sponge, you can often see it more natural than with a brush – for good reason: product seeps into the sponge, meaning less is applied. So you achieve less coverage, but a very skin-like result. Depending on what you want, this can be just the thing. If you moisten your sponge before use, this effect will be enhanced. In general, you can apply all product categories with such a blender. However, it is best used right at the end to blend everything together.
4. With the powder puff
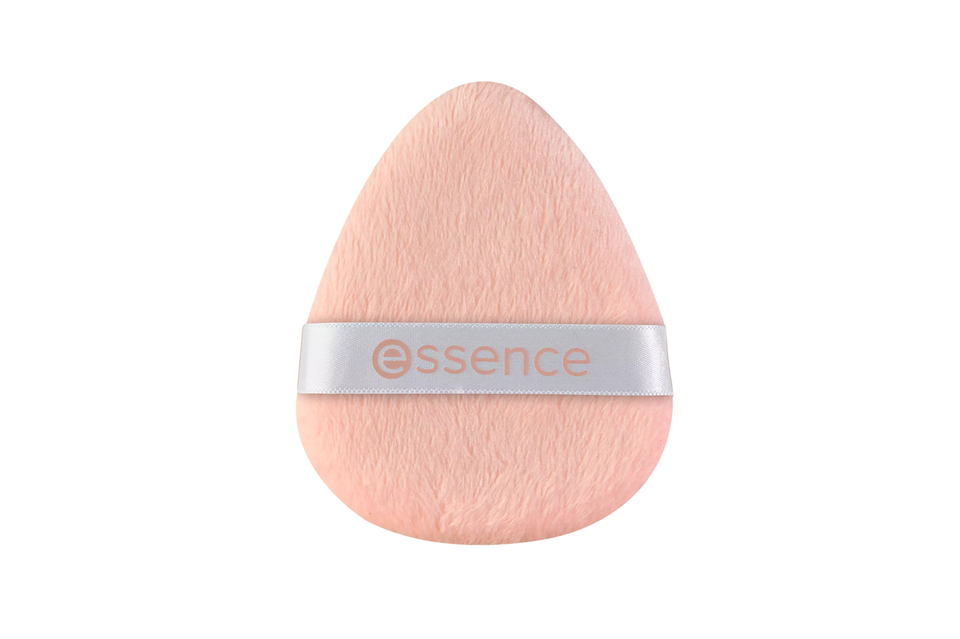
The powder puff can do something that all of the tools mentioned cannot: press powder into the skin in a concentrated form. You can use this, for example, under the eyes so that nothing creeps into the wrinkles. But also oily skin Benefits from this because you can simply work more powder into the skin more intensively. In contrast to the sponge is the tassel firmer, which allows pressing with more pressure. For long-lasting makeup a game changer.


