Bake with yeast
You should definitely avoid these mistakes
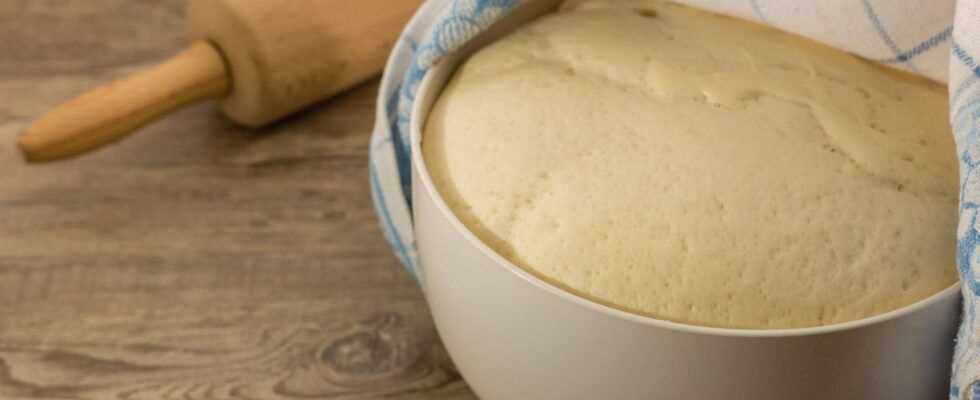
© SKatzenberger / Shutterstock

Countless delicacies can be baked with yeast, but the dough doesn't always work – yeast is a diva and even small mistakes can mean that the yeast dough does not rise properly. Here's how to avoid them!
This scenario is not only familiar to bakers who are new to baking: You want to bake a light yeast plait or crispy Sunday rolls, but the yeast is on strike – the dough just won't rise. So that this doesn't happen to you the next time, we uncover some sources of error and explain how baking with yeast works.
Mistake # 1: The yeast is too old
Unfortunately, fresh yeast has a limited shelf life; it can usually be stored in the refrigerator ten to fourteen days can only be stored for two days without refrigeration. If the best before date has passed, some of the yeast may have already died, so that the dough no longer rises so well. Dry yeast can also expire, but it has a significantly longer shelf life of at least one year.
After the use-by date has expired, the yeast does not have to be thrown away immediately: if mold has not yet formed and it does not smell noticeable, you can still use it. In this case, however, you should extend the walking time and use a little more yeast if necessary than stated in the recipe, so that the driving force is increased.
Tip: To test whether the yeast is still active, you can use it Dissolve with a teaspoon of sugar in lukewarm water and leave covered – if small bubbles form after about ten minutes, you can use them.
Mistake # 2: The ingredients are at the wrong temperature
Basically, ingredients such as eggs and butter should be room temperature when they are stirred into the yeast dough. The liquid (milk or water) with which the yeast is mixed, must be lukewarm, but it mustn't get too hot either: If the temperature exceeds 40 degrees, the yeasts will otherwise be killed. You should also let the dough rise in a warm place, for example by the heater, and cover it so that it is protected from drafts.
Mistake # 3: The dough is not kneading properly
For yeast dough to be successful, it not only needs heat, sugar and moisture, it also has to thoroughly kneaded and drummed. It's best to stir it first in a food processor and then knead it again with your hands until it is elastic – muscle strength is required here, then this process can take up to ten minutes!
Mistake # 4: The dough was not allowed to sit long enough
Must have yeast dough always go twice: First at least 30 minutes (better an hour) when it has been kneaded with the flour and all other ingredients and again before baking, as soon as it has been brought into the right shape. For some baked goods – such as our Easter braid – it is also necessary to make a pre-dough, so that the dough even has to rest three times. So you need patience when baking with yeast, but it's worth the effort!
With us you will find creative recipes for yeast cakes and yeast pastries and we will reveal how you can make yeast yourself.