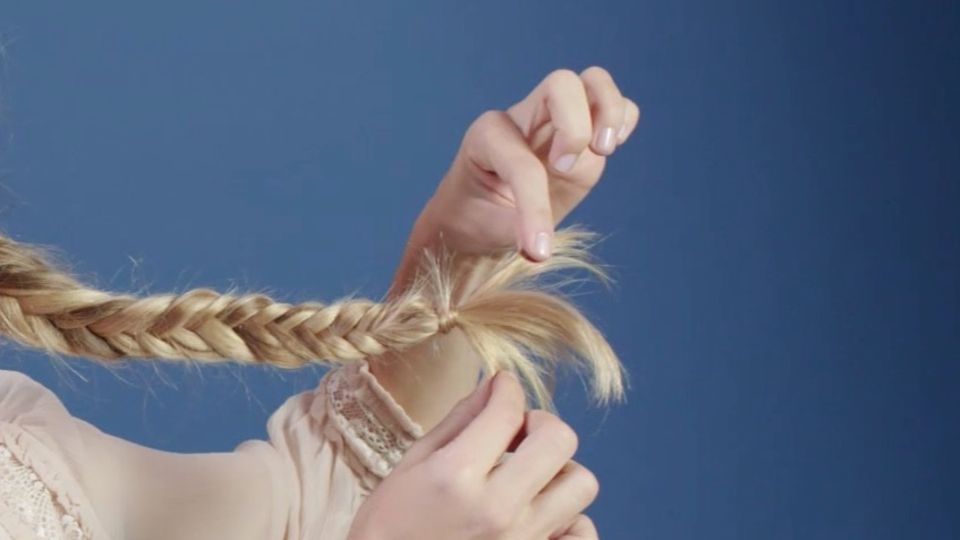
herringbone braid
The pretty braided hairstyle is so easy!
© Edward Berthelot/Getty Images
The herringbone braid usually takes some practice. With our step-by-step instructions in the video, you can braid the pretty hairstyle easily!
It came as a trend hairstyle and has become a classic: The so-called herringbone braid (also known as herringbone braid or ear braid) is one of the most popular hairstyles. No wonder, after all it is a real eye-catcher thanks to its look, which is reminiscent of fishbones and which gives the look its name! The playful braided hairstyle not only looks beautiful, it also conjures up a bit of variety in our daily beauty routine.
Perpetual trend hairstyle: You need this for the herringbone braid
For the herringbone braid you only need the following small ones helper:
- brush
- volume powder
- hair clip (optional)
- hair tie
- Bobby pins / bobby pins
- hairspray
Step by step instructions for the herringbone braid
Admittedly, the herringbone braid is not that easy for beginners. But with a little practice and patience, you will soon get the hang of the braiding technique and can easily braid the braid again. Here is our step-by-step guide:
- Brush your hair to the side where you want to braid the herringbone braid.
- Use some volumising powder to make your hair more manageable – this makes braiding easier. Don’t have a volume powder handy? Styling spray or dry shampoo have the same effect!
- Secure your hair to the side at the nape of your neck with a bobby pin or hair tie, like a low ponytail, to keep it in the desired position.
- Now comes the braiding technique: start by separating your hair into two sections.
- Now take a narrow strand of hair from the outside of the right section of hair and place it over the thick strand on the left.
- Repeat the step on the left side, so take a narrow section of hair from the outside of the left section of hair and place it over the thick section of hair on the right. This creates the typical herringbone pattern.
- Continue braiding to the ends of your hair and secure with a hair tie. Make sure you really tighten this so it doesn’t slip off your hair!
- To make the herringbone braid look more voluminous, you can now pull the individual strands apart a little with your fingers.
- Now you can remove the top hair clip and give the braid more hold with hairspray.
Here in Video you can look at each step again individually to be able to imitate the herringbone braid well:

Pro tips for the herringbone braid
The following tips will help to ensure that the herringbone braid looks the way you want it to:
- Most of the time you will have one side where you can braid the strands better than the other. Just try it. It is best to always choose this side so that the end result is braided particularly neatly.
- Make sure that the individual strands are always about the same thickness so that the herringbone braid looks even in the end. The following applies: If you braid thin strands, the braid appears fine and narrow, thicker sections of hair make the braid pattern appear looser.
- You can style the herringbone braid with a center parting or with a side parting. With a side parting, the braid is braided on the opposite side for a beautiful result.
- Do you have very thin hair and want a little extra volume? Then you can backcomb individual strands of hair and the top hair a bit. But beware: this is not very healthy for the hair and can promote split ends. So don’t do it more than once a week!
Are you looking for more inspiration and styling ideas for your hair besides the ear braid? Here we show the most beautiful ones Braided hairstyles and updos and reveal which dirndl hairstyles will make you a real eye-catcher at the Oktoberfest. Does it have to be quick? Then fast hairstyles like these provide the necessary speed!

