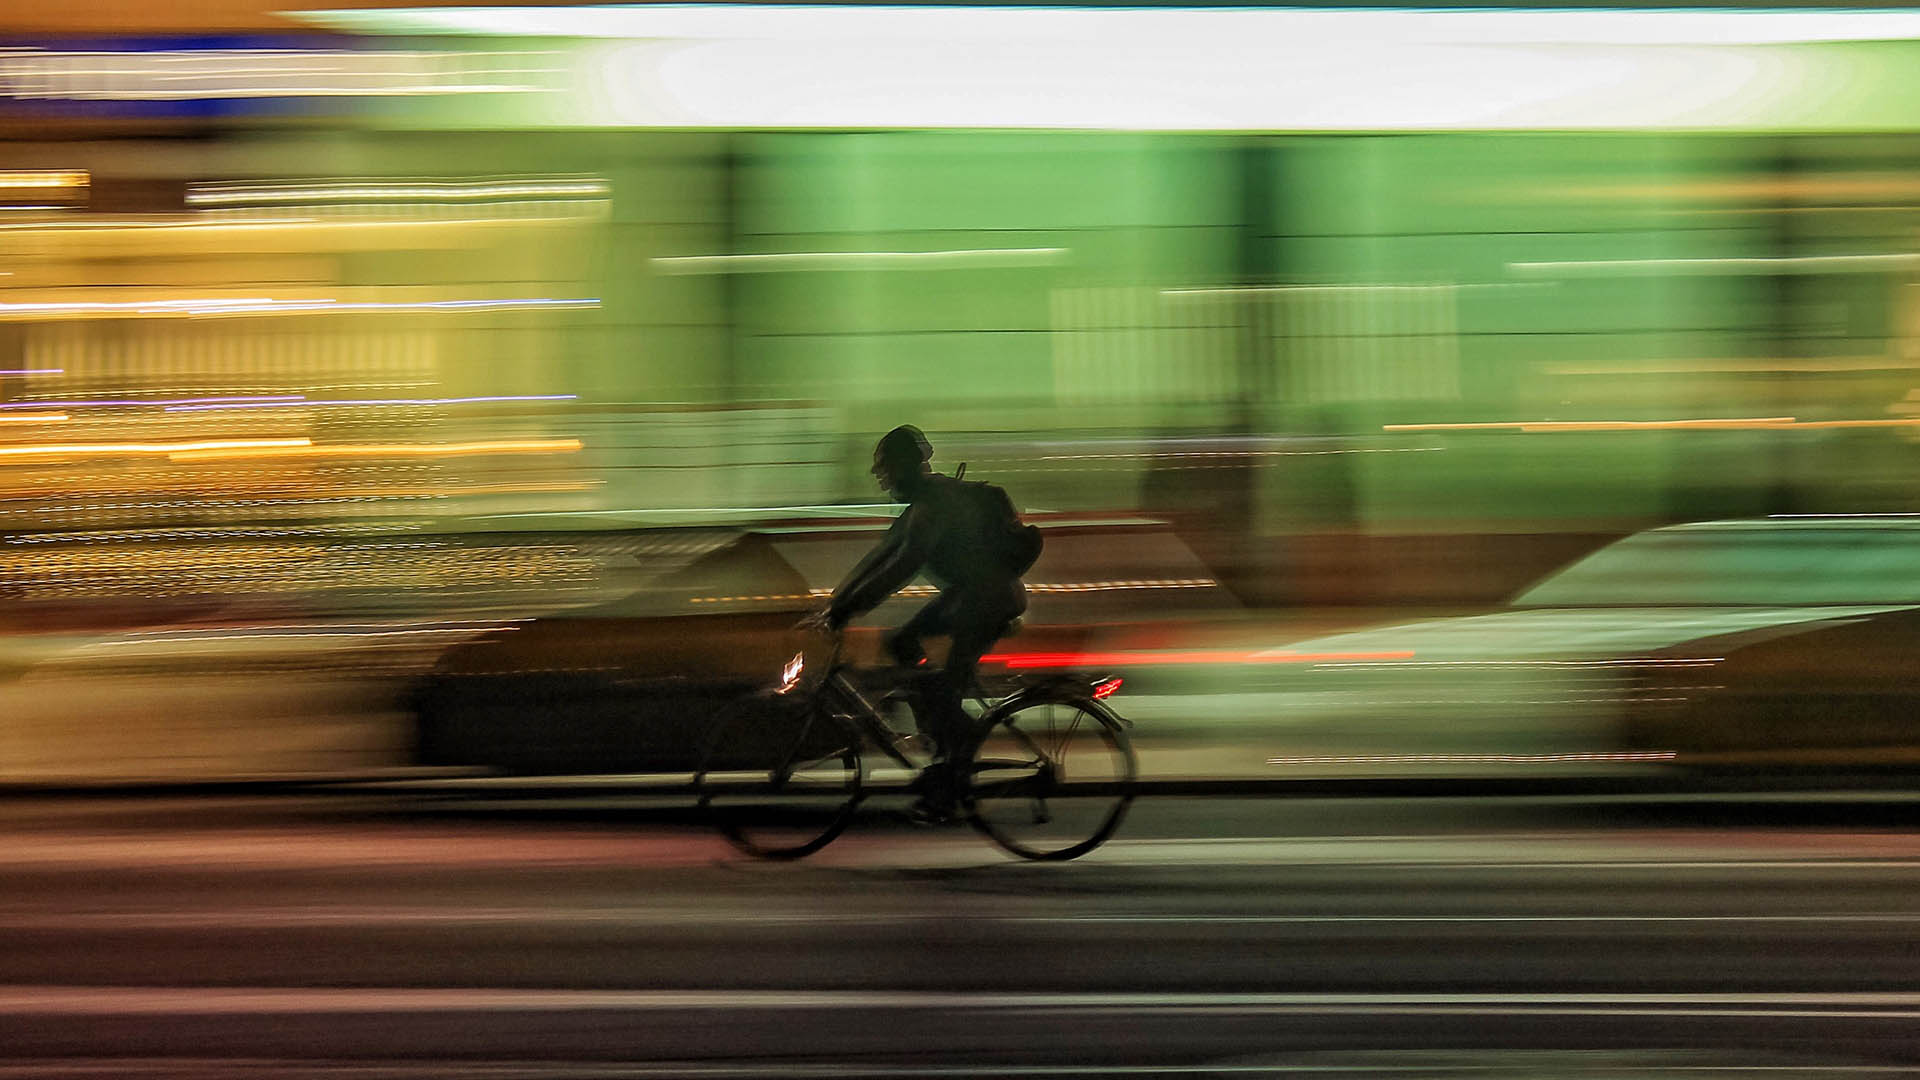
In France, lights are part of the mandatory equipment for cycling. Yellow or white at the front for the position light and red at the rear, these lights allow you to signal your presence on the road, and/or illuminate your trajectory.
If electric bikes often have an integrated lighting system powered by the battery, their muscular cousins are generally sold with reflectors, a rare species of beetleretro-reflective elements, and lights that are not always suitable or of high quality.
What criteria should you look at when choosing your bike lights? As there are a plethora of models on the market, here are our tips for choosing yours and several lighting models suitable for cycling in the city.
1. The power and reach of light: seeing or/and being seen
First you must understand the difference between lumens (lm) and lux (lx), two units of measurement of light. There is also the Candela, but it is used less and less.
| Lumen | Lux |
|---|---|
| Corresponds to the intensity of the light | Corresponds to the density of light on the illuminated surface |
| Ensures your visibility on the road (being seen) | Allows you to see the road (see) |
The power and range of your bike lights are chosen according to the environment in which you ride. (city center on urban roads and cycle paths, unlit paths) and your practice (road cycling, gravel, mountain biking, etc.). In other words: do you only need to be seen or to also see?
What power should you choose for bike lights when riding in town?
If you drive in town on lit roads, you need lights with a power of 20 to 100 lumens for the front and 10 to 20 lumens at the rear, to be seen by other users. Why this discrepancy? The rear light is intended to indicate your position, and not to provide an illuminated route for your rear end.
2. The autonomy and charging mode of bicycle lights
The choice of autonomy depends on:
- the duration of your daily journeys,
- the type of journey and environment,
- your ability to forget to charge your electronic devices.
If you are the airhead type, choose a bike light with a longer battery life.
Rechargeable via USB and suitable for the city, the Bontrager Ion Flare City 100 front and rear lighting kit offers up to 15 hours/20 hours of battery life. With its 4 modes at the rear and 5 modes at the front, you are visible up to 900 meters at the rear and 2 km at the front.

Now, batteries, dynamo or USB? Charging via USB is often the most practical ; the lights plug easily into a computer at the office or an outlet at home. And then, there is no risk of finding yourself short of CR2032 batteries on a Monday morning in the middle of winter. Battery-powered models remain the most economical, but not the most practical.
The dynamo is more suitable for cycling trips or when you don’t want to add an extra mental load. Please note that some lights also operate on rechargeable batteries.
Depending on the mode used (continuous, flashing), the autonomy varies. So if you need continuous lighting, consult the model specifications and the autonomy relating to this lighting mode.

3. The type of light
There are fewer and fewer bicycle lights with classic bulbs and halogens. These have been massively replaced by LEDs, less energy intensive, but just as effective.

4. Bike lighting modes
There are mainly two: fixed mode and flashing modes. The intensity and speed of the flashing vary between modes. Some even have light radiation operation which is added to the blinking or flash modes. For more versatile use, always choose a bike light that has at least a flashing mode.
In this sense, Lezyne Femto USB lamps offer 5 different lighting modes for optimal visibility in multiple scenarios.
Flashing mode improves your visibility on the road. First, it distinguishes you from other fixed light sources (car headlight, traffic light). Users are used to the lighting modes of car headlights; fixed mode usually indicates a static position, so it can be confusing. Then, the flashing mode consumes less energy. On the other hand, favor gentle flashing, your goal is not to dazzle or distract a motorist…
5. Bike lighting with or without rear radar?
This option for reporting an approaching vehicle will not be of much use to you if you do not use a GPS, your smartphone or your smart watch (compatibility depending on the radar model of course). If you drive exclusively in town, it may come on all the time…

On the other hand, if you are traveling on less traveled roads, this feature will prove very useful by warning you of the arrival of a vehicle. It will save you a stiff neck or being surprised by a rapid overrun.
The Garmin Varia Radar also exists in a version with a camera. Ideal for observing incivility or making an immersive documentary film on the joys of urban cycling. We tested the simple version on a Cannondale bike.
6. Fixed or removable lighting
With fixed lights, you limit theft, but you will need to have some tools with you to dismantle them in order to charge them, unless charging is done via a dynamo.
It is also Now is the time to check that you can purchase spare parts for your bike lights separately. Removable lights have clips that are often made of flexible rubber. Also, by being handled each time they are installed and removed, they can end up breaking.

Where to put lights on a bike?
Yellow vest or not ?
If you take roads outside built-up areas, wearing a yellow vest is compulsory when visibility is insufficient and at night (Article R431-1-1 of the Highway Code).
Depending on the type, position your rear light on the seat post, luggage rack or a stay, and the front light on your handlebars or fork. During the purchase, check the diameter of the fasteners so that they are compatible with your bike; the tubes do not have the same diameter. If you are driving with a trailer, install a light in the back. Adding an additional light to a baby seat is highly recommended.
5 tips for using and adjusting bike lights in the city
- Before leaving, always check the charging level of your lights.
- Make sure that your lamps are well positioned and that no object obstructs the diffusion of light (bags, long jacket, etc.).
- To avoid dazzling other users and to see the road clearly, adjust the angle of your front lighting. The simple method: place an object on the ground about 5 meters from your bike. Turn on your lights and adjust the tilt angle to illuminate the object.
- In case of rain, turn on your bike lighting system to gain visibility.
- Prefer to use flashing mode in town. At night there are a lot of fixed lights, which can interfere with reading the environment. And then as said above, it consumes less energy.
If you liked this article, you will like the following: don’t miss them by subscribing to Numerama on Google News.
Some links in this article are affiliated. We’ll explaine everything here.