
I connect to many different networks. At home, for example, I have the choice between three different networks that I use according to my needs. For example, I have a general network and another that I use for container deployment etc.
For the general purpose network, I can just tell macOS to accept an IP address from the DHCP server. However, for the container network, I prefer to assign a static IP address.
Is it possible ?
Absolutely ! With the help of the Configuring Network preferences of macOS, you can assign specific configurations for specific networks. It is also possible to define a particular network to which you wish to connect within a precise configuration.
Here’s how it works.
How to create different network configurations in macOS?
Prerequisites
The only thing you will need is a device running a recent version of macOS. This feature works with wired and wireless connections.
1. Open System Preferences
Click on the Apple menu at the top right of your screen and select System Preferences in the menu.
2. Open Network
In the System Preferencesclick the icon Network to open the Network section.
3. Create a new network configuration
From the drop-down menu at the top, select Modify configurations. In the pop-up window that appears, click + (the plus sign). You will be prompted to name your configuration. Type a new name and press the enter keyon your keyboard, then click Ended.
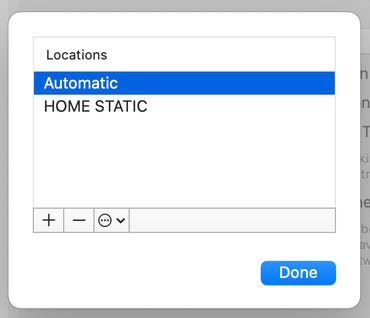
Image: Jack Wallen
4. Modify the new configuration
See to select the new configuration you created from the drop-down list. Click on Advanced to open the configuration window where you can change what suits you to suit your specific needs. For example, you can select which network to use, then configure that network with a static IP address using Cloudflare’s DNS servers.
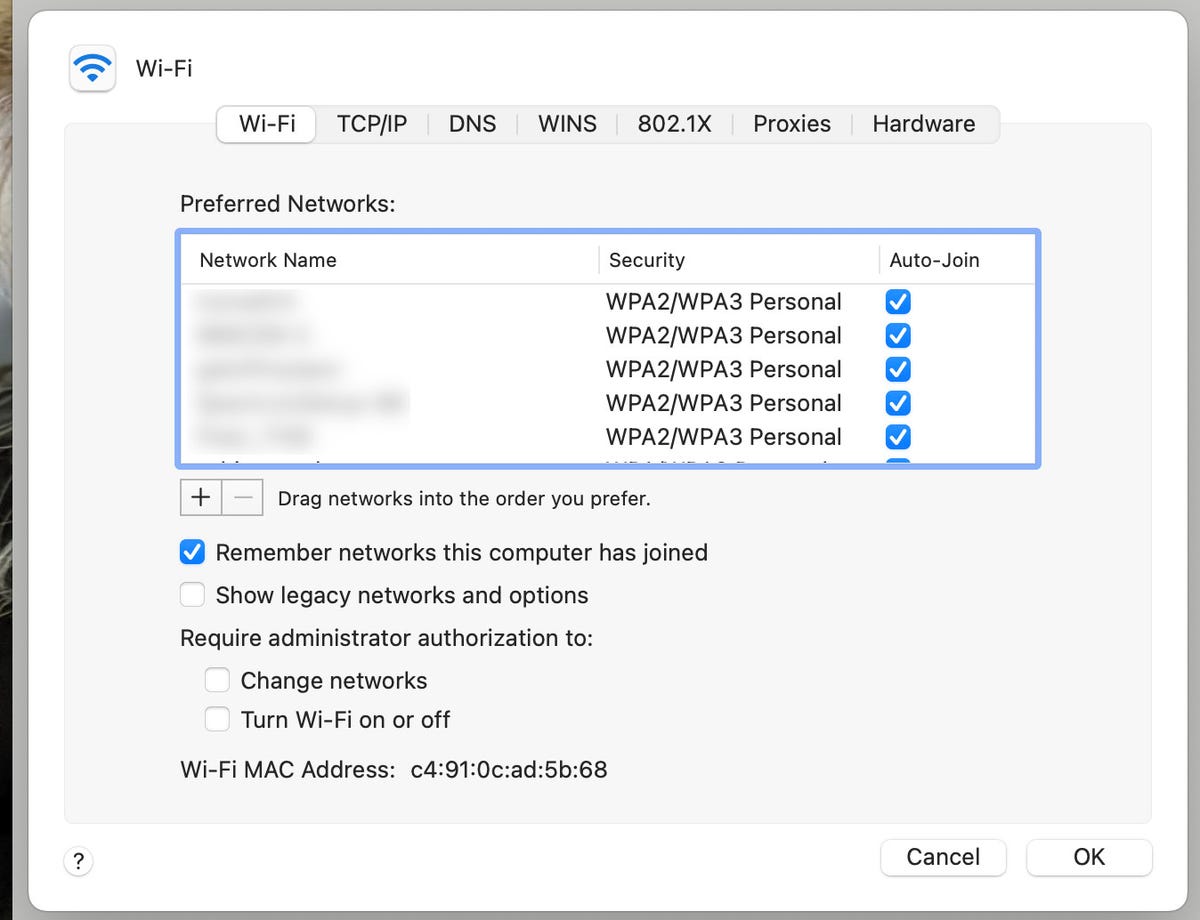
Image: Jack Wallen
Once you’ve configured your settings exactly the way you want, click Apply to save everything.
Move to another network location
Once you’ve created all the network configurations you need, macOS lets you switch between them very easily. Just click on the menu Apple > Configuration > Name of desired configuration.
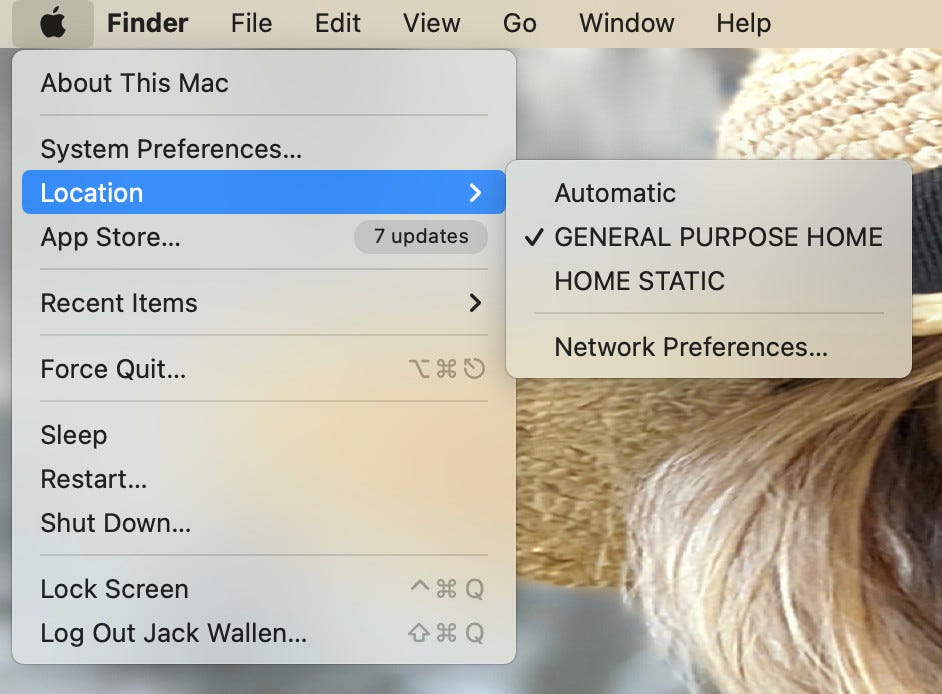
Image: Jack Wallen
And that’s all there is to creating and using network configurations in macOS. If you have very specific needs with your networks, this is a great tool.
Remember, however, that if you disconnect from your network, you will need to select another configuration. For example, if you have one setup for home and one for work, your device may have trouble connecting to the work LAN with home settings.
Fortunately, you are now able to switch easily.
Source: “ZDNet.com”