Image: Artie Beaty/ZDNET.
If you’re used to scanning all your papers and storing them in one place on your devices or in the cloud, you may have been using multiple third-party apps until now. But in addition to cluttering up your storage, the problem with third-party applications is that sometimes it’s difficult to know where to find your scanned documents.
Now, to scan and preserve all your printed documents, you can use the Files by Google app to make your life easier. Natively integrated into most Android devices, the file manager application allows you to save and transfer documents. And now you can also use it to scan your paper documents.
Here’s how to use Google’s app to scan all your documents with ease.
Can you use the app’s scanner?
To take advantage of the scanner functionality, you must update your Files by Google application. This option was originally only present on Pixel devices, but it now exists on other Android devices. However, the Files app is an Android exclusive, it is not available on iOS.
If your device doesn’t have the Files by Google app, be aware that the Google Drive app has a similar feature on both iOS and Android.
Google Drive is Google’s cloud storage service that also offers a complete online office suite with word processing, spreadsheet, presentation, etc. Working collaboratively has never been easier.
- Downloads: 5
- Release date : 03/04/2024
- Author : Google
- Licence : Free license
- Categories:
Office automation – Productivity - Operating system : Android – Online service – Windows – iOS iPhone / iPad – macOS
How to scan documents with Files by Google or Google Drive?
1. Open the app
Open the Files by Google or Google Drive app. Then, press the scanner button which is located at the bottom right.
2. Frame your document
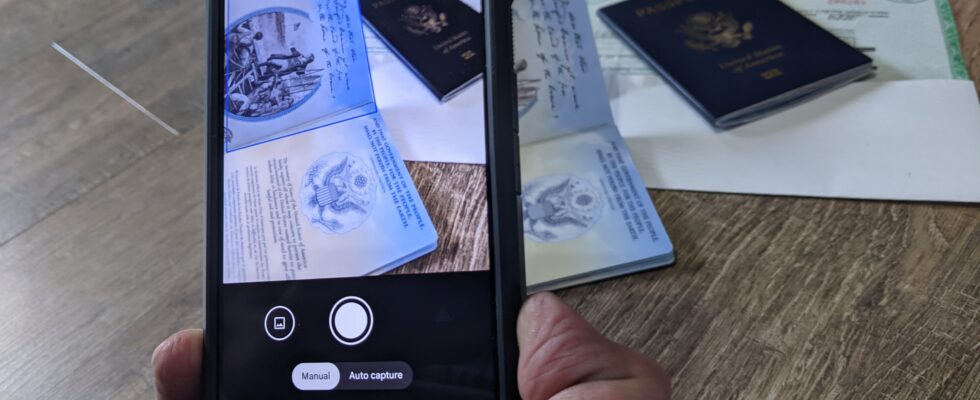
The device then opens. Center your document well to obtain the best result.
You can choose between a manual option, which allows you to take the photo whenever you want, or an automatic capture option. You also have the option of scanning multiple pages at once.
When your document is in the center of the frame, press the button to take a photo.
3. Crop your document
The scan of your document is displayed. You can then crop it. Once you are satisfied with the result, select Keep scan at the bottom right.
4. Edit your document
The application shows you Ready for the next scan. If you want to edit the scan, click on the thumbnail at the bottom left: you can crop the photo, rotate it or even clean it, that is to say eliminate stains, fingerprints or other small defects. You can also use filters to refine the colorimetry, change your image to black and white or correct strong shadows.
Once the photo is ready, click OK. You can also click on To resume to restart the scan.
5. Scan the following pages
You are back on the page Ready for the next scan. You can then scan the following pages.
Once you have scanned all the pages of the document, click on Save.
6. Save your document
Click again Save. You can find your scanned document in PDF format in the folder Scansunder the tab Documents.
If you use Google Drive, you can change the name and location of the file when saving.
Source: ZDNet.com