
Photoshop is a quick and easy way to create vignettes to give images a special effect.
The vignette effect is often used in Photoshop to emphasize a section of the image in contrast to the rest. In addition, many people also associate older photos or pictures from earlier with this effect, since darkened corners in the process of photo development almost inevitably arose here.
Nowadays, vignettes are more of an actively used stylistic device to give pictures a special appeal and perhaps to remind you of old times. With a few tricks, vignettes can also be created quickly and easily in Photoshop. In our example, we chose the color black and a classic, round vignette. Of course, you can also experiment with different colors and shapes.
In the following video and the written instructions below you can see how quickly and easily a vignette can be created in Photoshop.
Only the following steps are necessary for this:
Create a vignette: Here’s how
 1
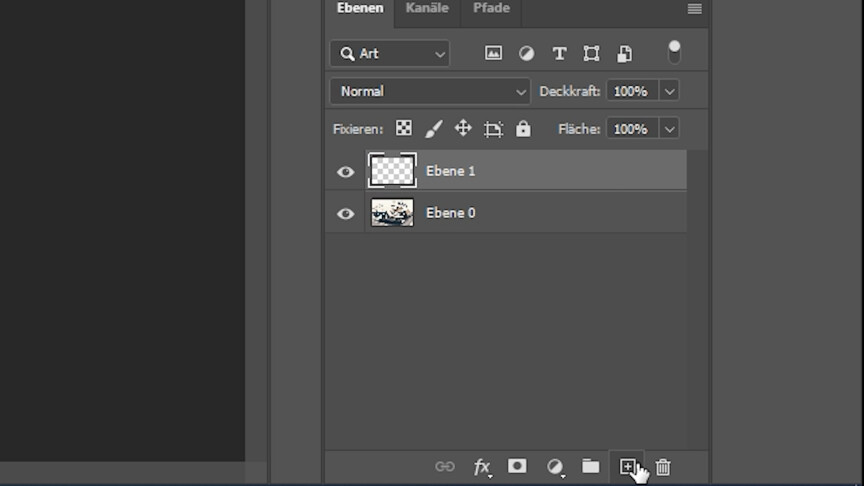
1When you have the image you want to edit in front of you, you must first create a new layer on top of the original.
 2
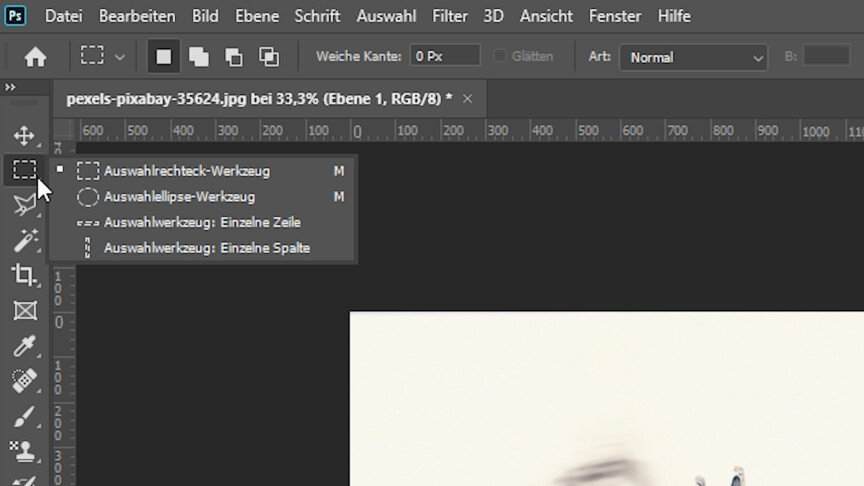
2Now select the ellipse tool and move the mouse to the point where you want the center of your vignette to be.
 3
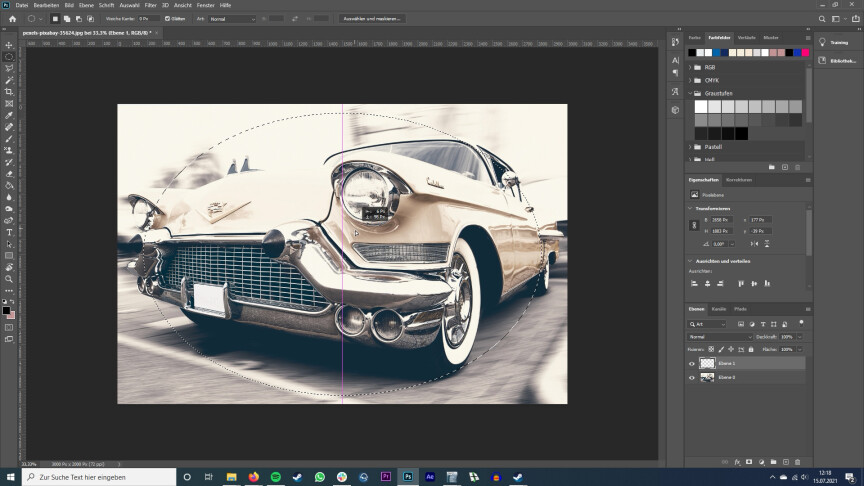
3Hold down the Alt key on your keyboard and drag the mouse as far away from the center as you want your vignette to be.
 4
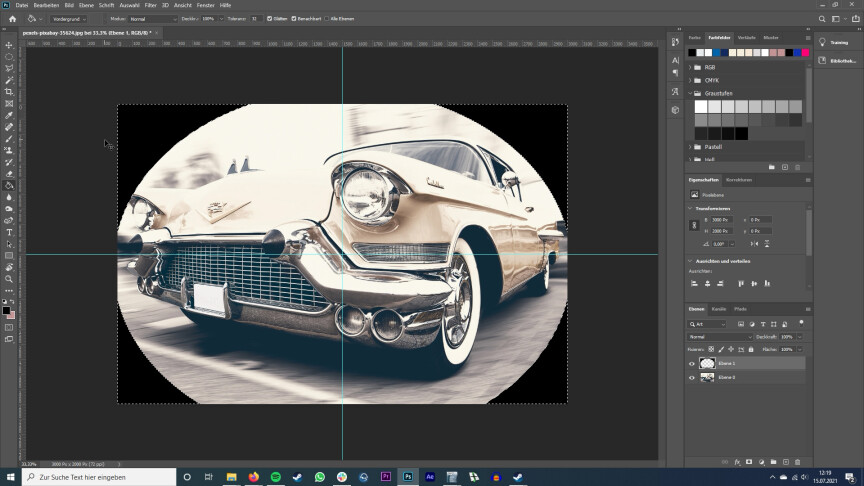
4A little tip: If your vignette is to be placed exactly in the center of the image, it helps to pull two auxiliary lines out of the rulers on the top and left side while holding down the mouse button and place them in the center of the image, where Photoshop itself fixes the lines immediately.
 5
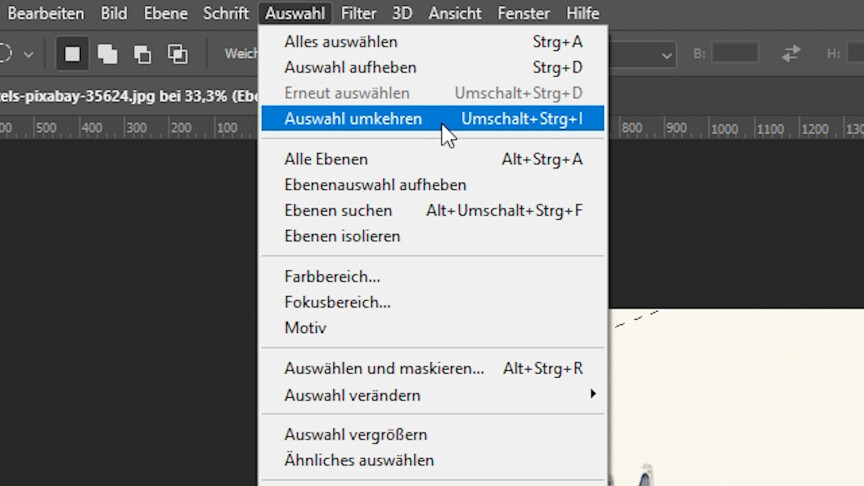
5Once you have made your decision and you can see the selection based on the dashed line, the next step is to reverse the selection, which is done using the function of the same name under the “Selection” tab at the top of the screen.
 6
6This allows you to edit the outer side of the vignette by coloring the part of the image outside of the vignette with the fill tool and black color.
 7
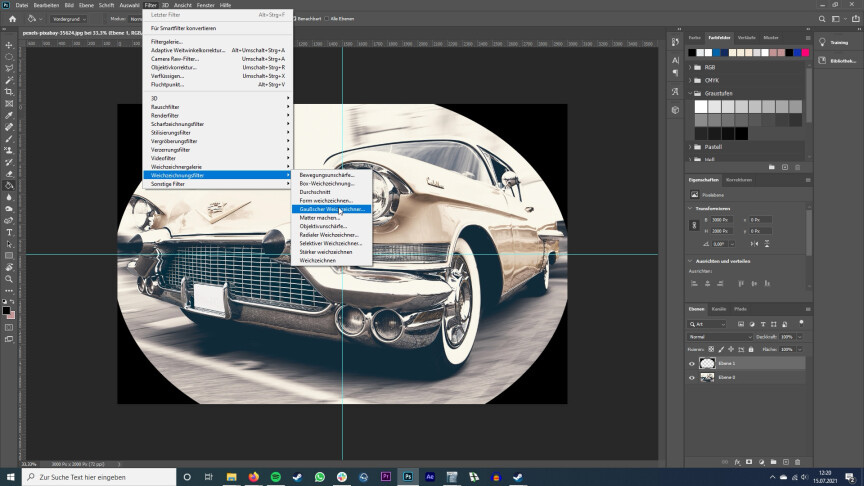
7Therefore, first press the key combination “Ctrl” and “D” to deselect the ellipse from the beginning. The black edge of the image can then be softened with the help of a filter in the Blur filter chapter, where we opt for the Gaussian blur.
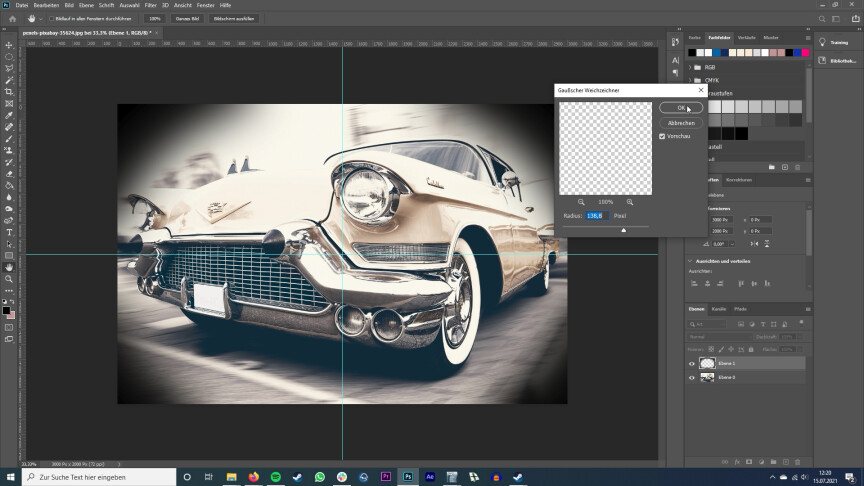 8th
8thIn the new window, you can use the number of pixels to determine how hard or soft the transition between the image and the black border should be.
 9
9If the corners of the vignette are still too concise for you, you can select this layer in the layers window and reduce the opacity.
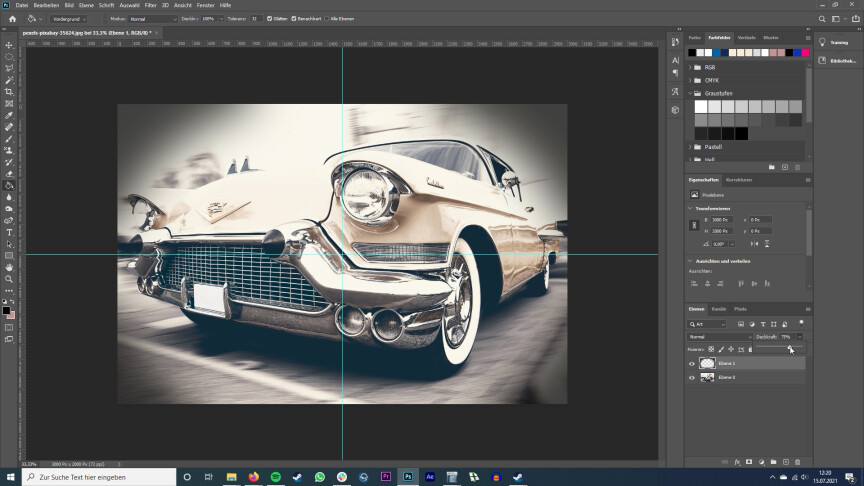 10
10This allows you to freely decide how strong or soft the vignette of your image should be at the end.
In further tutorials we will explain how you can remove the background of an image in Photoshop or professionally blur images.
” Tip: The best VPN providers for more security and privacy