A neck sock warms the neck and looks chic. It can be made very easily and individually adapted. With these instructions, you will only need a few minutes to sew a neck sock.
A bit cool around the neck? Then put a neck sock on your he … on your neck! You don't need to buy them, you can sew them yourself quickly and easily. We'll show you in a few simple steps what you need and how to do it – you'll be done faster than you can look. The neck sock is equally suitable for adults and children.
Material for your DIY neck sock
For your homemade neck sock, the best thing to do is to rummage through your fabric box and look for a few leftovers. You don't need a lot of fabric for this, but it should be stretchy! If you want, you can choose two different colored pieces – so the light tube scarf can be adapted to suit your outfit.
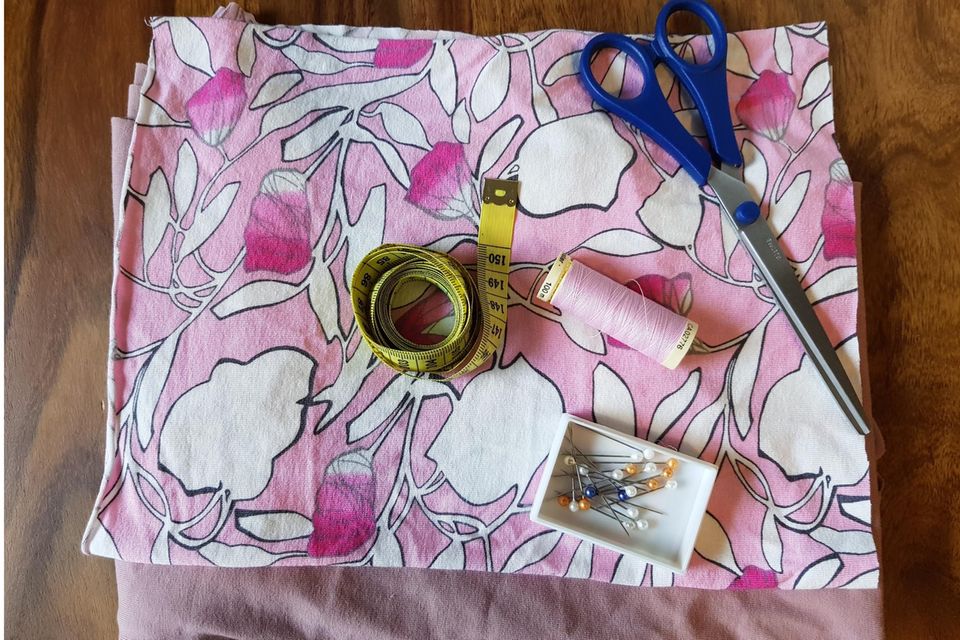
Material for your neck sock
- Stretchy fabric (e.g. jersey)
- Matching sewing thread
Equipment:
- sewing machine
- scissors
- Pins or clips
- Tape measure
- Possibly. marker
This is how it works without a pattern
A sewing pattern is not really required. Measure your or your child's head circumference. As an example: The head circumference of your child is 44 cm, yours 56 cm.
Now you lay your fabric double (right on right!) and carefully spread out in front of you and measure 44 or 56 cm. Depending on how long the tube scarf should be, measure 20 cm (children) or 30 cm (adults) downwards. Add about 2 to 3 cm of seam allowance at a time. Use a textile marker, for example, to transfer the measurements onto the fabric.
- Pattern for adults: 56 cm + seam allowance length, 30 cm width (shorter, of course)
- Pattern children: 44 cm + seam allowance in length, 20 cm width
Then cut out the pieces.
Sewing a neck sock – instructions
In 4 steps and not even 5 minutes you can hold your finished neck sock in your hands. This is how the sewing instructions go step by step:
Step 1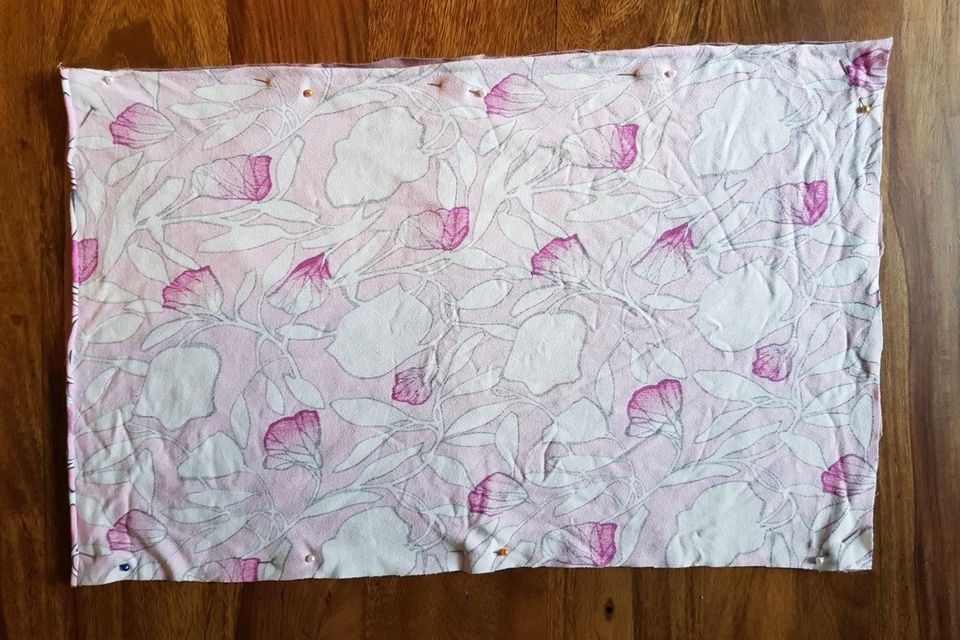
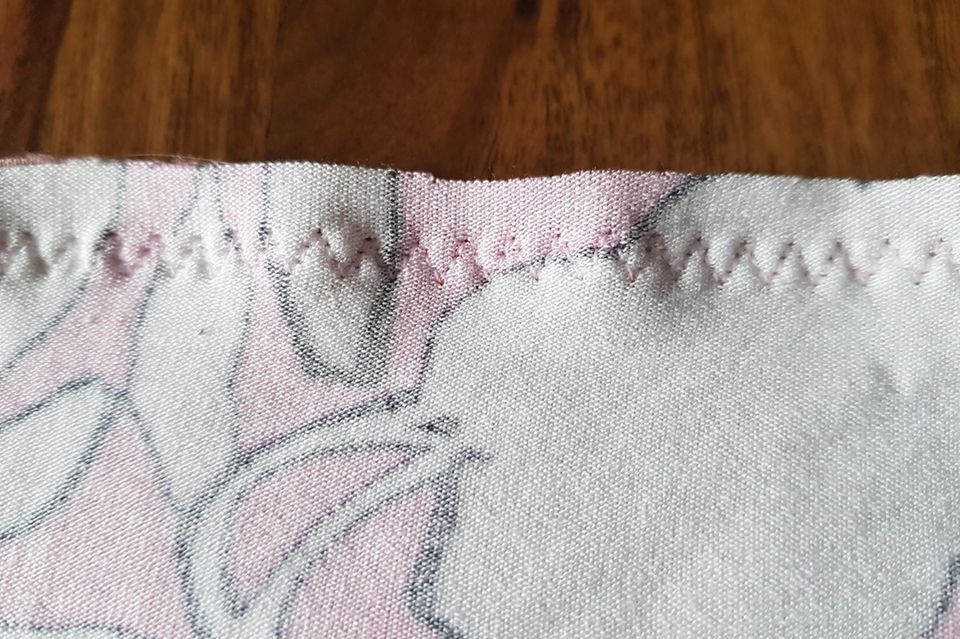
Once you've pinned your fabric right sides together with clips or pins, sew the long sides with an elastic zigzag stitch (or with the overlock).
step 2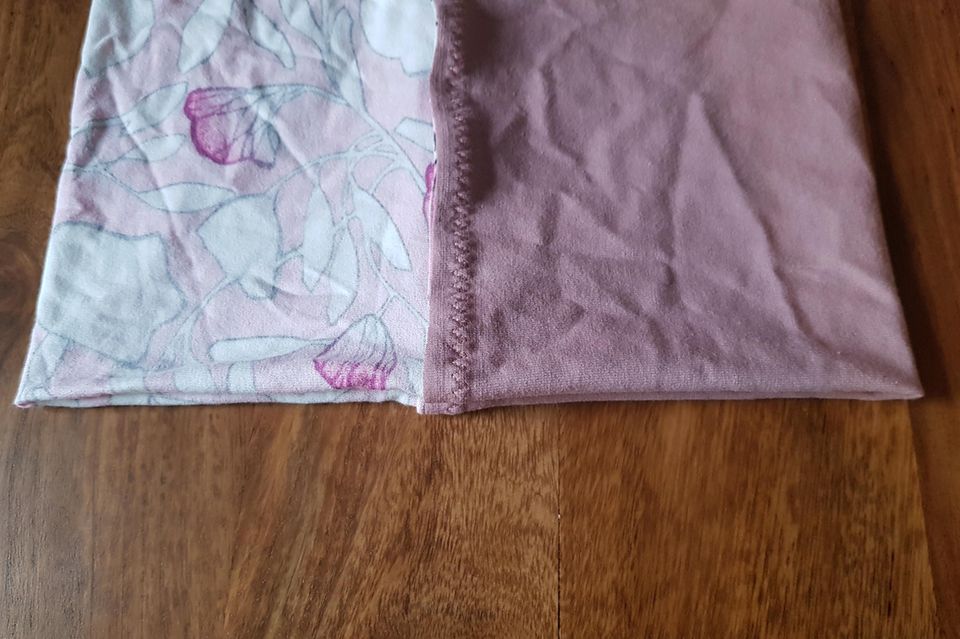
Reach into the sock with one arm from the side and pull the other end halfway through. Now the seams should be on top of each other (make sure they are neatly).
step 3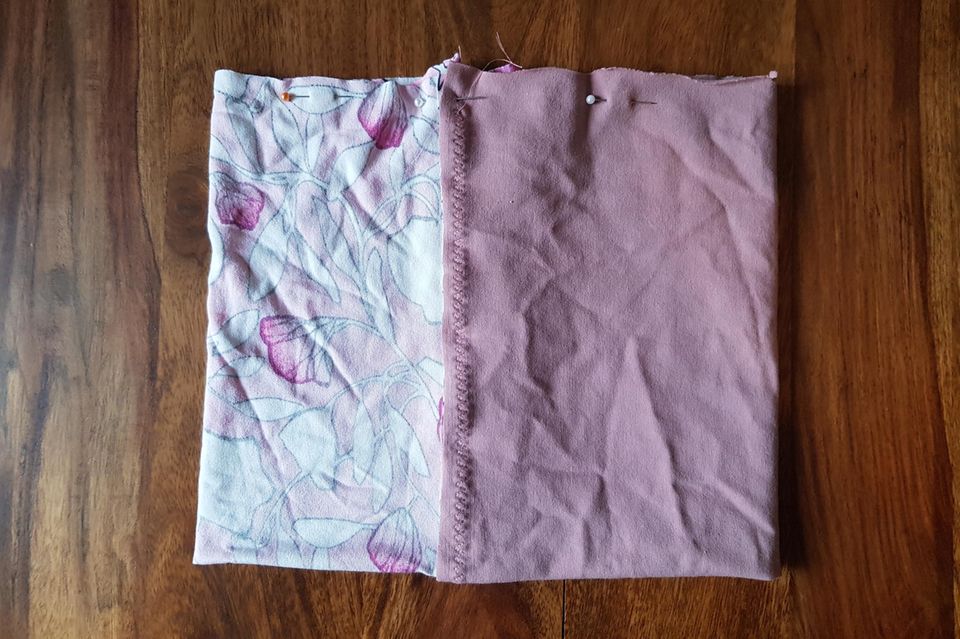
Now put the inner part together with the outer part all around so that you can already guess the loop. Mark yourself or keep several inches in the back of your head for a turning opening. Now sew the parts together.
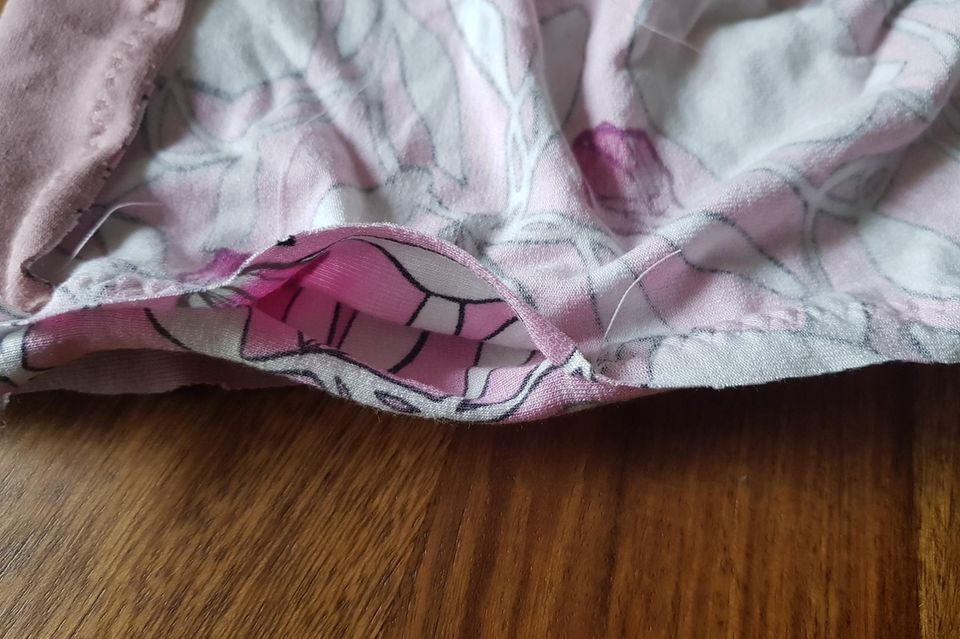
Step 4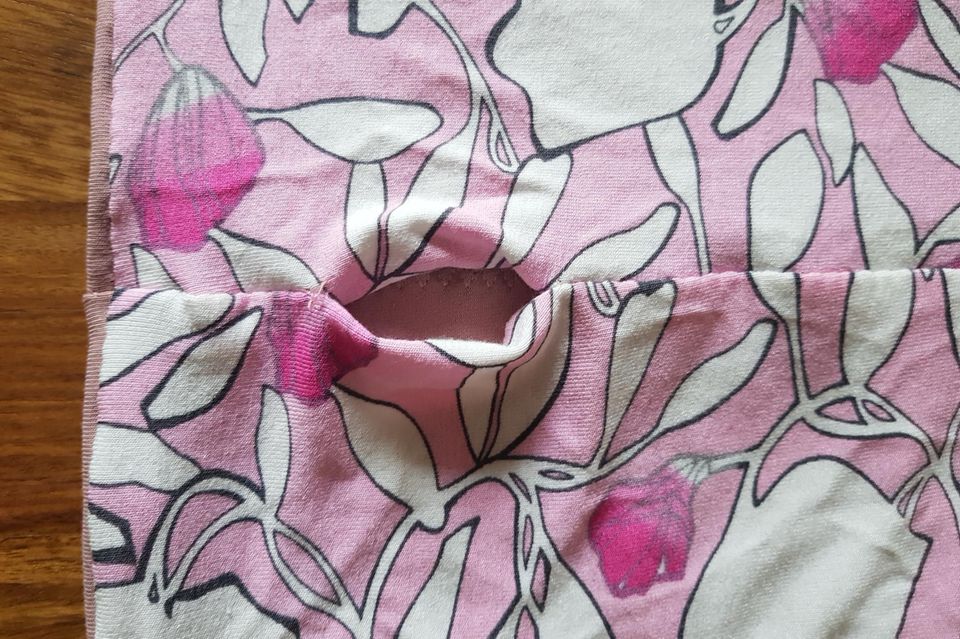
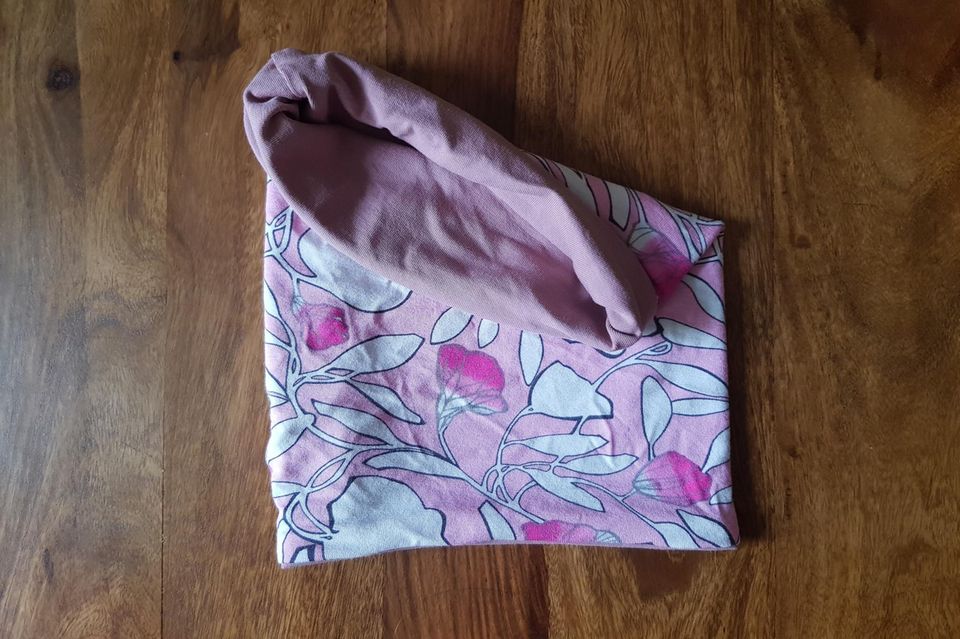
Now put the fabric through the opening. You sew these together with a mattress stitch so that nothing more testifies to their existence and this is how it works:
The dimensions of the neck sock can be adjusted as you like, you can make it narrower or wider, longer or shorter. If the turning effect is not for you, you can simply use the same pattern or color for both pieces of fabric.
By the way: You can also use scraps of fabric to sew cosmetic pads, sew a hair band or sew scented bags. You can find more sewing ideas for beginners here.
In our BRIGITTE community you can talk to others about your DIY projects.
