We received the Framework Laptop. Before giving you our test, we have assembled the modular and repairable laptop.
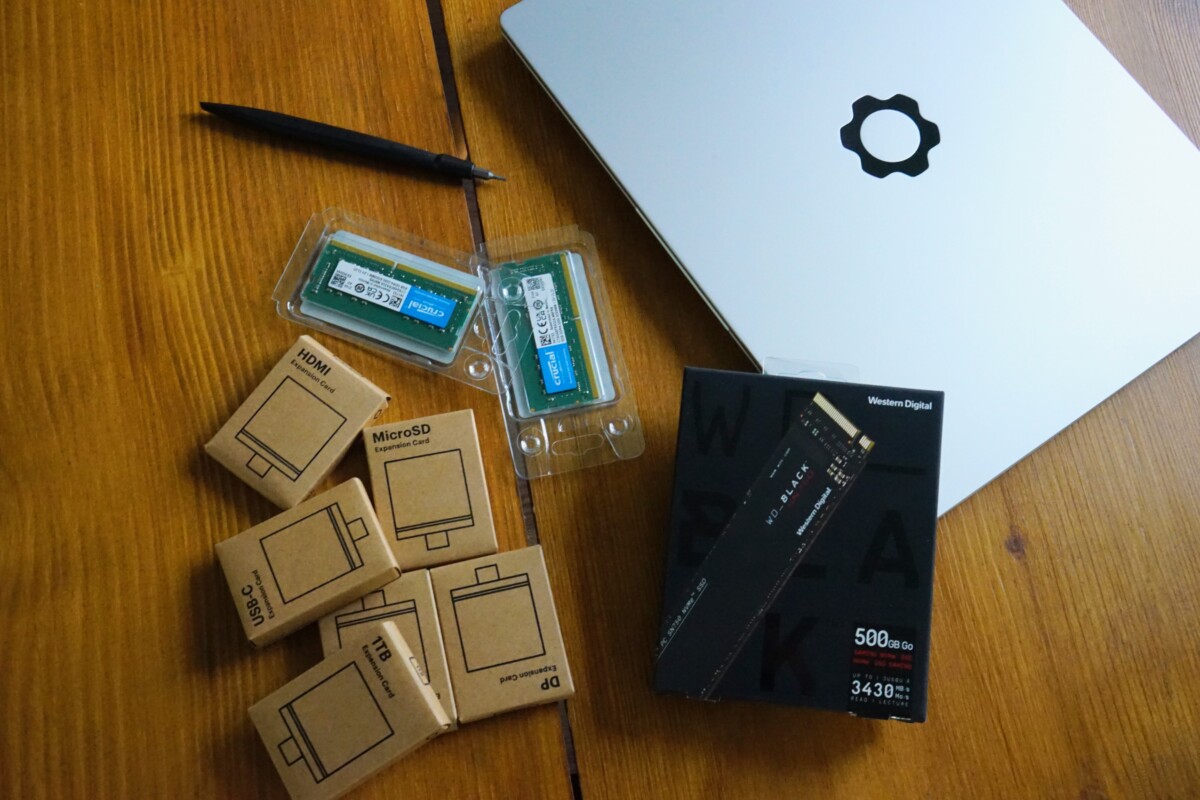
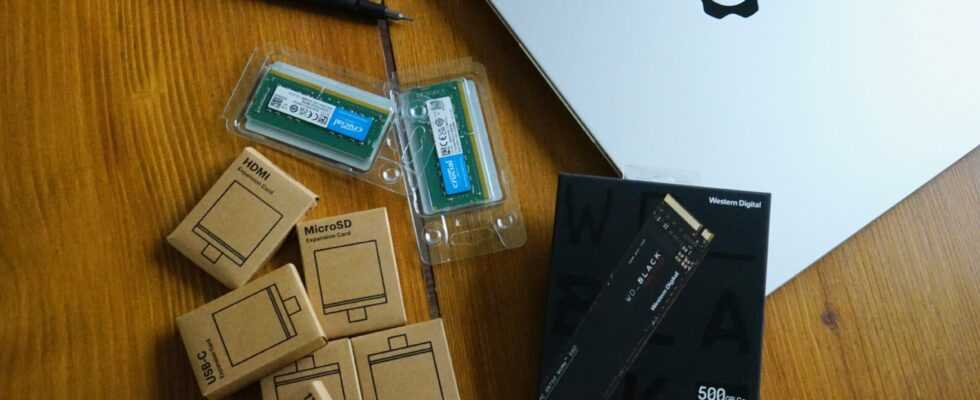
This is what’s in the Framwork Laptop package
We had been seduced by the Framework concept, so we pre-ordered a copy… but the new American brand spontaneously offered to lend us one.
Before starting the assembly of the machine, I suggest you summarize what Framework offers: do you remember Project Ara? It was an idea from Motorola and then Google to create a fully modular smartphone whose parts could be changed more easily. The idea is appealing on paper in several respects: easier repairability, longevity of the product that can be “updated” technologically or customization of the devices according to one’s needs. If the idea never germinated on mobile, the startup Framework did not abandon it for laptops.
The whole ambition of Framework is to demonstrate, against the trend born from the success of the MacBook Air, that creating a modular and repairable portable PC is possible without sacrificing too much thickness or weight. Framework does not promise to make any concessions, but like Fairphone in the smartphone, the idea is to create a product that is intelligently designed and pleasant to use. The brand is launching its first device: the Framework Laptop, an ultraportable weighing 1.3 kg and 1.6 cm thick.
The laptop is therefore designed to be modular, but also repairable. And how does it actually work? Regarding the last point, all the parts of the laptop are referenced and documented, the device has been designed to be easily removable, nothing has been welded and there is no use of glue for example. Regarding the modular part, it goes hand in hand with the repairable side, however Framework has gone further by creating a system of expansion cards: you can therefore customize all the connections.
How is the order made?
Let’s start at the very beginning: you have two choices. The first is to receive a ready-to-use PC, the second is the DIY edition (Do It Yourself for Do it yourself) which consists of receiving a laptop PC where you will have to do some editing and install Windows / Linux.

Two formulas
Obviously, we chose the formula Framework Laptop DIY Edition. You then have a whole bunch of options available.
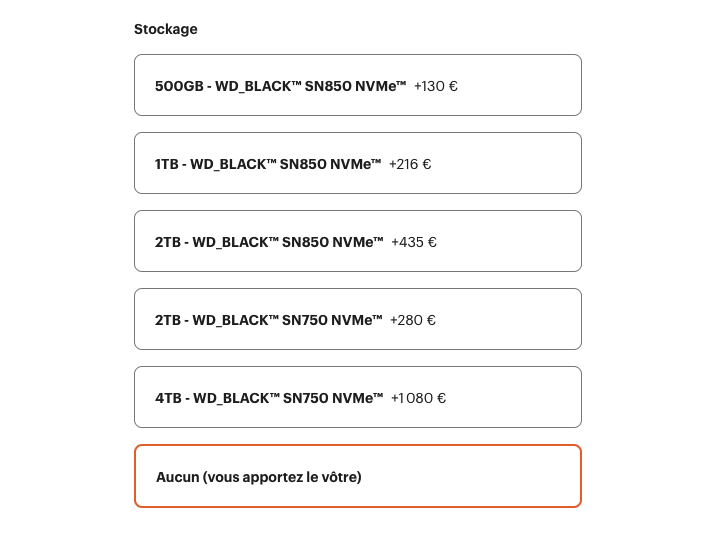
You will save some money by buying the SSD separately
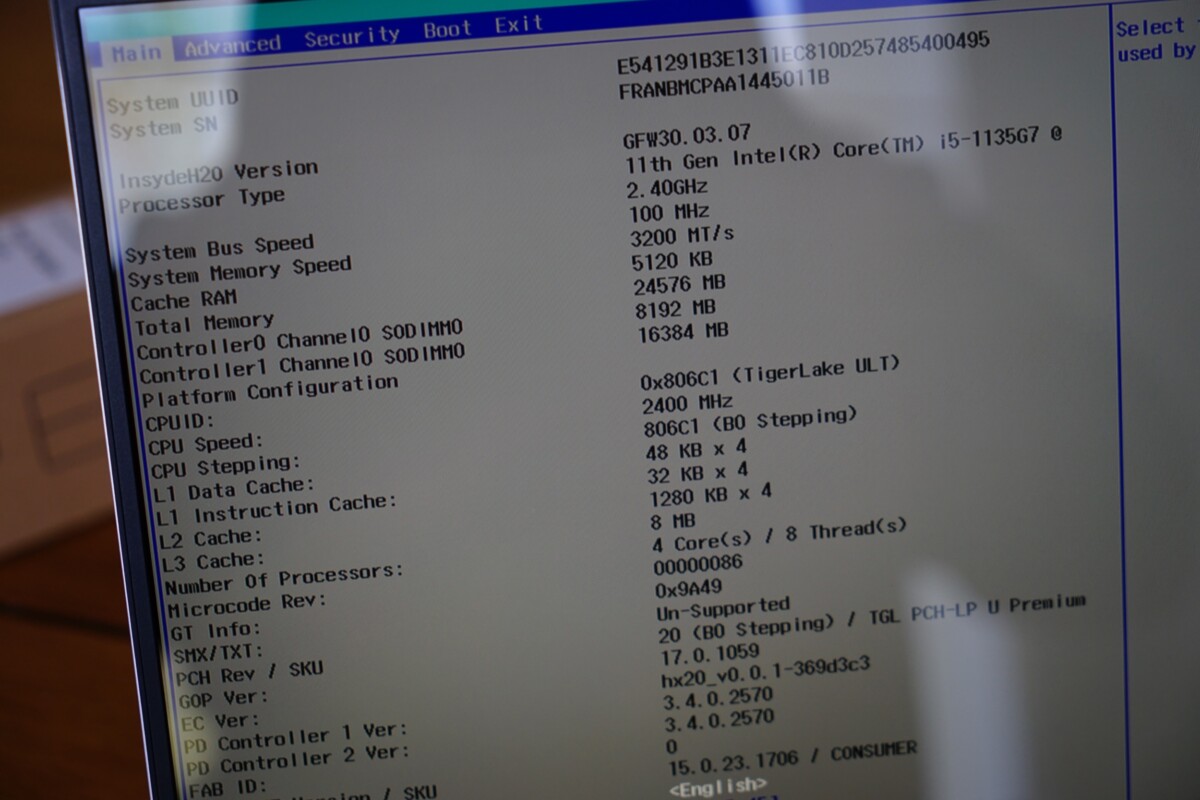
For the moment, Framework only offers an Intel CPU, with 3 different CPUs, you can then choose the NVMe SSD of your choice (or buy it alongside), the operating system (we advise you to download it from your side ) or the RAM (same, you can buy it on your side).

Better to buy an adapter beside
You then have the customization options related to the keyboard, but also to the power adapter. Small interesting detail, you can refuse the adapter to save some money, the set works with a USB-C adapter which consumes little (GaN, 60 Watts)… You will therefore have options that are more interesting financially than what Framework offers (49 euros anyway).
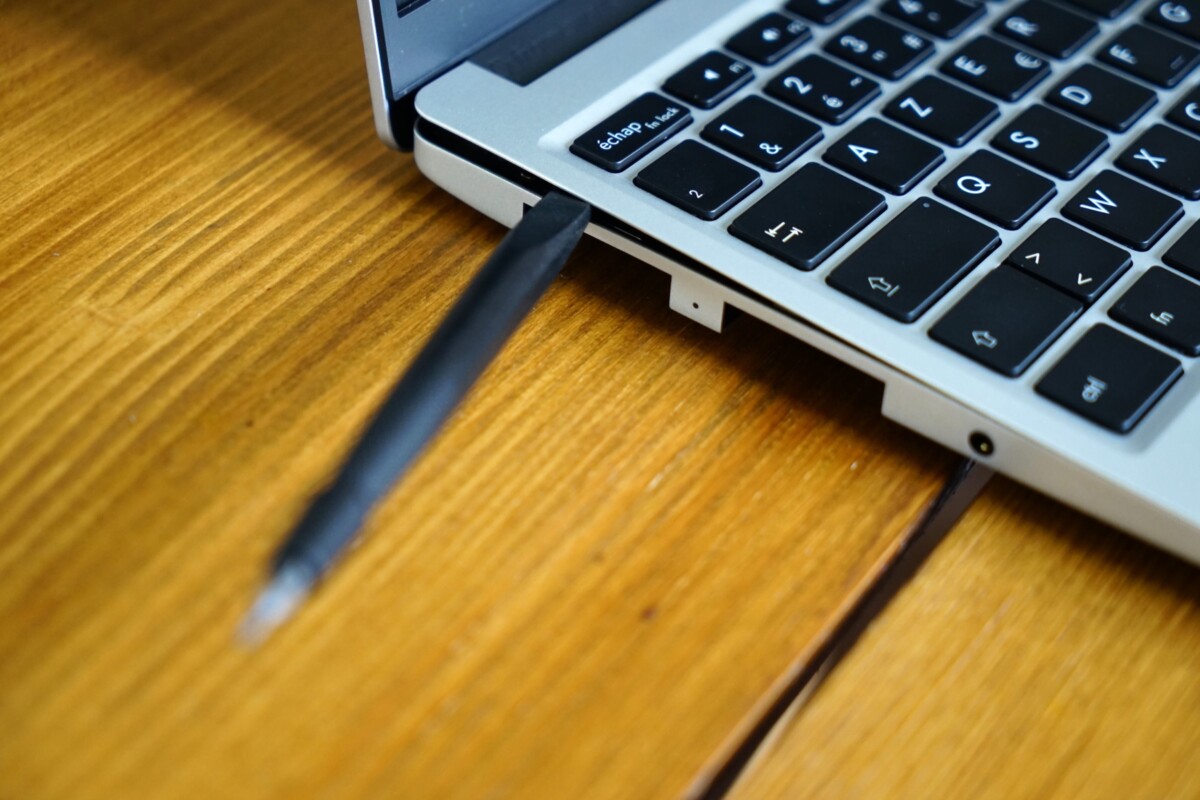
Finally, the most interesting part is selecting the expansion cards you want. The minimum is at least to buy a USB-C, then you have the choice between all the most common connectors (MicroSD, DisplayPort, USB-A, USB-C, HDMI). It lacks the classic SD slot, it’s certainly a problem with the dimensions of the expansion cards. You also have the option of having expansion cards in SSD storage. Note that you do not have to take expansion cards since expansion cards connect to USB-C (USB4) ports.
Just complete your order and wait.
What do we get?
It’s good, the package has been delivered. The DIY version has no SSD or RAM installed. Framework provides the tool to open it, a screwdriver torx T5.
This is what’s in the package
Now that you’ve settled in a dust-free location, let’s move on to assembly.
How to “mount” a laptop?
Are you ready ? As much to say it right away, the experience will be much shorter than a fixed PC. First thing to do: take the supplied torx screwdriver and turn the machine over.
Once the torx screws are unscrewed, they cannot be removed which prevents you from losing them, just lift the upper part to access the card.
Just simply lift the top part
Be careful to detach the keyboard-touchpad cable, just pull it.
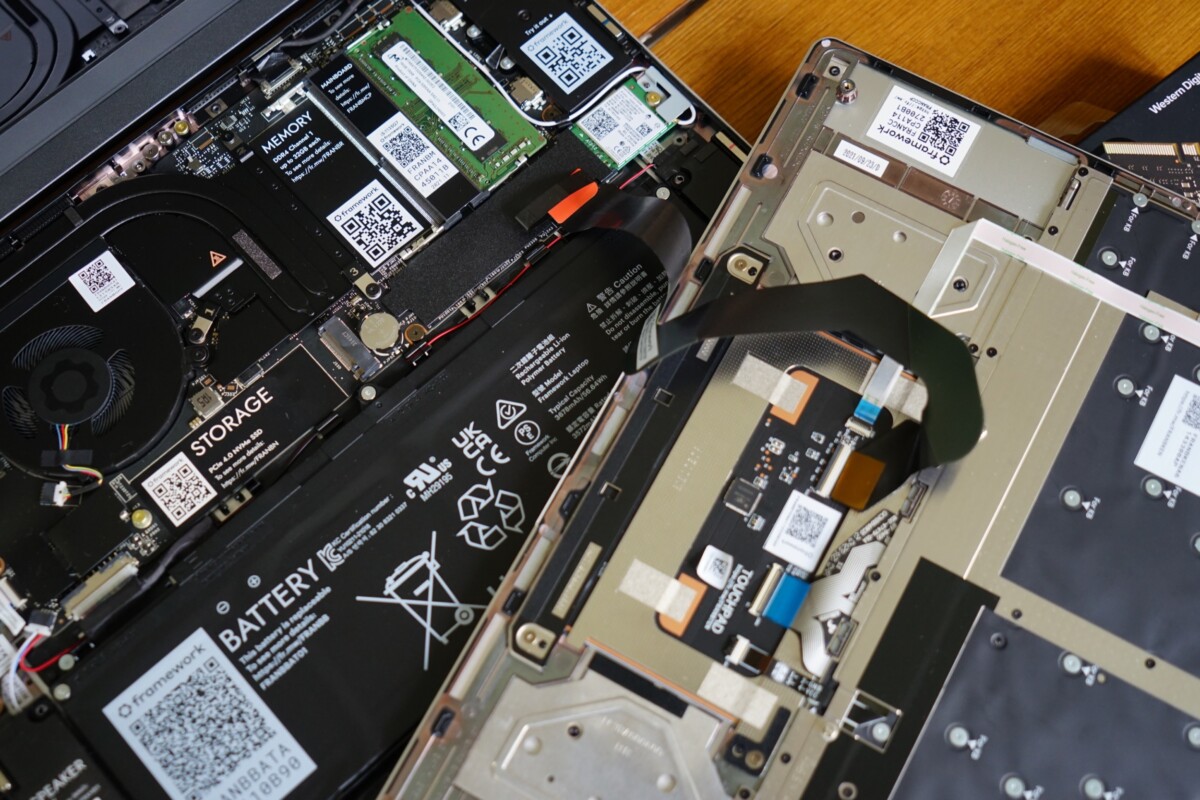
Just pull the tablecloth
Here you are before the entrails of the beast. First observation: everything is labeled with QR codes to retrieve the documentation, spare parts and corresponding guides.
There is no glue, nothing is welded. Framework tells us that it’s the only thin and light laptop on the market that allows users to upgrade the processor, via motherboard replacement. Everything is easy to remove, even the frame with its magnetic attachment to replace the screen.
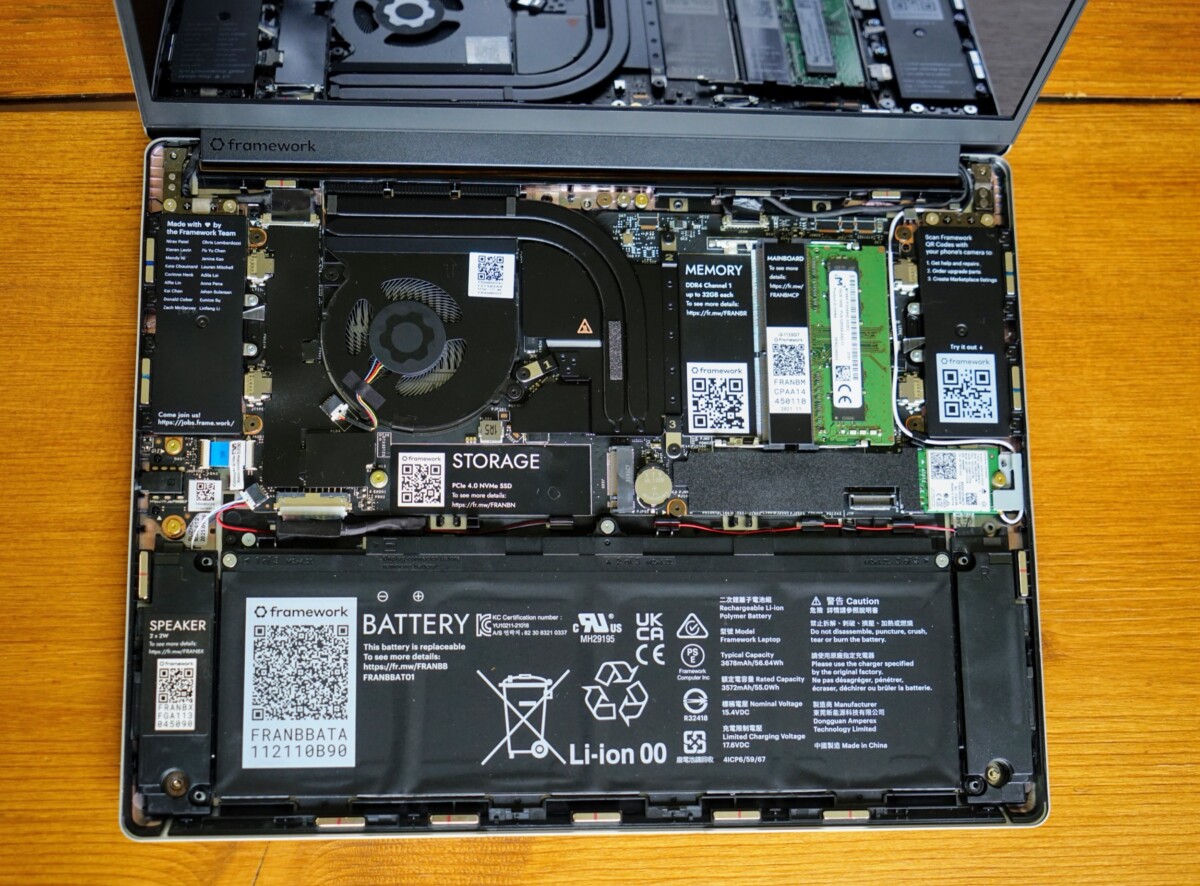
Here are the entrails of the beast
It’s a real pleasure to see a design like this when you love computing. The only mission you will have for the moment is to place the RAM modules and the NVMe SSD. As on a motherboard of a stationary computer, this is done in just a few minutes.
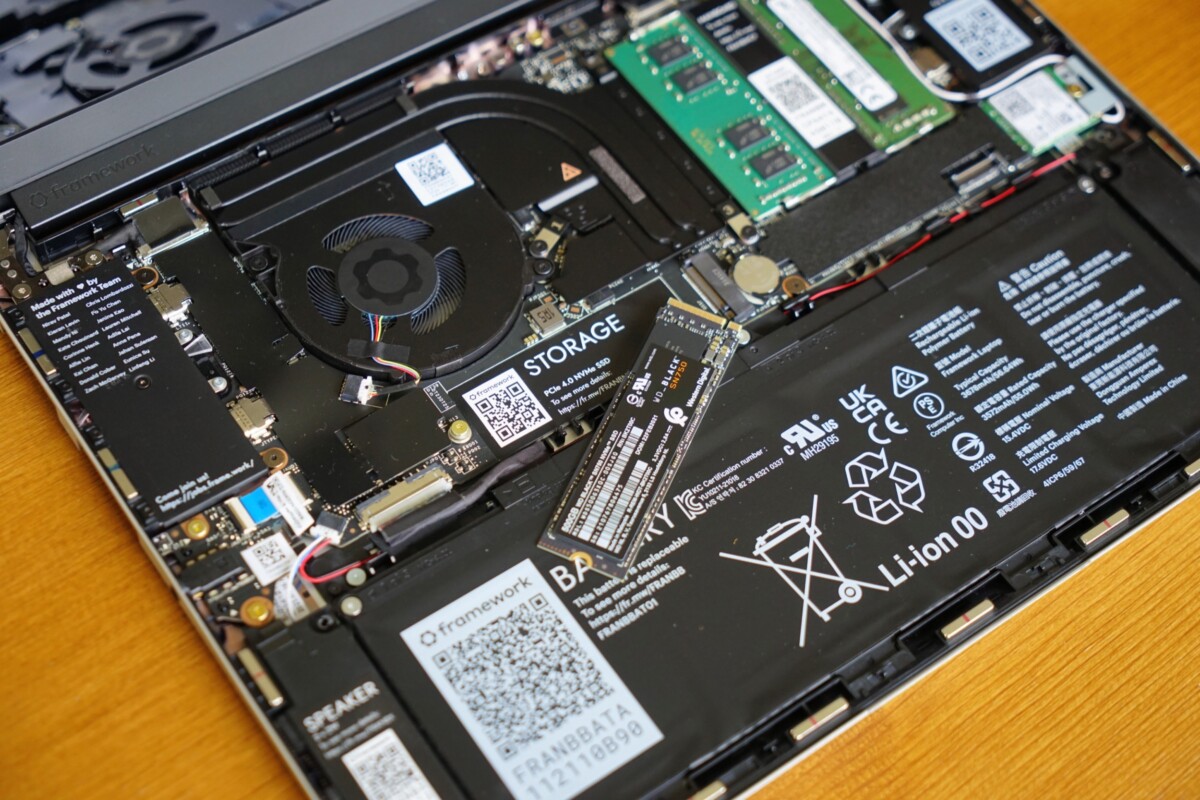
The SSD is simple to install, the screw is already present
Then reconnect the keyboard-touchpad-fingerprint reader cable, and retighten the screws torx T5 under the frame. The next step is to install the expansion cards in the slots provided.
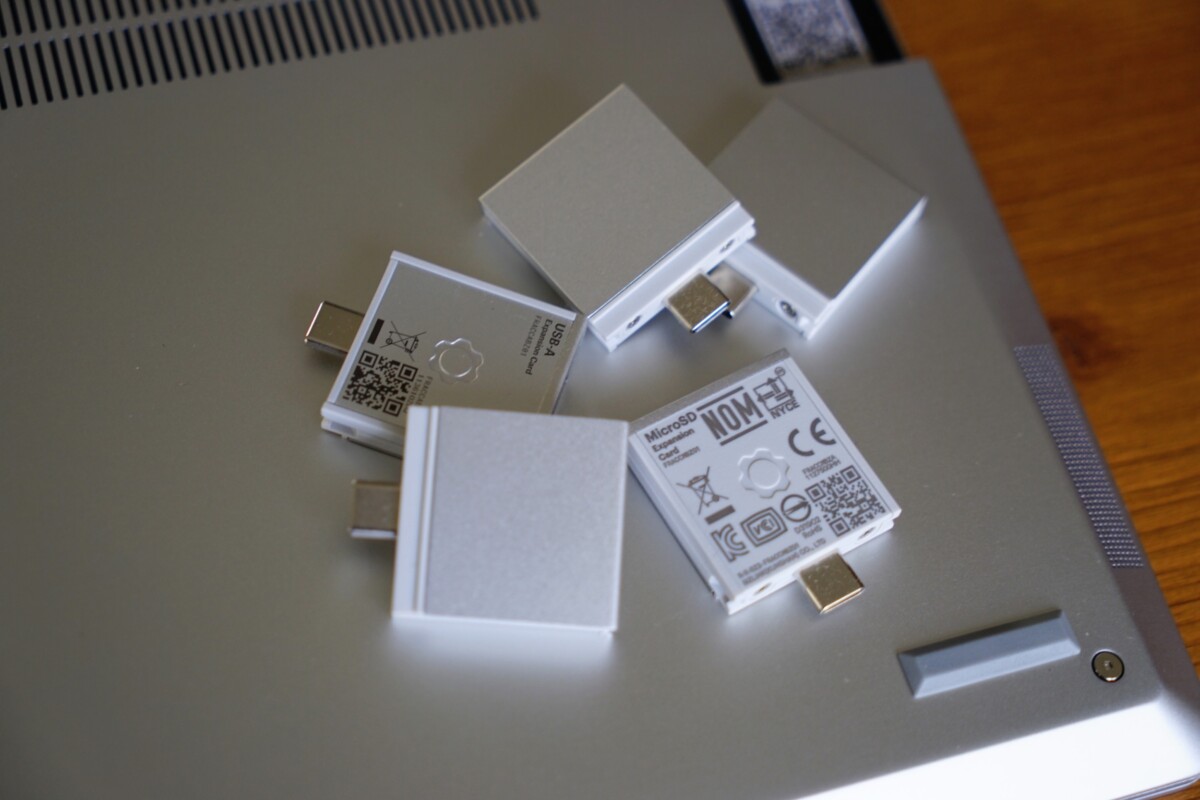
Expansion cards
Plug in your laptop and bring a USB key / external hard drive / external SSD to install Windows 10, Windows 11 or a GNU/Linux distribution. Personally, I used an SSD expansion card that I previously plugged into a MacBook Pro to drop the Windows 11 ISO file into.
On my configuration, I made the choice to put 24 GB of RAM
Installation takes a few minutes. There will only be one final step.
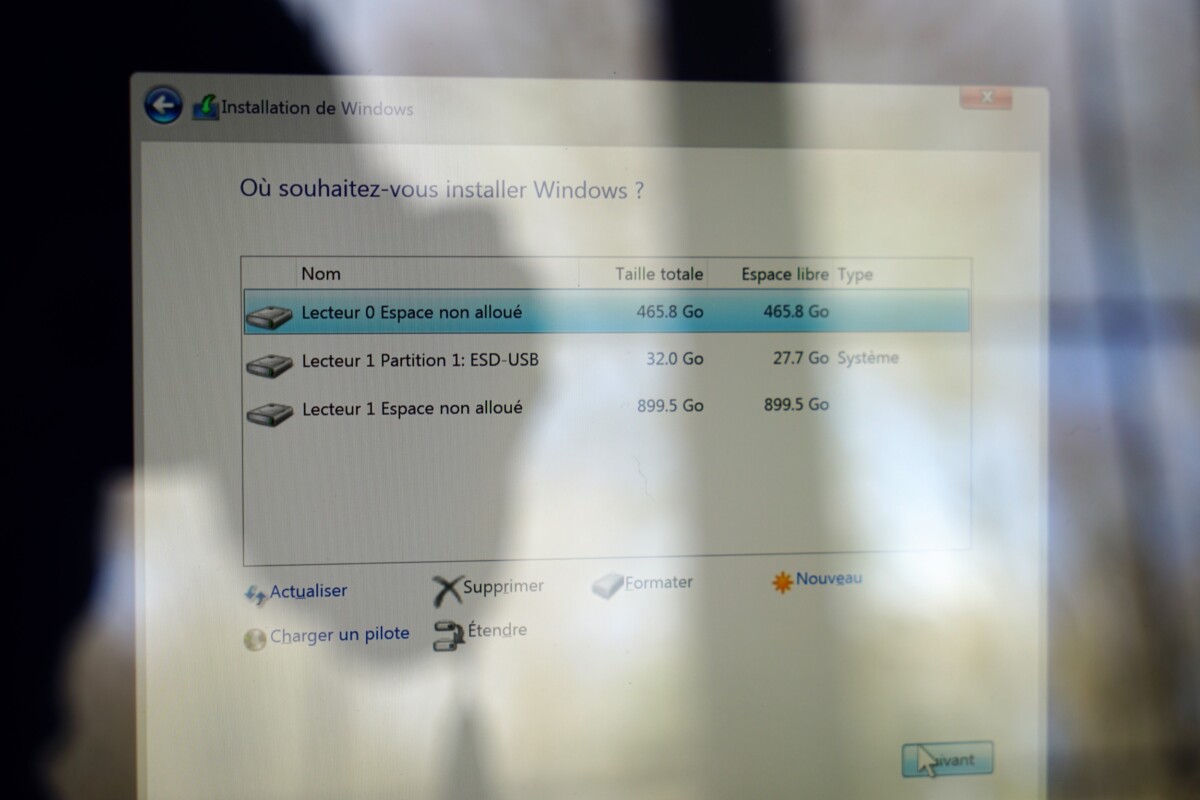
Don’t get the wrong target SSD
The last step is to download the drivers provided by Framework to ensure that all components work well, including the touchpad or the graphics card integrated into the Intel CPU.
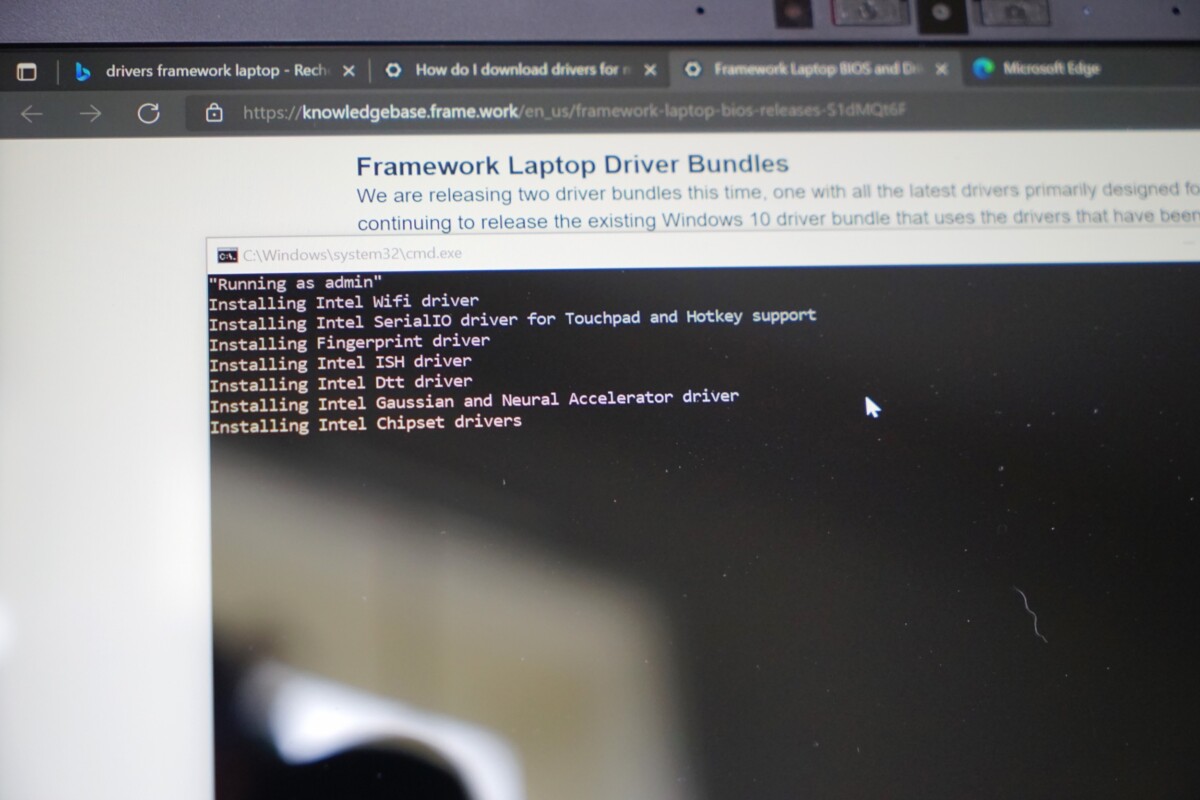
Driver installation
After Windows 11 is updated, the laptop will need to be restarted at least once. Then everything is functional. In total, it took me 25 minutes to assemble the PC and install Windows 11 on it. It saved me money… and it was a pleasant experience.
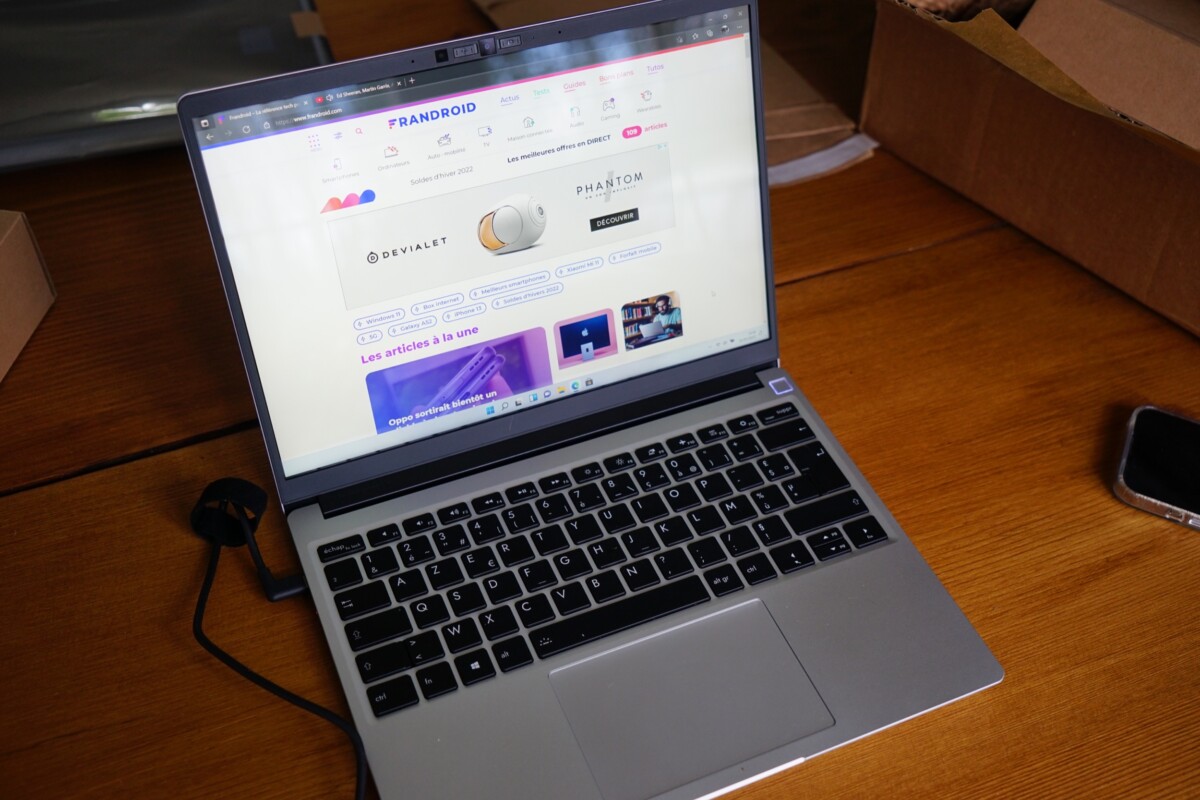
The PC is working, time for testing!
It’s time to launch the first tests to give you our opinion in a few days, once we have been able to evaluate its performance, autonomy and many other parameters.
To follow us, we invite you to download our Android and iOS application. You can read our articles, files, and watch our latest YouTube videos.