Sew a scrunchie
It’s that easy to sew your stylish hair tie
© makerist
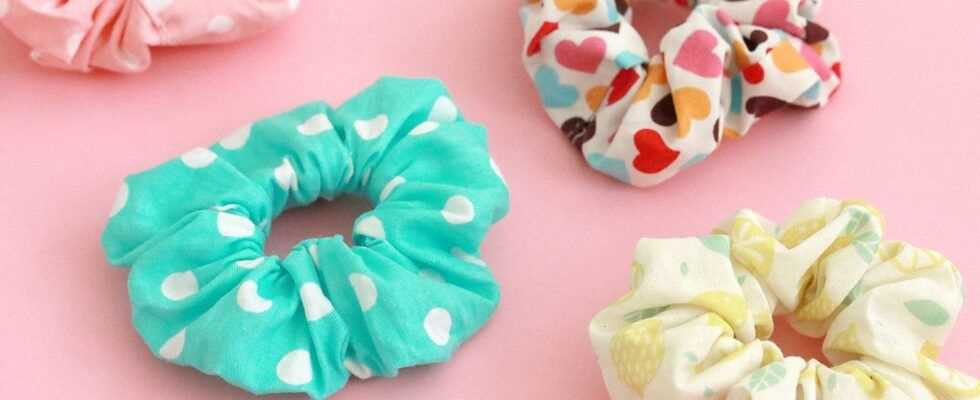
Scrunchies just look casual and go with every style! You can find out how to sew your own scrunchie here.
Scrunchies are elastic hair ties that are covered with fabric. They cleverly put longer hair in the limelight: whether a ponytail or bun, everything stays in place with a scrunchie. You can of course also design the hair ties in your own design: whether it’s your favorite color or a bright pattern – just choose your fabric yourself and sew your own scrunchie to match the outfit. You can find out how to do this here:
Sewing scrunchies: material + instructions
For each scrunchie you need a piece of cotton fabric with the dimensions 45 x 10 cm.
Elastic band: width 0.5 – 1 cm, length: 10 cm or 18 cm (depends on whether you want to wrap the scrunchie 1x or 2x around your hair).
- sewing machine
- Iron, ironing board
- Sewing thread
- Tape measure
- scissors
- Safety pins
- Pins

© makerist
1. Cut the strip of fabric to the dimensions 45 x 10 cm and iron it flat once.

© makerist
2. Fold a narrow flap on one of the short sides towards the inside of the fabric (left side) and iron it over. Then the length of the fabric strip is folded in the middle and placed right sides together. Iron it again and pin it in place.

© makerist
3. Quilt the long side with a seam allowance of 1 cm. Cut back the seam allowance so that only a few millimeters of fabric remain next to the seam.
4. Fix a safety pin to the opening of the hose and turn the hose inside out. Aligns the tube of fabric so that the longitudinal seam points upwards in the middle and iron the fabric again until it is smooth.
5. Now you have to decide whether you generally want to wrap the scrunchie around your hair only once or rather twice: Depending on which you need 10 cm or 18 cm elastic band. Use a safety pin to fix the elastic to one end of the fabric. Attach another safety pin to the other end of the elastic band and use it to push the band through the tube.

© makerist
6. Sew the ends of the elastic band together with the sewing machine.

© makerist
7. Now take the end of the tube that you have not tucked in and push it into the tucked-in end for about 1 cm. Now you can sew the two openings together with a needle and thread using a mattress stitch without a seam being visible. Your scrunchie is ready! If you want, you can sew the hair tie in various other designs.

© makerist
Tip: The scrunchies are wonderfully suitable for recycling leftovers!
Looking for more sewing ideas? Here’s how to sew a skirt and sew a pencil case. And here you will find sewing ideas for beginners.
Sources used: magazin.makerist.de