With our Christmas special, there is guaranteed not to be boredom on Christmas Eve. We’ll show you how you can easily, quickly and easily create your own NFT!
Darn it! Still no present for grandma! What to do? We have an idea: if all else fails, you can always create an NFT. Because that’s easier than you might imagine. We’ll show you how to do it step by step. The best: it doesn’t cost anything! Because NFTs do not necessarily have to be created on the Ethereum blockchain.
Create NFT: step by step
First of all, you need a crypto wallet and you have to choose one of the many NFT platforms. In these instructions we made the decision for you and we went for OpenSea as the platform and MetaMask as the wallet.
Step 1: create a wallet
In order to be able to create an NFT, you first need the MetaMask wallet. Do you already have it? Then you can skip this step. Otherwise you visit with this link the official homepage of MetaMask. There you can, depending on what you prefer, download either the desktop version or the smartphone version (iOS or Android).
Then just click your way through the following steps. MetaMask will then ask you to choose a password and collect some data from you. But you don’t have to agree to the latter. Then MetaMask will spit out a 24-word seed phrase for you. You should make a note of it. Because, as always in the crypto space, the following applies: “Not your keys, not your coins!”. If you have noted these words, you always have access to your wallet. Even if your computer should blow up. If you work on your computer, your MetaMask wallet will now be integrated into your browser as an extension. However, if you work with the smartphone, everything stays in the app.
Step 2: Log in to OpenSea
With your freshly baked MetaMask wallet, you can now join OpenSea Sign in. To do this you follow this link and click on “Create” in the upper right corner. If you work with your smartphone, you can also open your MetaMask directly. There you visit OpenSea in your browser.
Then all you have to do is connect your MetaMask wallet to OpenSea.
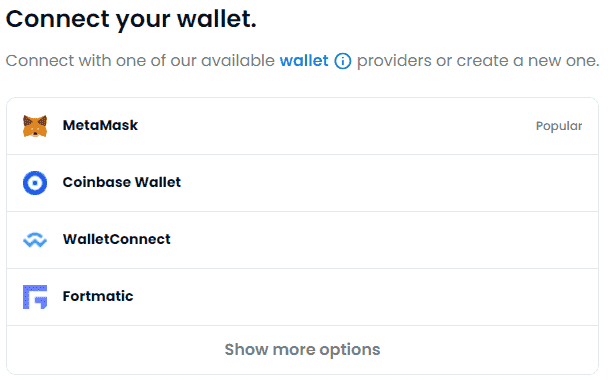
To do this, just click on the MetaMask icon – you’ll guess it.
Step 3: create the NFT
In order to be able to create your NFT, select the “Create” button in OpenSea. The rest is very easy. A button with a gray border appears under “Create new item”, which you can click to upload your desired file. This can be an image file, a video, an audio file or a 3-D model. OpenSea supports the common formats such as JPG, PNG, MP3, MP4 and many others. The only restriction: Your NFT should not be larger than 100 megabytes.
Then you give your NFT a name and, if you want, select properties that you want to give it. Whether size, age, skill level or something else; You can let your imagination run wild here. Under the “Unlockable Content” button, you can also add features to your NFT that will later only be visible to the owner (s) of the NFT.
All that remains is to select the blockchain on which you will create your NFT. The Ethereum blockchain is selected by default. However, if you have your Create NFT with no fees you just select the polygon blockchain here.
Then you just click on “Create” and you’re done! You created your own NFT.
Create your own collections and sell NFT
OpenSea also offers you the opportunity to create your own collections. These are quite simply sub-folders in which you can collect your NFT. To do this, click on “My Collections” in the menu and select “Create a collection”.
If you want to sell the NFT you have created, you can simply select it and click “Sell”. Then you enter the price that you would like to achieve.
Need some inspiration creating your NFTs? Have a look at the BTC-ECHO NFTs. here along!
You now know how to create an NFT for your grandma, but you are pretty uncreative? Never mind. With providers like PixelMe you can simply upload pictures of yourself, pixelate them and then process them into an NFT. Grandma only needs internet and a wallet.
Merry Christmas!